
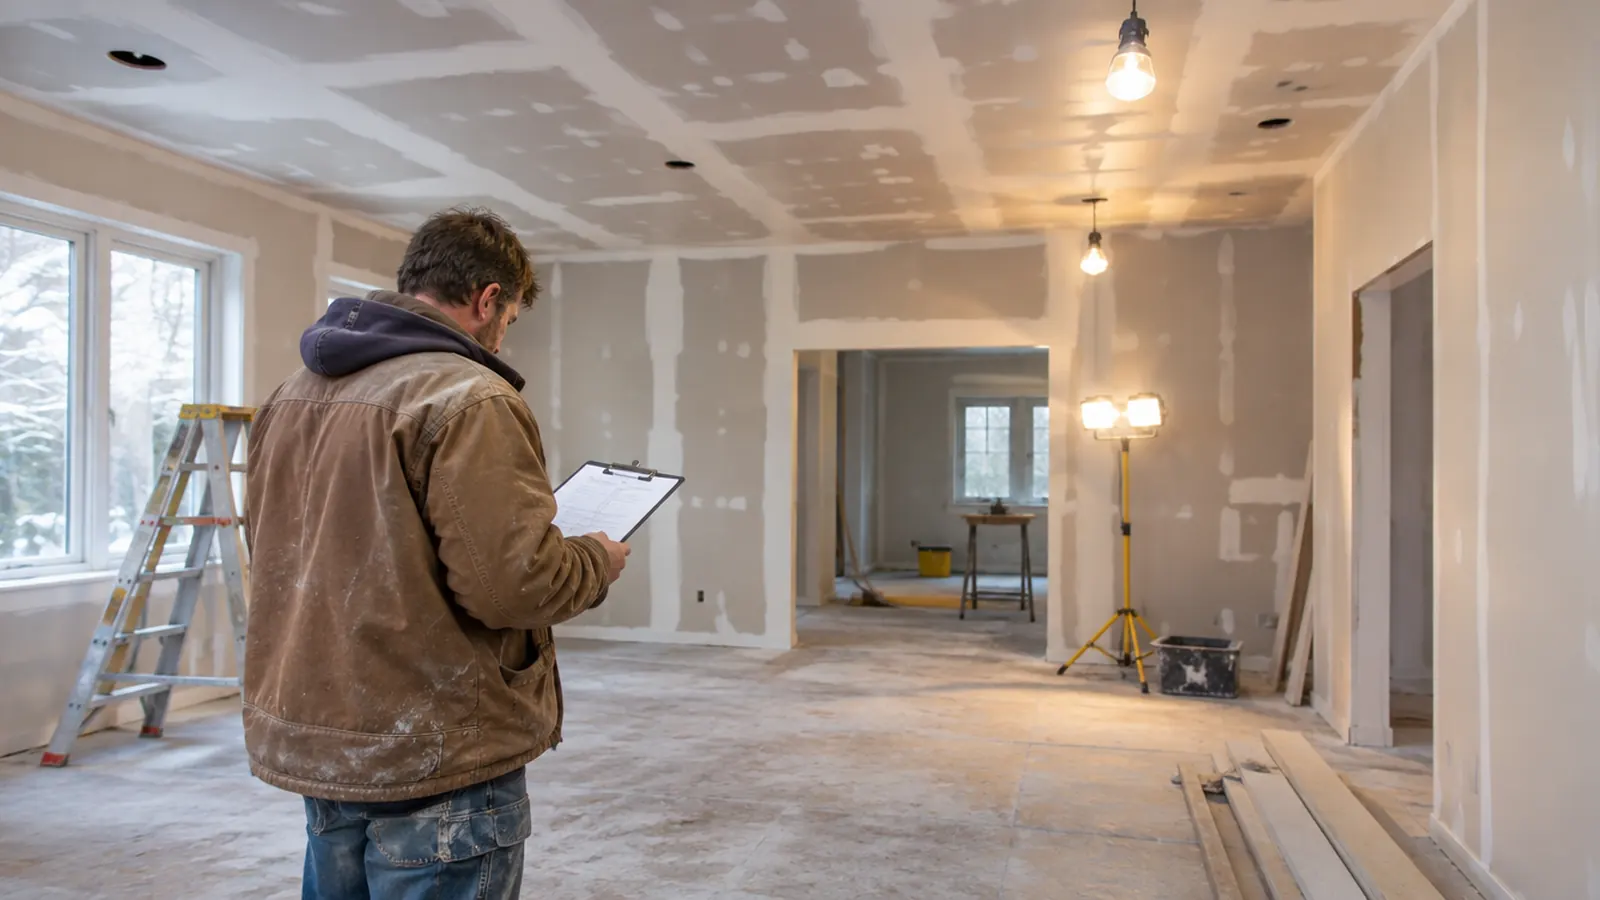
A project can contain several openings that look similar but need different products. A short schedule helps keep the location, opening, model and quantity together. It also prevents a size such as 8 × 8 in from being copied between products that use that number differently.
You do not need a complicated procurement system to begin. A spreadsheet or a clear table is enough, provided every row describes one actual requirement.
Start with locations and measurements
Give each opening or repeated group a location reference. Write the clear opening width and height, or the measured diameter for a round hole. Keep the units beside the number and record any irregular shape, surface damage or obstruction that affects selection.

If a professional drawing or specification controls the opening, include its reference. Do not substitute the planned panel's outside dimensions for a measured hole. For a new installation, obtain the model's rough-opening and mounting requirements before cutting.
Measure before you order: our guide on how to measure for an access panel shows how, and the access panel size chart compares every opening and cover.
Add the exact model and mechanism
Use the model name rather than only a generic description. "Easy-Exs SAP0808 square Spring-Loaded" gives a different instruction from "PAD0808 hinged door", even though both names contain 0808.
SAP0808 has an 8 × 8 in nominal model size and a 10 × 10 in overall cover. PAD0808 has an 8 × 8 in overall door size and a 6.35 × 6.35 in maximum service opening. That difference matters when a buying list is passed from an installer to a purchasing team.
Count panels and packs separately
Write the number of physical panels needed for the job and the pack quantity being purchased. Every Easy-Exs model we sell, the round SAP50 and PAP65 included, is a single panel or door, so for our models the two numbers match.
Do not assume that a product picture showing its front and rear means two panels are included. It may be two views of one panel. Use the exact sellable pack information, and keep the product barcode associated with that same pack.
A useful schedule format
| Location | Opening | Model to review | Physical panels needed | Selected pack | Notes |
|---|---|---|---|---|---|
| Reference from project | Clear width × height or diameter | Exact Easy-Exs model | Required count | Panels per pack | Surface, clearance and document reference |
This is a worksheet format, not an installation specification. Fill it with measured and approved project information. If a model is still undecided, label it as a candidate rather than implying it has already been approved.
What does a filled-in schedule look like?
Here is the same format filled in for a whole-house renovation, with sizes taken on site. Every location is inside the house, away from the garage wall and any other fire separation:
| Location | Opening | Model | Panels needed | Packs | Notes |
|---|---|---|---|---|---|
| Main bath, wall at the tub drain | 12 × 13 in | SAP1414 | 1 | 1 single | Painted drywall, clear behind |
| Basement ceiling, under the kitchen and baths | 7 × 7 in | SAP0808 | 4 | 4 singles | Each hole measured; all within range |
| Hall and bedroom ceilings, removed lights | 7.5 in diameter | SAP10R | 3 | 3 singles | Electrician to make the wiring safe first |
| Basement ceiling, small round holes | 4 in diameter | SAP50 | 5 | 5 singles | Each hole measured at 4 in |
| Basement utility room, shut-off valve | New cut, 6.35 × 6.35 in | PAD0808 | 1 | 1 single | Cut to the template; door swing checked |
Read the SAP50 row: five openings need five panels, and as single panels that is five to order. Keep both columns anyway: they catch a product that is sold in packs. The catalog figures for the models above, to check each row against:
| Model | Type | Opening | Overall size |
|---|---|---|---|
| SAP1414 | spring-loaded panel | Fits 10 × 10 to 14 × 14 in openings | 16 × 16 in |
| SAP0808 | spring-loaded panel | Fits 6 × 6 to 8 × 8 in openings | 10 × 10 in |
| SAP10R | round cover | Fits 6–9 in round openings | 10 in diameter |
| SAP50 | round cover | Fits 3.75–4 in round openings (smallest estimated) | 5 in diameter |
| PAD0808 | hinged door | Maximum service opening 6.35 × 6.35 in | 8 × 8 in |
What mistakes slip into a schedule?
- One measurement for a run of identical rooms. Units built from one drawing still get their holes cut by hand. Measure each one, and split the row when a unit comes out different.
- An opening outside every range. A 9 × 9 in hole is too big for one square range and too small for the next. Flag it in the notes instead of picking the nearest model, so someone decides whether to enlarge it.
- Two units in one column. If the site team works in millimetres and the order form in imperial, give each figure in both, or keep one unit for the whole sheet.
- No swing check on door rows. A hinged door needs room in front to open. Note any towel bar, shelf or pipe in its path before the row is approved.

Separate service opening from installation cutout
For hinged access doors, the useful opening through the frame is smaller than the outside dimensions. Record the service opening the task needs and the cut-out you will make, each taken from the maker's current drawing or template.
On our own hinged doors the two fields hold the same figure: the PAD0808's cut-out is its 6.35 × 6.35 in service opening, with rounded corners, traced from the full-size template on its product page.
For square spring-loaded panels, record nominal size, overall cover and verified opening range in separate fields. For round products, use diameter terminology rather than writing a circle as a square pair of dimensions.
Include delivery and timing information
Add the delivery postal or ZIP code and the requested date. Explain whether the whole order is needed together or whether you want to discuss separate releases. A requested date is planning information; availability, dispatch and carrier service need to be confirmed for the actual inquiry.
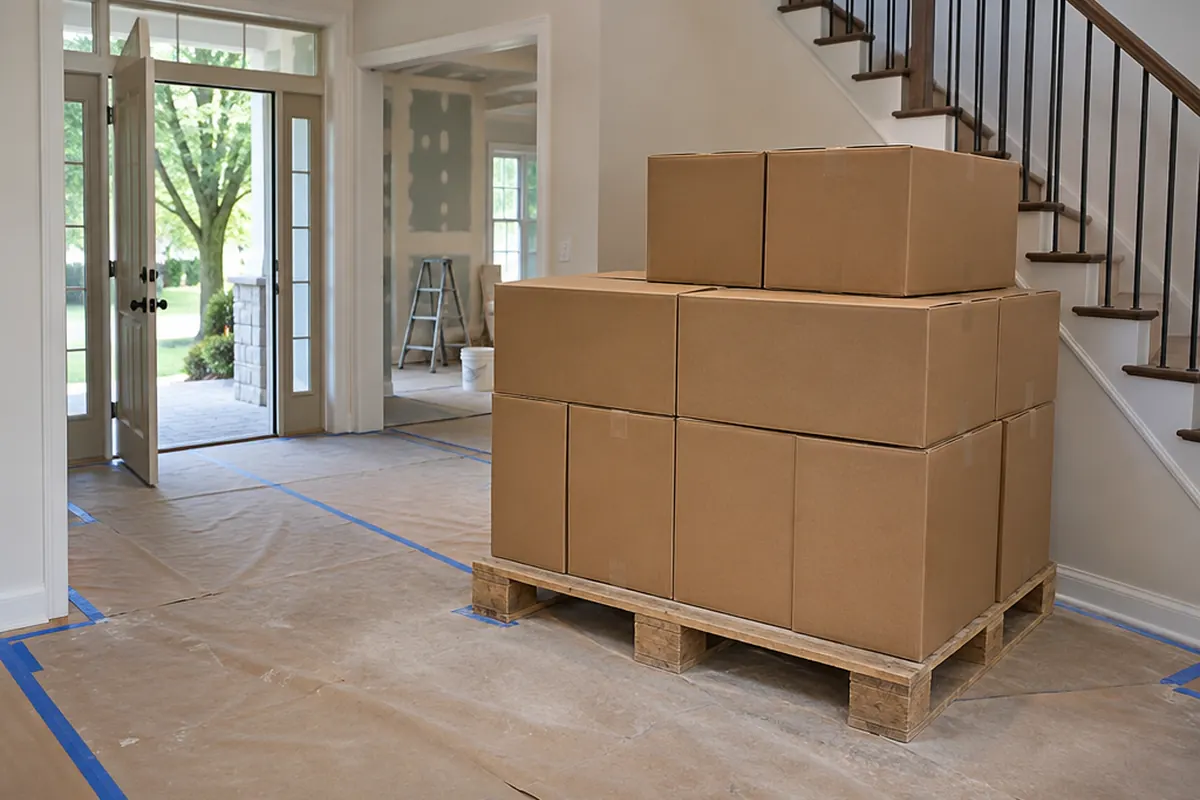
For cross-border delivery, identify any procurement requirement about origin documentation or import charges. A Canadian or US office address does not establish the product's manufacturing origin or the location from which an order will ship.
Note which code the job falls under
Write the governing code on the schedule, because it decides what each location needs. The local building department can confirm which code applies and what any opening in a fire-resistance-rated wall must be closed with.
For air admittance valves, see where the codes allow them.
No fire rating is claimed for our plastic panels and doors, so leave them off any line in a fire-rated wall, ceiling or fire separation.
Attach the right technical information
Use the selected model's cut sheet, submittal worksheet and guides. Check the product identifier and document revision. A retailer-prepared worksheet is not a manufacturer certificate, and a general guide does not establish an assembly's fire rating or compliance.
Finally, review the schedule for duplicated rows, missing units and pack arithmetic. Send the product interests, quantities and destination through the Contractor Program, with a short explanation of any unresolved requirement. That gives the team a clear starting point for discussing the order.