
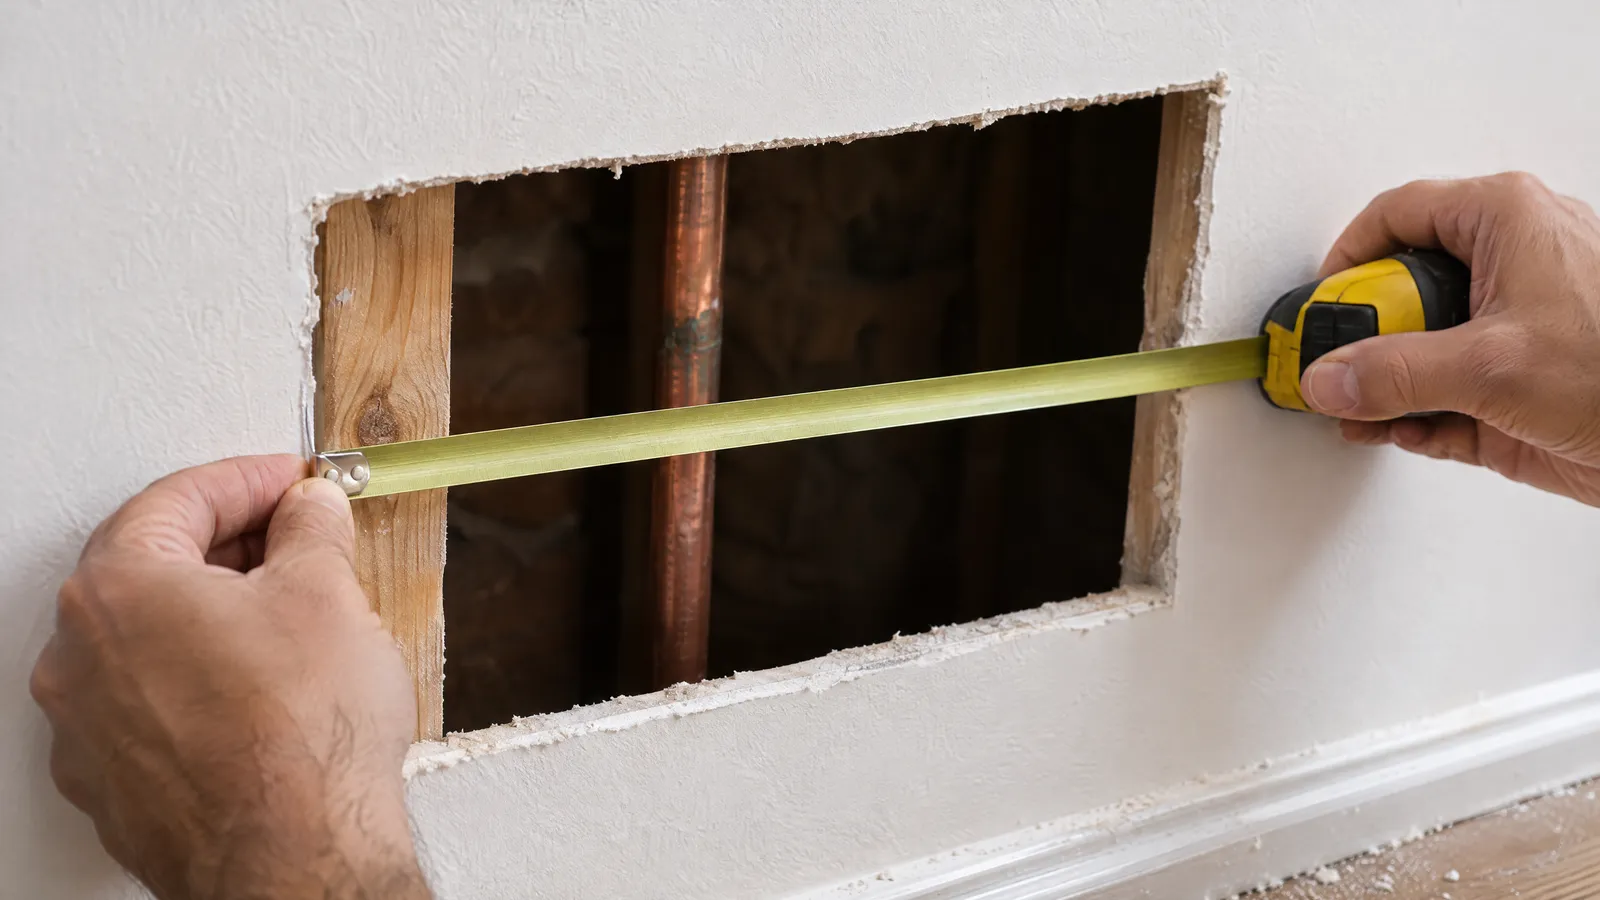
To measure for an access panel, record the clear width and height of the opening (or its diameter if it is round), the flat surface around it, the depth and obstructions behind it, and the space in front. Then compare those numbers with the product's listed opening fit, not with the size in its name.
What do you need to measure for an access panel?
Five measurements cover almost every case. Take all of them before you choose a product, because the right panel depends on more than the hole.
- The opening. Clear width and height for a square or rectangular hole, or the diameter for a round one.
- The flat surface around the opening. The cover sits on the wall or ceiling around the hole, so it needs sound, flat material on all four sides.
- The space behind. How deep the cavity is, and where the pipes, wires, studs, joists and insulation are.
- The space in front. Anything a hinged door would hit as it opens, such as a vanity, a shelf or a light fixture.
- What has to pass through. Your hand and a tool, or a whole component such as a pump or a valve body.
Write each number down with its unit as you go. A list made from memory at the store is how a door sold as 8 × 8 in ends up ordered for an 8 × 8 in hole that its frame cannot cover.
Which number is the opening and which is the cover?
Product names use different measurements, and they are easy to mix up. Keep four terms apart:
- Nominal size is a model designation. It identifies the product; it is not a promise about the hole.
- Overall cover is the outside size of the front cover or frame. It is the area of wall the product takes up.
- Opening fit is the opening size or range a removable panel is listed to fit.
- Service opening is the access you get through a framed door. It is smaller than the frame. On the Easy-Exs hinged doors it is also the size of the wall cut-out, with rounded corners.
Here is how those numbers line up across the Easy-Exs range in our catalog:
| Model | Type | Sold as | Opening fit or service opening | Overall cover |
|---|---|---|---|---|
| SAP0808 | Square spring-loaded panel | 8 × 8 in nominal | Openings from 6 × 6 to 8 × 8 in | 10 × 10 in |
| SAP1414 | Square spring-loaded panel | 14 × 14 in nominal | Openings from 10 × 10 to 14 × 14 in | 16 × 16 in |
| SAP10R | Round spring-loaded panel | 10 in | Round openings from 6 to 9 in diameter | 10 in diameter |
| SAP50 | Round Click-Fit panel | 5 in | 3.75–4 in diameter opening (smallest estimated) | 5 in diameter |
| PAP65 | Round Click-Fit panel | 6.5 in | 5.25–5.5 in diameter opening (smallest estimated) | 6.5 in diameter |
| PAD0606 | Hinged access door | 6 × 6 in | Service opening up to 4.35 × 4.35 in | 6 × 6 in |
| PAD0808 | Hinged access door | 8 × 8 in | Service opening up to 6.35 × 6.35 in | 8 × 8 in |
| PAD1212 | Hinged access door | 12 × 12 in | Service opening up to 10.35 × 10.35 in (estimated) | 12 × 12 in |
| PAD1216 | Hinged access door | 12 × 16 in | Service opening up to 10.35 × 14.35 in (estimated) | 12 × 16 in |
The full explanation, with more examples, is in access panel opening size vs cover size. To browse by the size of your hole, use the access panel size chart.
How do you measure a square or rectangular opening?
Use a steel tape and a pencil, and measure the hole itself, not the old cover or the stain around it.
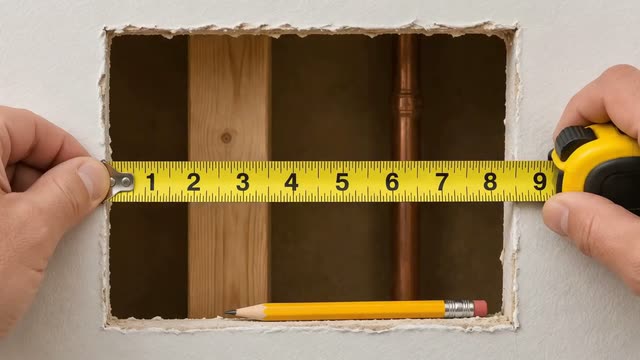
Measure the hole itself, edge to edge.
- Measure the width at the top, the middle and the bottom of the opening. Write down the largest and the smallest reading.
- Measure the height at the left, the center and the right. Again, record the largest and the smallest.
- Measure both diagonals. If they differ by more than a little, the hole is out of square, and the cover has to hide the widest corner.
- Measure the flat surface from each edge of the opening to the nearest obstruction on the face of the wall: a corner, trim, a tile edge or a fixture.
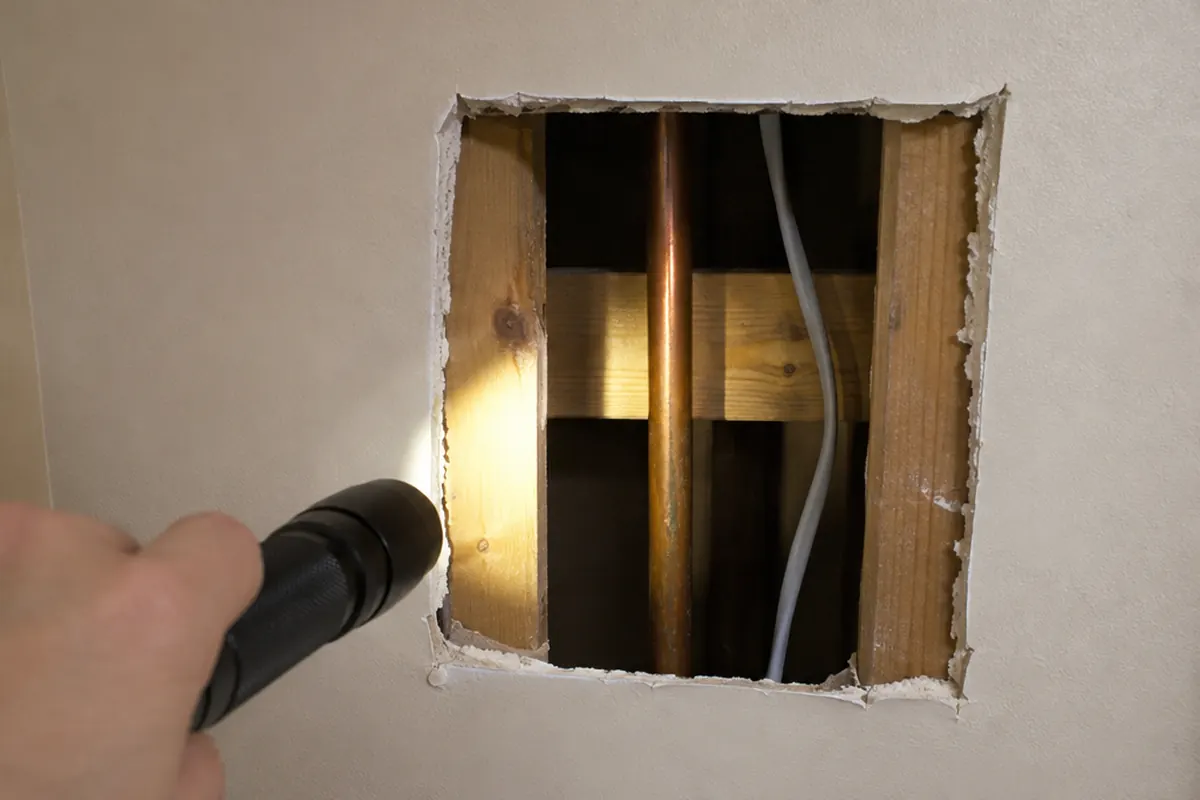
- Shine a light into the cavity and note its depth and anything close to the edges, such as a stud, a pipe or a cable.
Compare the largest width and height with the model's listed opening range. If you are looking at a range such as the SAP1414's 10 × 10 to 14 × 14 in, your opening has to fall inside it in both directions.
Then check the overlap. With the cover centered on the hole, the margin on each side is half the difference between the cover and the opening. A 16 × 16 in cover on a 14 × 14 in opening overlaps by 1 in per side; on a 10 × 10 in opening, by 3 in. Make sure that much flat, sound surface exists on every side.
How do you measure a round opening?
Measure straight across through the center, from one inside edge to the opposite inside edge. Take a second diameter at a right angle to the first. If the hole is not perfectly round, record the widest and the narrowest figures.
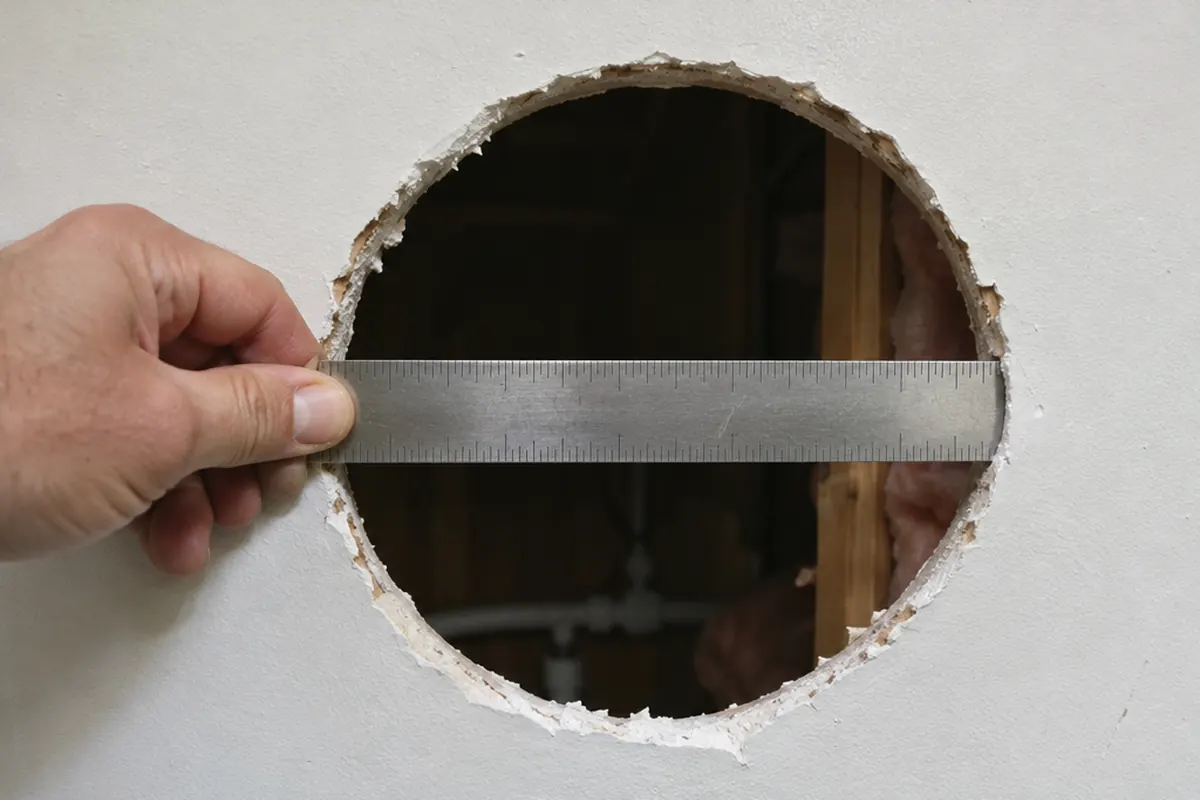
A tape laid across the hole away from the center reads short and understates the diameter. Our round opening measuring guide covers the checks in detail, and the round models are grouped on the round access panels page.
How much space does a panel need in front and behind?
Behind the opening, a removable panel's spring or clips need the clearance specified for that model, and a pipe, wire or layer of insulation in the way can stop it seating. Do not bend or modify the mechanism to make a panel fit.
In front, a hinged door needs room to swing. A door that fits between a vanity and a towel bar when it is closed can still be awkward or impossible to open fully. Hold a piece of cardboard the size of the door's overall frame against the wall and swing it to check.
Think about what you will do through the opening, too. Reaching a shutoff valve with one hand needs less room than lifting out a pump. Size the opening for the job, then pick a product whose opening fit or service opening is at least that large. For an outdoor spigot's shutoff, see how to replace an outside faucet. See access panels compared by job.
What if you are cutting a new opening?
Choose the exact model first, then cut. For a removable spring-loaded panel, cut an opening inside that model's listed range. For a hinged door, the cut-out is the size of its service opening, with rounded corners: trace the 1:1 template on the product page.
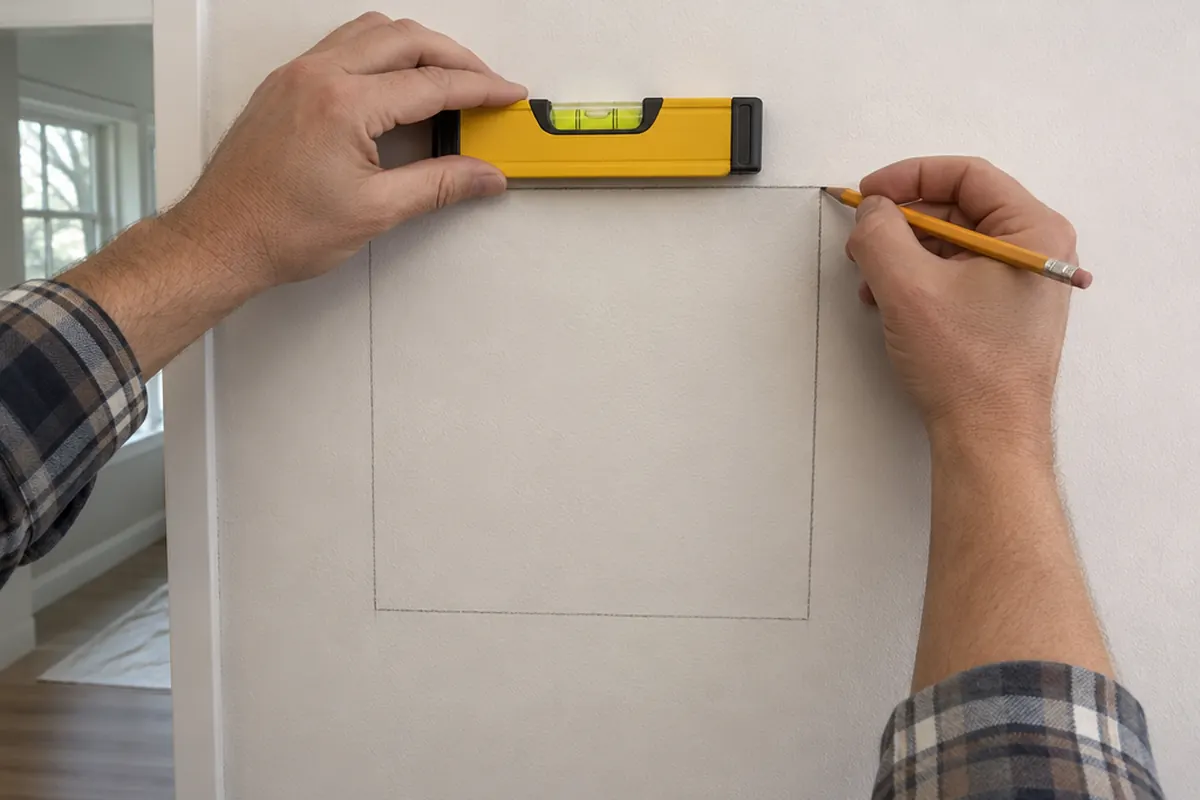
Find the studs or joists, and check for wiring, pipes and ducts behind the surface. Turn off the power to any circuit nearby. If you are not sure what is inside the wall, cut a small inspection hole first or ask a qualified tradesperson.
The step-by-step process is in our guide to installing an access panel in drywall. For an opening overhead, see how to install an access panel in a drywall ceiling.
If the opening serves a tub drain, a pump or a cleanout, ask your local building department whether it sets a minimum size before you cut, and measure your clear opening against that figure.
How should you record and send your measurements?
Write the opening, the flat surface on each side, the depth behind and any obstruction, with units beside every number. Add the model you are considering and which measurement on its listing you compared against. A photo of the opening with the tape across it helps, but it does not replace the numbers.
For a job with several openings, use one row per opening, as in our contractor order schedule. If a measurement still does not match any product, send us a message through our contact form with your numbers before you order or cut.
You can also send them to us here, with a photo of the opening if you have one: