
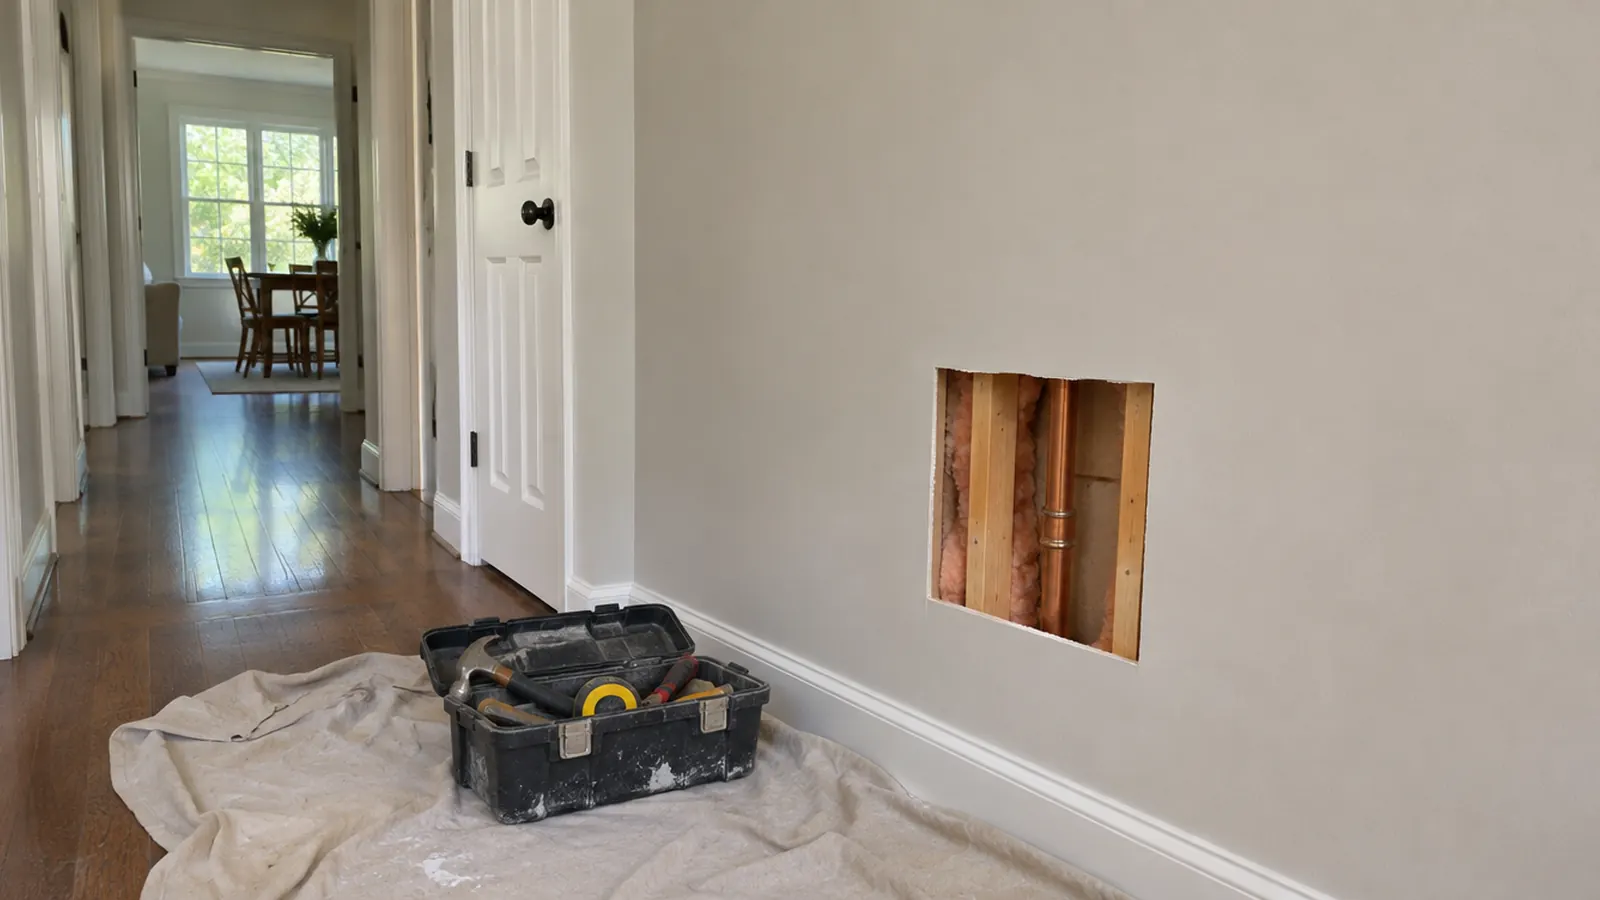
Both products provide access behind a finished surface, but the cover opens in a different way. A spring-loaded panel is a removable cover retained by its rear mechanism. A hinged access door stays attached to a surrounding frame when opened.
Begin with the access task, the existing opening and the space available. The most suitable construction cannot be chosen from the front photograph alone.
How the mechanisms differ
The Easy-Exs square Spring-Loaded panels use a large black wire-loop spring on the rear of the cover. The round SAP10R adjustable panel uses the same visually distinctive type of black loop-spring arrangement on a circular cover. These are removable solid covers, not doors attached to a permanent hinge frame.
The smaller round SAP50 and PAP65 models have their own spring-clip construction. Their photographs show opposing white plastic clips and small metal spring hardware. They should not be described with the larger model's black-loop mechanism.
Easy-Exs hinged access doors have a frame, attached door and latch. Consider the movement of the door as well as the front dimensions. Its frame also means that the outside size and the available service opening are different.
Think about the space in front
For a hinged product, check whether the door can move without meeting a cabinet, appliance, pipe or another fixture. The opening should remain useful in the actual room arrangement. A door that fits between two objects when closed may still be awkward to use. For a valve beside a kitchen range, see where a pot filler's shut-off valve goes.
For a removable cover, consider how the cover will be handled when access is needed and whether the rear mechanism has the specified clearance. Do not assume that removing a front cover gives unrestricted access: the services or construction behind it may still limit the task.
Compare opening and cover dimensions
In the square range, the Easy-Exs 8 × 8 nominal panel has a 10 × 10 in overall cover, and the 14 × 14 nominal panel has a 16 × 16 in overall cover. Their exact opening-fit information needs to be checked for the chosen model.
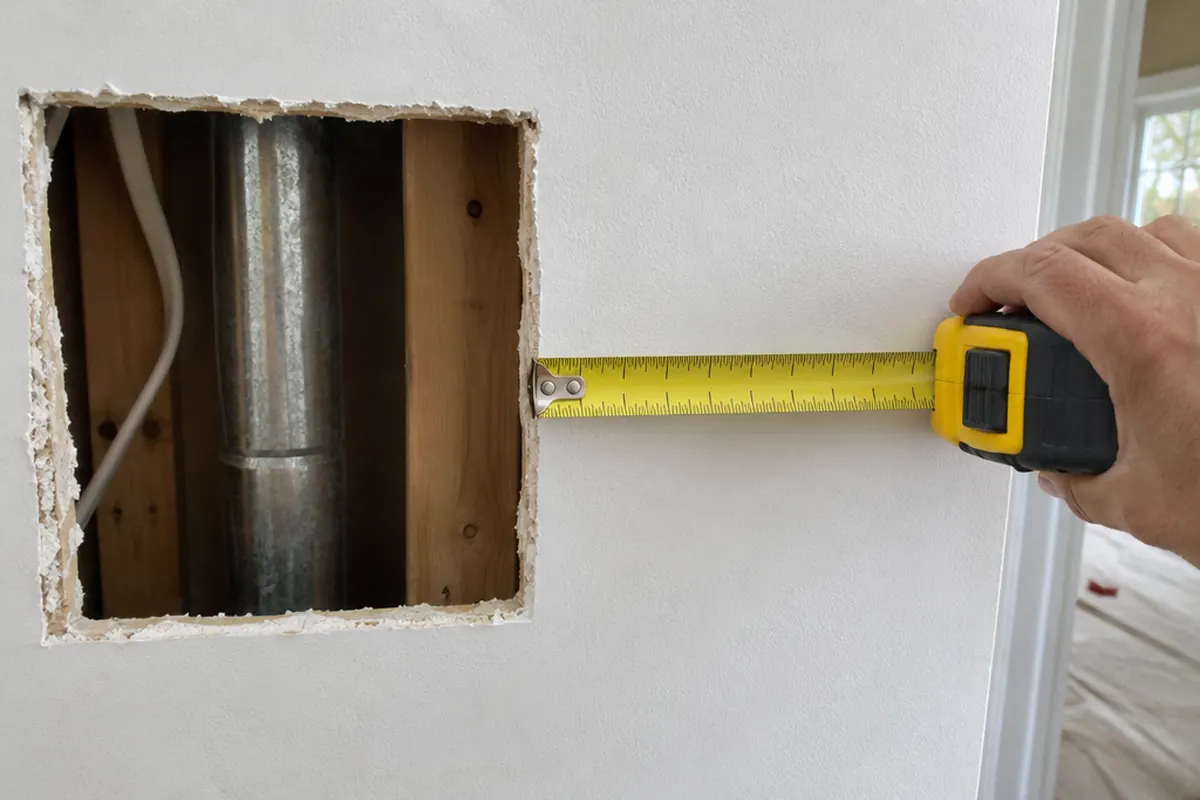
In the hinged range, a 6 × 6 in overall door provides a 4.35 × 4.35 in maximum service opening. The 8 × 8 provides 6.35 × 6.35 in, the 12 × 12 provides 10.35 × 10.35 in (estimated), and the 12 × 16 provides 10.35 × 14.35 in (estimated). On these doors the hole you cut matches the service opening, rounded corners included.
Read opening size vs cover size if a product name is being used as the only measurement in a project schedule.
How is each one fitted?
The two go into the wall in very different ways, and that often settles the choice before the look of the cover does.
A square spring-loaded panel
Each square model takes a range of hole sizes rather than one exact cut:
- SAP0808 spring-loaded panel: fits 6 × 6 to 8 × 8 in openings, overall 10 × 10 in
- SAP1414 spring-loaded panel: fits 10 × 10 to 14 × 14 in openings, overall 16 × 16 in
The 3D model on each of their product pages shows the fitting from inside the wall:
- Measure the hole across and up, and confirm both figures sit inside the range.
- Hold the panel at an angle and put the side with the sliding tab into the hole first.
- Push that tab against the edge of the hole so it slides back into the panel.
- Swing the other side in, so its fixed tabs go behind the drywall.
- Let go. The tab springs back against the edge and holds the panel in place.
When the cover comes off, no screws or frame are left behind in the wall.
A hinged access door
A hinged door wants a hole cut to its own shape. The door's 3D model walks through it:
- Tape the 1:1 template from the product page to the wall and trace the outline.
- Cut on the line, keeping the rounded corners.
- Open the door and hold its frame over the opening.
- Drive the supplied screws through the holes in the frame.
- Swing the door shut and turn the knob to lock it.
What the difference means for your hole
A spring-loaded panel takes a range of hole sizes, so a hole that is already open or left by a repair can usually take one, as long as its width and height both fall inside the range and the wall around it is sound. A hinged door suits a new opening you can cut cleanly, or a smaller hole you can enlarge to the template.
Say a 7 × 7 in hole is already open beside a tub. It sits inside the SAP0808's range of 6 × 6 to 8 × 8 in, so that panel goes straight in. The PAD0808's cut-out is 6.35 × 6.35 in, smaller than the hole, so that door is not made for it. The next door up, the PAD1212, needs a 10.35 × 10.35 in (estimated) cut-out, so the hole would have to be enlarged to its template first.
Measure before you order: our guide on how to measure for an access panel shows how, and the access panel size chart compares every opening and cover.
The shape should follow the opening information
Compare round access panels for a circular opening and square spring-loaded panels for the relevant square-panel range. A different shape may change the space covered on the front and the support needed behind it. Do not choose a product merely because it hides the visible hole in a photograph.
If you are creating a new access point, select the model and review its actual installation requirements before cutting. Keep clear of concealed services and have the proposed location assessed where necessary.
Project requirements still come first
Some walls, ceilings and service locations have specific performance or approval requirements. A general plastic access product should not be treated as fire-rated, weatherproof or approved for a particular assembly without documentation for the exact product and use.
No fire rating is claimed for either type we sell, so neither belongs in a fire-rated wall or ceiling.
Use the current model information and the relevant project professionals to assess those requirements. An educational comparison helps explain product differences; it is not a substitute for the project's specification or manufacturer instructions.
Whichever you pick, ask your local building inspector how much access they expect at the valve or trap behind it.
Make a useful shortlist
Record the opening dimensions, the access task, nearby obstructions and whether an attached or removable cover is preferred. Then compare the actual product photographs and available data sheets.
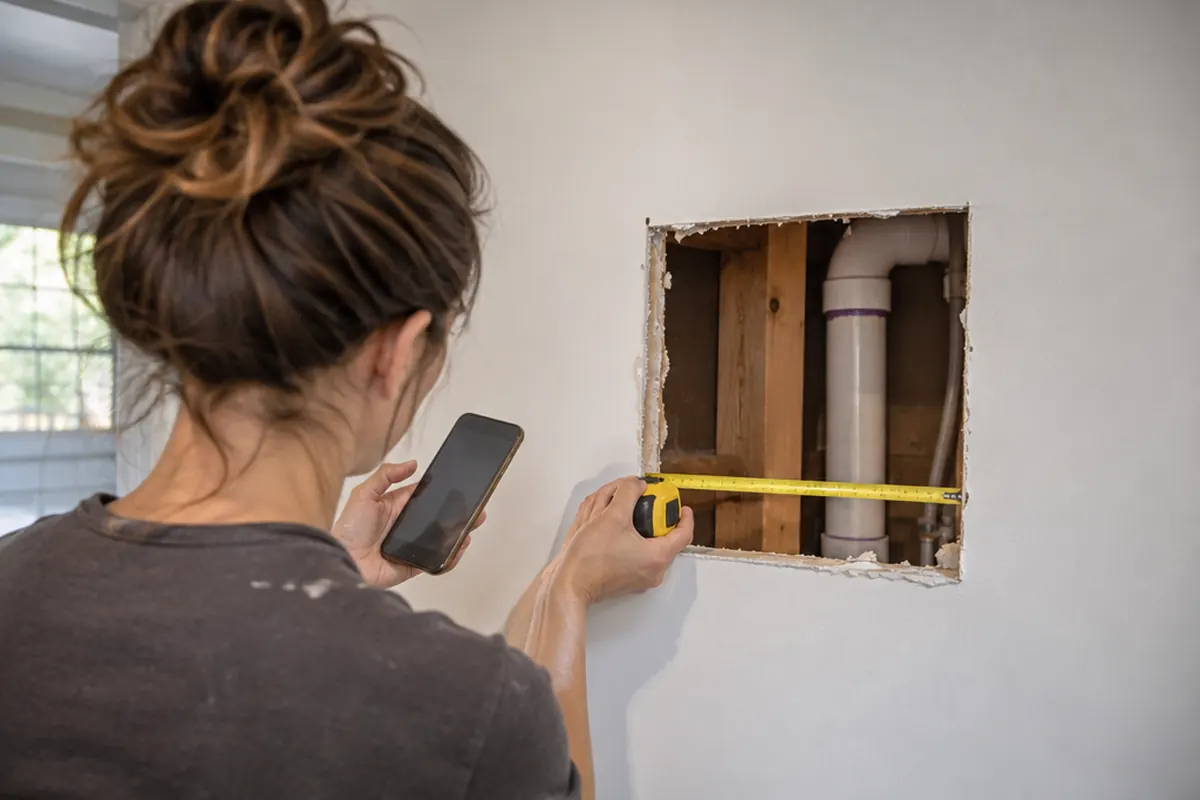
For several locations, send the shortlisted models and quantities through the Contractor Program. A clear schedule makes it easier to discuss different product types without mixing up opening sizes, outside dimensions and packs.