
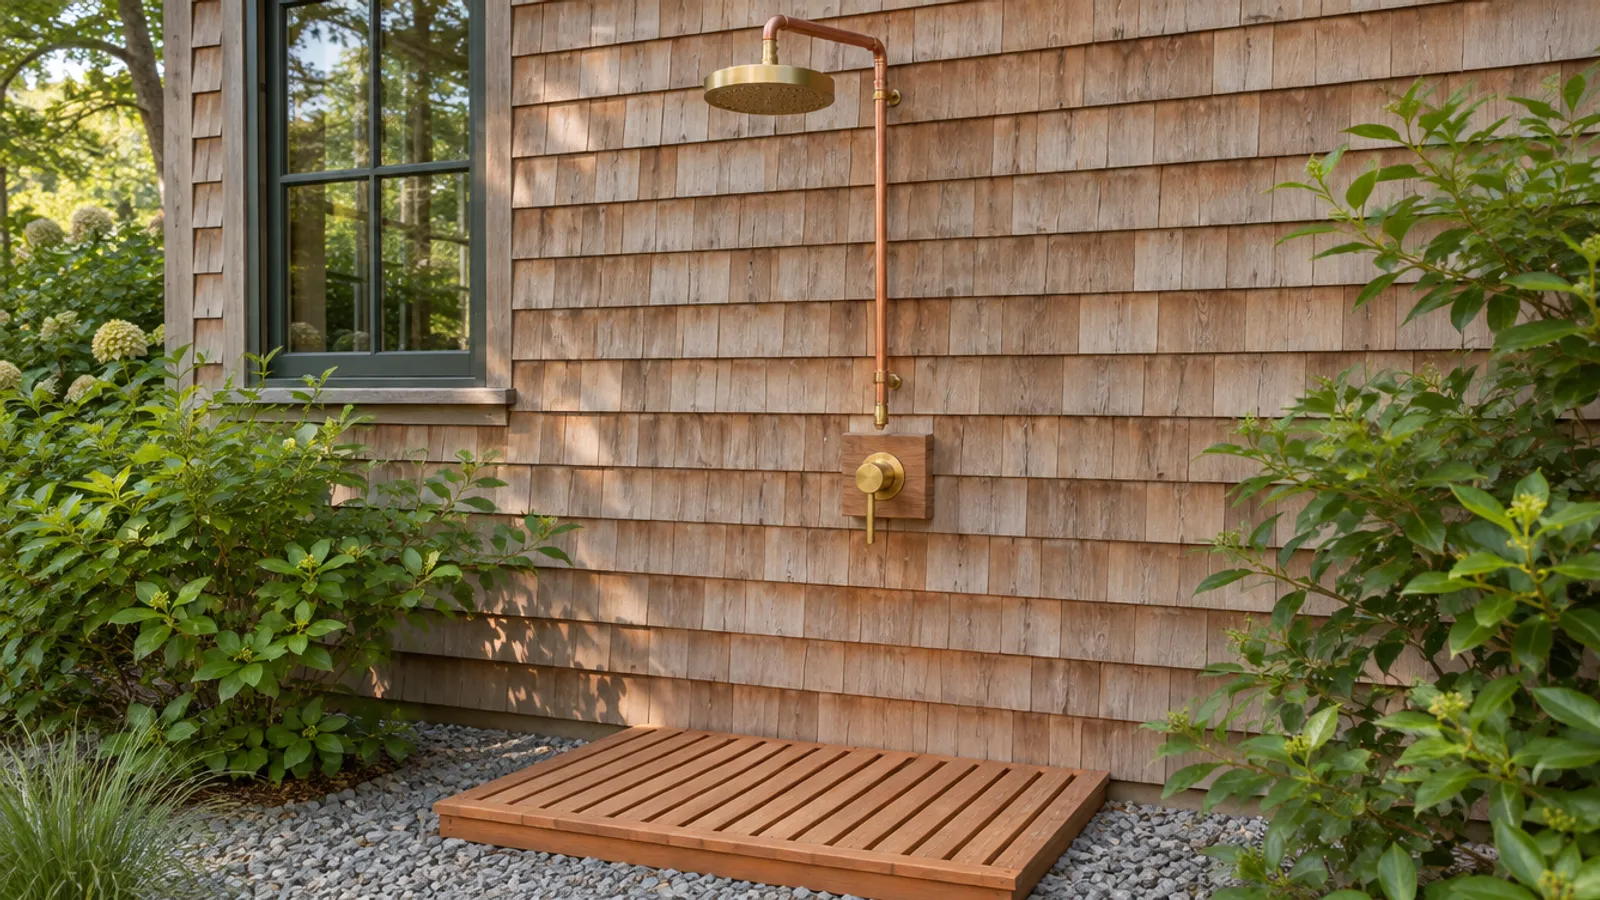
To install an outdoor shower, put it on an exterior wall close to the hot and cold lines. Tee into those lines indoors, with a shut-off and a drain valve on each, and run them through the wall to a pressure-balance mixing valve. Then send the shower water where your local rules allow.
This guide is for homeowners and contractors where winters freeze, which matters because whatever is left in the lines can freeze and crack them. Below is how to install an outdoor shower you can empty before the first freeze, with outdoor shower plumbing you can still reach once a ceiling covers it.
Where should you put an outdoor shower?
Before you look at enclosure ideas, start with the plumbing. A home-improvement guide suggests an exterior wall near a kitchen or bathroom, so a plumber can tap the hot and cold lines of the existing plumbing system. In a remote spot among the trees, expect new outdoor plumbing the whole way, which is more time-consuming work.
One maker's guide favors short runs, since long runs lose more heat, and names the laundry room wall as a practical location, with the supply and waste lines already there. A shower behind the house, it adds, is easier to winterize.
Then weigh what makes it a shower you will enjoy:
- Privacy and view. Check the sightlines from your windows and the neighbors', and decide what shape the surround takes and how elaborate it must be to create privacy.
- The pool or garden. A rinse-off spot by the pool keeps lots of sand out of the house on a summer day, and one by the garden keeps the soil out.
- Drainage. Pick a spot on ground that falls away from the foundation, so no standing water or mud collects against it.
- Materials. The home-improvement guide lists pressure-treated wood, cedar and teak among materials that hold up outdoors. Leave room to dry off, and a hook for towels.
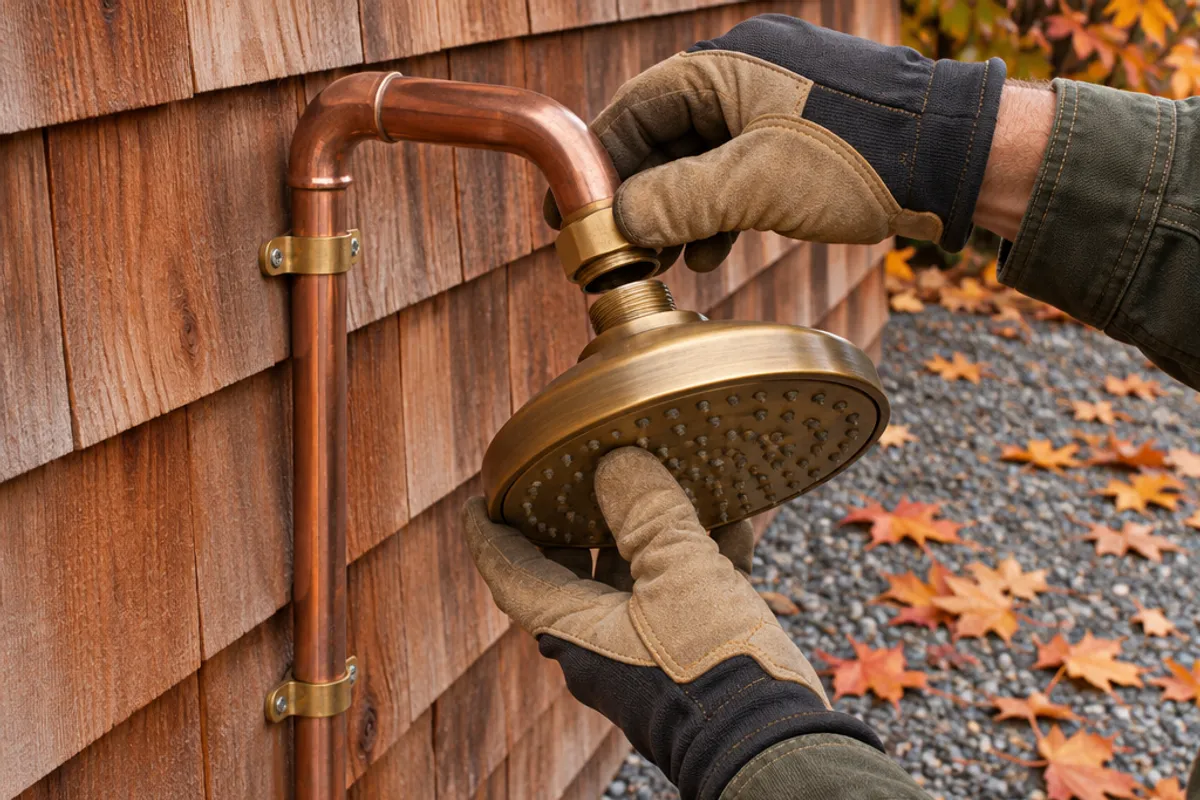
- Fixtures. The same guide likes bronze, copper or brass, and corrosion-resistant stainless steel near the sea, where salty air can pit most metals. A large rain-style head, it says, mimics showering in nature.
How does outdoor shower plumbing bring hot and cold water to the shower head?
For both hot and cold water, the home-improvement guide's plumbing expert recommends a pressure-balance valve to prevent scalding.
In the same publisher's hookup walkthrough, the new mixer replaced the old hose spigot, so the cold supply was already at the wall. For the hot side, the plumber cut into the copper hot pipe, fitted a push-to-connect tee that joins copper to PEX, mounted a service shut-off on the ceiling inside, and ran PEX to the mixer. Outside, flashing tape, exterior caulk and a cap flashing sealed the opening in the wall.
For freezing climates, the maker's guide calls for shut-offs inside heated spaces and drains at the low points, and it says to plan for winter during installation rather than retrofit later, which saves trouble. The home-improvement guide puts a pair of drain valves in the basement and says the pipes from the shut-offs should travel on a downward slope. Run each line on a steady fall to the point where it will be emptied, a drain inside or the drain-down valve at the shower, so it empties thanks to gravity.
| Part | Where it goes | Why |
|---|---|---|
| Shut-off, one per line | Inside, in a heated space | Close the lines before a freeze |
| Drain, one per line | Inside, at a low point | Empty the pipe for winter |
| Pressure-balance mixer | Outside wall | Prevents scalding |
| Riser and head | Outside, made to unscrew | Stored indoors in winter |
| Drain-down valve | Outside, at the shower | Lets the pipes empty |
| Access door or panel | Inside only | Reach the indoor fittings |
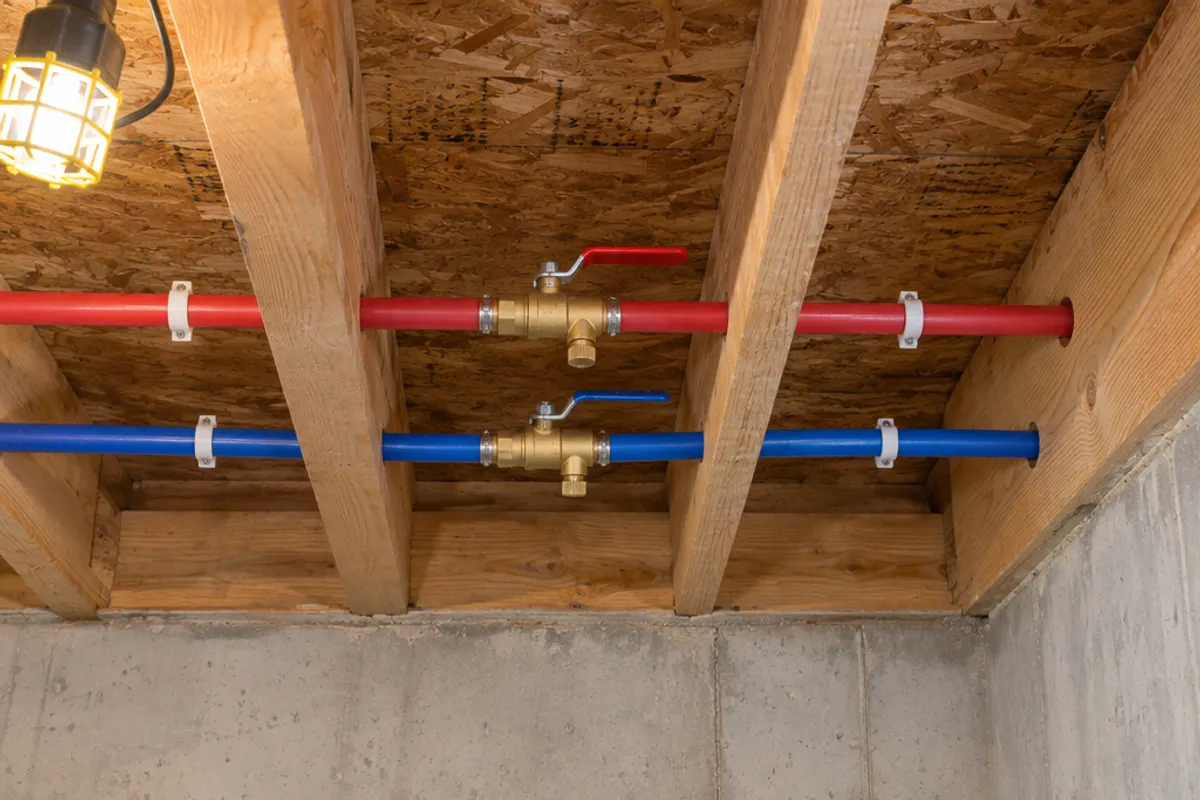
Teeing into the supply lines, soldering copper and opening an exterior wall are jobs for a licensed plumber where your area requires one. Lights or a fan at the shower are electrical work: the maker's guide says outdoor electrical parts typically need GFCI protection, so use a licensed electrician.
How do you drain an outdoor shower?
Where the runoff may go is decided locally, so understand the rules before you dig. The home-improvement guide says most outdoor showers simply drain into the ground, but some cities or states require a sewer connection; the maker's guide notes that some allow the water to irrigate landscaping.
The common options:
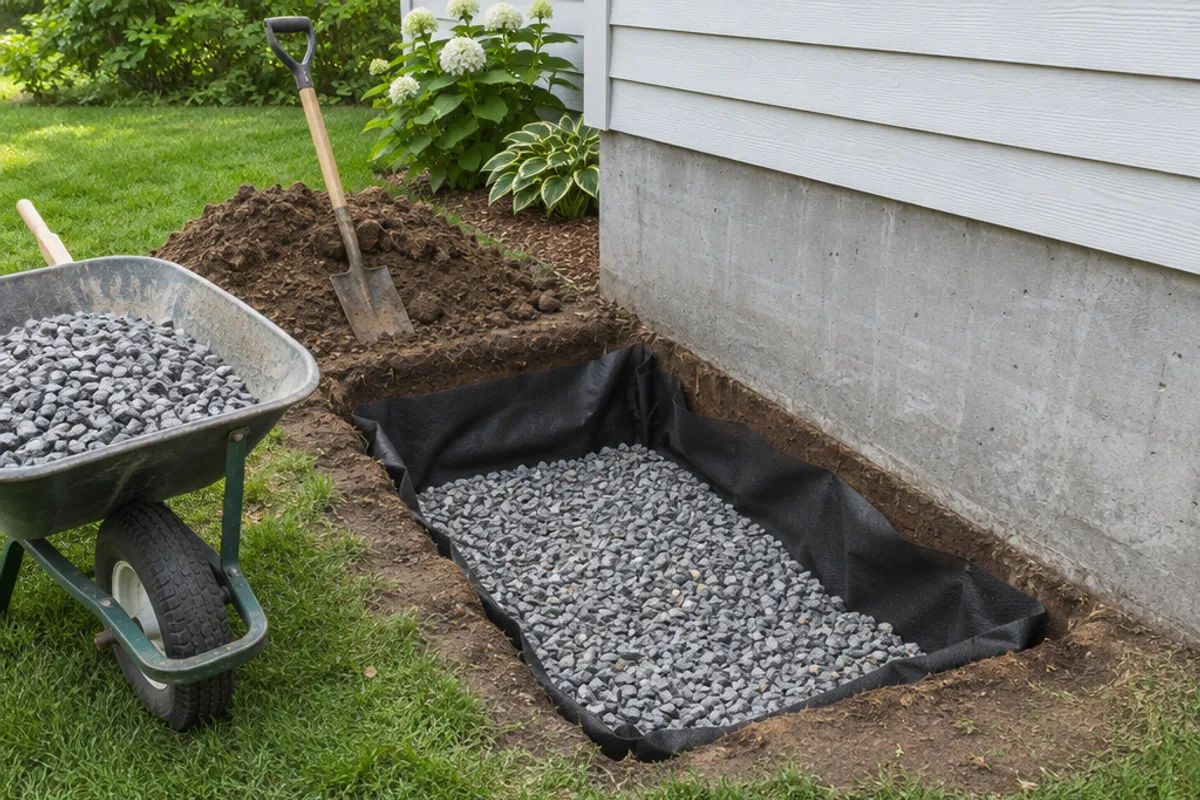
- A gravel bed or dry well. A pit lined with landscape fabric and filled with gravel, under a permeable floor such as pavers, so the water soaks into the soil.
- A pitched floor. Grouted stone or a concrete pan, pitched to create a fall away from the foundation toward a gravel-filled trench.
- A buried pipe. In a second walkthrough, a fabric-wrapped perforated pipe runs in a gravel trench away from the house, out to gravel or a dry well.
That walkthrough says to call 811 before digging; in Canada, use your province's one-call service. Whichever you choose, ensure the water runs away from the foundation.
Do you need a permit or a plumber for outdoor shower installation?
Often one or both. The home-improvement guide's DIY checklist makes checking local codes and getting permits its second step, right after planning the layout, and it recommends a professional for jobs with hot water lines. If you are happy with a cold shower, one on a garden hose from an outdoor faucet is the easy DIY option; hot water means work on the house's supply system. Ask your local building department what your project needs, and don't be surprised if it also asks where the runoff will go.
How do you install an outdoor shower, step by step?
- Check local rules for the permit and the shower water, then gather the materials: pipe, fittings, the mixer and a showerhead.
- Mark the spot on an exterior wall near the supply lines, on ground that falls away from the foundation.
- Shut off the main. Tee into both lines indoors, with a shut-off and a drain on each.
- Run the lines on a steady fall toward their drain point, and seal the wall opening.
- Mount the mixer, riser and head outside; read the mixer maker's instructions first.
- Build the base and its drainage system. Then set the posts, build the shower frame, and finish the surround with the final touches.
- Turn the water on, check every joint for leaks, and watch that it all soaks away completely.
- Before a ceiling closes over the shut-offs, plan how you will reach them.
How do you winterize an outdoor shower?
Each year, before the first freeze, the shower you enjoy all summer has to be emptied. For four-season climates, the home-improvement guide's plumbing expert calls this the biggest concern, because trapped water can freeze and crack the pipes. His routine: turn the water off inside, turn it on outside, and the pipes empty themselves. Outdoor shower winterizing, step by step:
- Close both shut-offs inside.
- Open the mixer and the drain-down valve outside, to let air into the lines.
- Open the drain on each line inside. With both ends open, the water runs out at the lower end; if that end is indoors, catch it in a bucket until it stops.
- Finally, unscrew the riser and showerhead, and store them indoors with any hoses and detachable accessories, as the maker's seasonal care guide advises.
In spring, close the drains, open the shut-offs slowly, one at a time, and check for leaks; a damp spot found on the ceiling under the shut-offs is a sign of a slow one. Before taking the first shower, the seasonal guide suggests running the water for several minutes to flush the lines. Remember to drain any nearby outdoor faucet before winter too: see how to turn off outside water.
How do you keep the indoor shut-offs reachable?
You work those shut-offs and drains at both ends of the outdoor season, so a finished ceiling should not seal them in or leave you to search for them. Unlike a single outdoor faucet, an outdoor shower has two lines, each with a shut-off and a drain. Plan them as one group, side by side, to ensure one opening reaches all four.
- Both lines' fittings in one group: PAD1212 hinged door: maximum service opening 10.35 × 10.35 in (estimated), overall 12 × 12 in
- One fitting on its own: PAD0808 hinged door: maximum service opening 6.35 × 6.35 in, overall 8 × 8 in or SAP0808 spring-loaded panel: fits 6 × 6 to 8 × 8 in openings, overall 10 × 10 in
Measure across both shut-offs, their handles at full swing and the caps. If the group is wider than the opening, the lines can't share one door, so use two, one per line. Our stop and waste guide covers one such fitting behind a ceiling, and the plumbing access panels page shows more options. The door or panel goes indoors only, never outside or in the shower.
Our plastic access panels and doors are not fire-rated, and we publish no water-resistance rating for them, so don't fit one in a fire separation, such as the wall between a house and an attached garage.
If the old hose spigot comes out for the shower, see how to replace an outside faucet.
Measure before you order: our guide on how to measure for an access panel shows how, and the access panel size chart compares every opening and cover.