
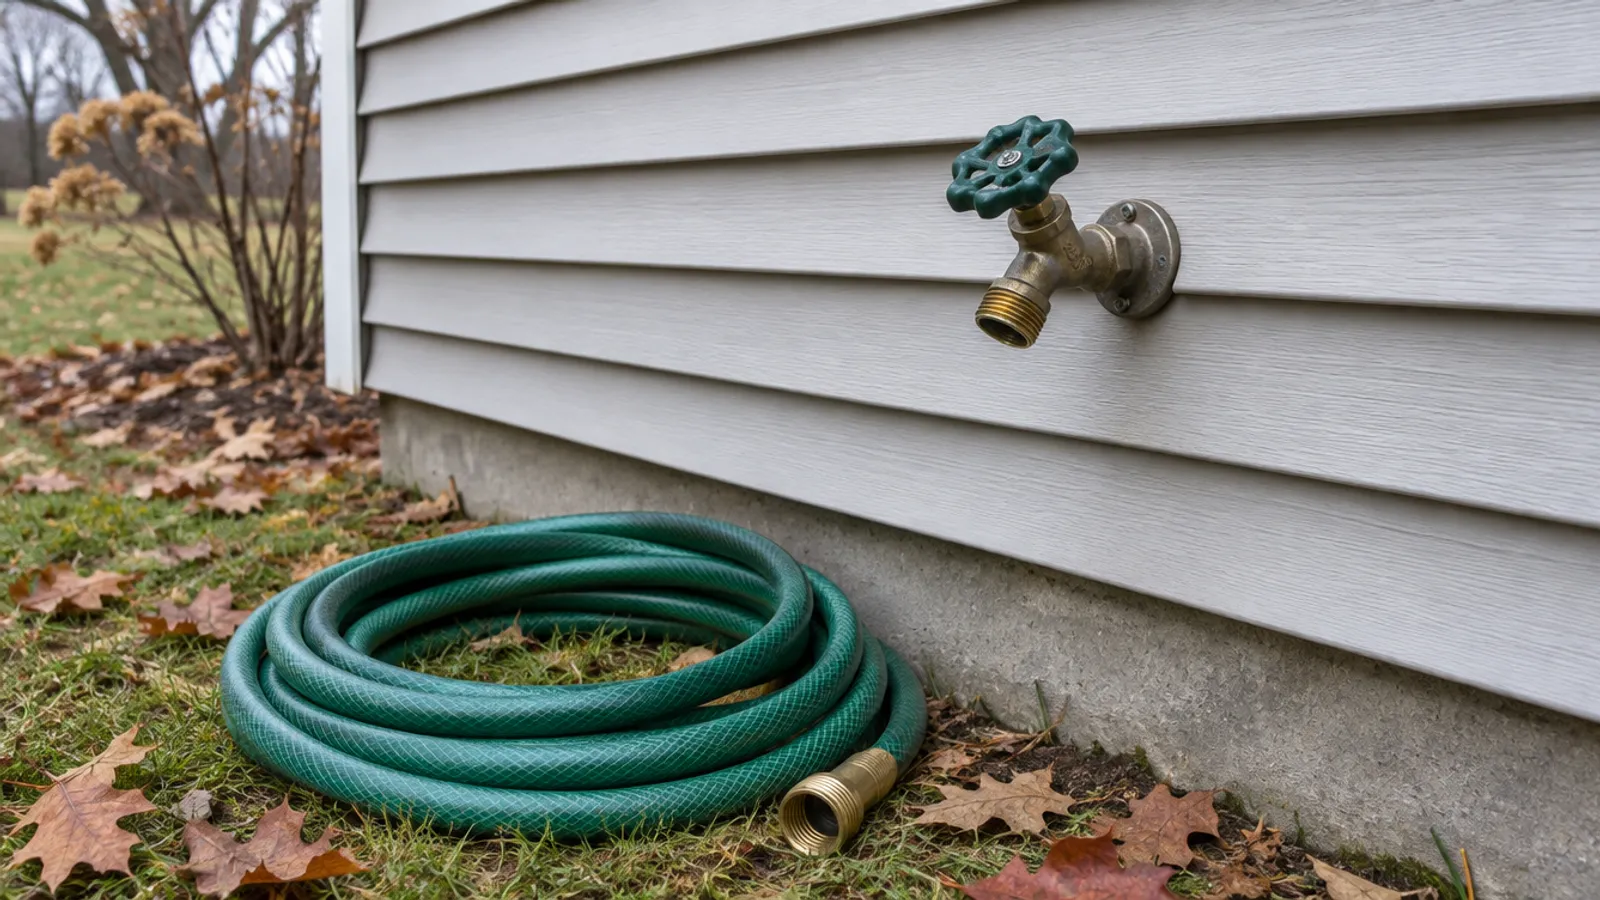
To turn off outside water, find the indoor shutoff valve on the pipe that feeds the outside faucet and close it. Then disconnect the garden hose, open the outdoor faucet to drain the water left in the line, and open the small bleeder cap on the inside valve if it has one. Do it before freezing weather arrives.
An outside faucet goes by many names: hose bibb, sillcock, spigot, exterior faucet or, in much of Canada, outdoor tap. It sits at the coldest point of your plumbing system, where the pipe passes through an exterior wall. Water left in that pipe can freeze, expand and break it, sometimes inside the wall, where the leak may not show until the ice melts or you next turn the tap on. In colder climates, such as Alberta, the Maritimes and the northern US states, shutting off the outdoor water supply is a task for every fall.
Where is the outside water shut-off valve?
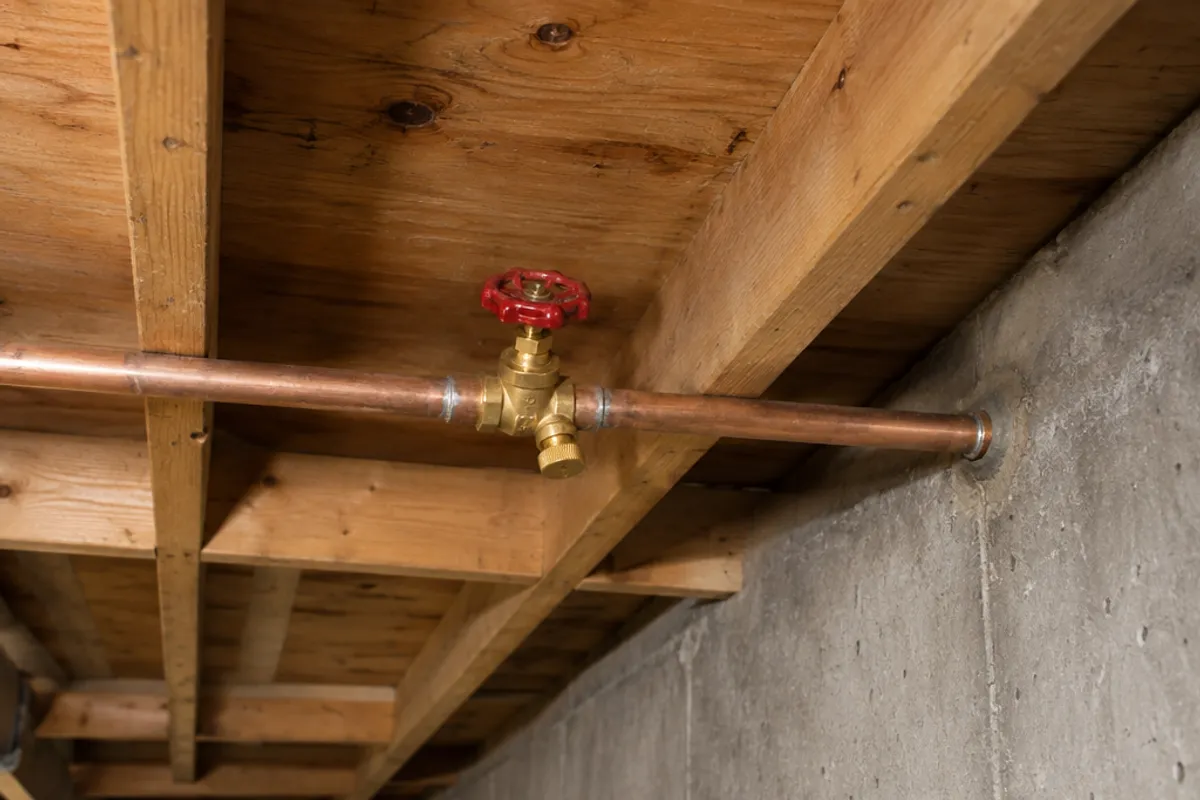
In many houses built for cold winters, each exterior faucet has its own shut-off valve indoors, on the branch of the water supply that feeds it. That branch usually comes off the cold water line. To find its location:
- Start behind the tap. Head inside to the wall directly behind the outdoor faucet. In a house with a basement, the valve is typically up near the ceiling, where the floor framing sits on the foundation.
- Follow the pipe back. Find where the spigot's supply pipe comes through the wall and follow it inward. The valve is often close to the wall, but it can be anywhere on that branch, sometimes near the main shutoff or the water meter.
- Crawl spaces and slab houses. Look in the crawl space near that wall, or in a utility room, laundry room, closet or under a nearby sink. In a manufactured home, start with where the mobile home shut-off valve is.
- Finished basements. If the pipe disappears above a drywall ceiling, look for a ceiling tile, a small door or panel, or a cabinet near the outside wall. If there is none, the valve may be sealed in (see below).
- Two or more spigots. Each may have its own stop valve, or one valve may control several. Check each one once the valve is closed.
This exterior water shutoff is typically a small stop valve with a round handle or a short lever. Many are stop-and-waste valves, with a small bleeder cap on the side for draining the line. Once you've found it, note its location for next fall. If you haven't found your main water supply valve yet, find that too, using our guide to where the water shut-off valve is, which also covers how each type of handle closes.
How do you shut off outside water for winter, step by step?
Turning off the outdoor water supply takes a few simple steps and a few minutes, and it protects the pipe from freezing:
- Disconnect the garden hose, drain it and store it. Remove any splitter, timer or other fitting connected to the spigot too.
- Close the inside valve to cut the water supply to the spigot: turn a round handle clockwise until it stops, or turn a lever a quarter turn so it sits across the pipe. If it is stuck, don't force it, because an old valve can break.
- Go outside and open the outdoor faucet all the way. A little remaining water will run out and then stop. If the water flow keeps going, that valve is not fully closed, or it is not the one that controls this tap.
- Back inside, hold a small bucket under the valve and unscrew its bleeder cap, if it has one. That lets air into the line, so the residual water between the valve and the spigot can drain out. Some will drip from the cap.
- When the dripping stops, screw the cap back on.
- Leave the outside tap open for the winter, as many plumbers do, so any water left in the line has room to drain.
- If you like, fit an insulated cover over the hose bibb. It adds protection in cold weather, but it does not replace the steps above.
Don't forget any other outside faucets, such as one in the garage or on the far side of the house. If water keeps flowing from the bleeder cap, the valve is not holding, or it may have been installed the wrong way round, with the cap on the side that stays under pressure. Screw the cap back on and see our guide to a shut-off valve leaking when closed.
How does a frost-free hose bibb work?
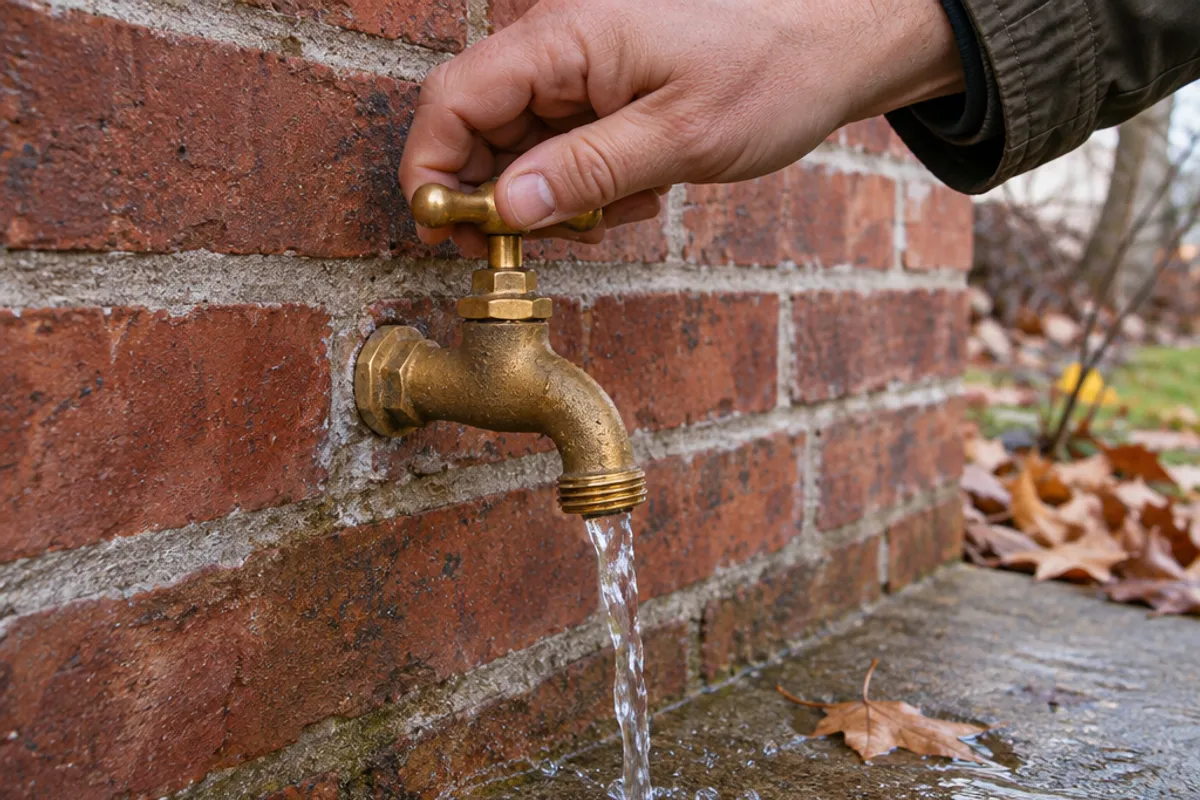
A frost-free hose bibb, often called a frost-free sillcock, has a long body that passes right through the wall. The handle outside turns a long stem, and the part that actually stops the water sits at the inside end, in the heated part of the house. When you close it, the water stops inside, and the body between that point and the spout drains out, because it is installed sloping down toward the outside.
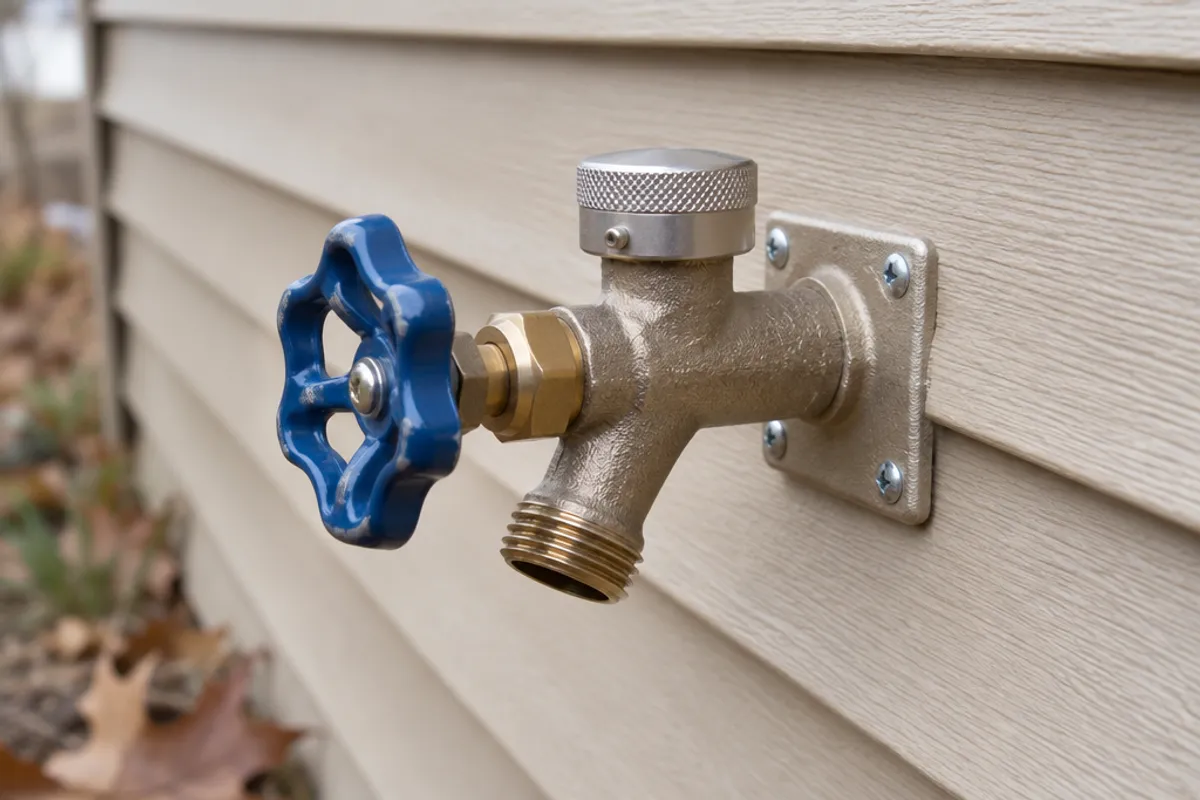
To tell whether yours is frost-free, look at where the supply pipe meets the faucet from inside. On a frost-free model, the pipe joins a long tube some distance in from the outside wall. On a standard hose bibb, the pipe connects right behind the siding, and the water stays in the pipe up to the outside handle. From outside, both kinds can have a flange that sits flush against the siding, so check from inside.
A connected hose is what defeats it. A garden hose left connected holds water in the faucet's body, so it cannot drain. In freezing temperatures that water can freeze in the part inside the wall and split the body. Because the water supply is stopped further in, the split often stays dry all winter and then leaks inside the wall the first time you open the spigot in spring. No matter which kind you have, take the hose off before the first freeze, even if you plan to use it again on a warm day.
If a frost-free model also has an inside valve, close that as well and drain the line as in the steps above.
What if there is no separate shut-off for the outdoor faucet?
Some outside faucets have no shut-off of their own, which you may find in warmer climates where hard freezes are rare. Work through it in this order:
- Check whether it is frost-free. If it is, taking the hose off is the main job, as above.
- For a standard spigot, if no valve on its branch closes it, the main shutoff is the one that does, and that cuts the water supply to the whole house. That suits a house you are leaving for the winter: follow our checklist for winterizing a vacant house. In a house you live in, it is not practical.
- For this winter, take the hose off and fit an insulated cover. It helps, but the pipe behind it stays full of water, so the risk of a split remains.
- Before next winter, have a plumber install an indoor shut-off with a bleeder cap on that branch, or switch to a frost-free spigot.
Fitting a new shut-off or replacing a spigot with a frost-free one means cutting into a supply line, and on copper pipe it often means soldering. Use a licensed plumber where your area requires one, and ask your local building department whether the work needs a permit.
What if the shut-off valve is behind a wall or ceiling?
In a finished basement, the branch to the outside faucet often runs above a drywall ceiling or inside a finished wall, and the shut-off gets sealed in with it. That valve is one you turn every fall and every spring, while you unscrew its bleeder cap and catch the water. A reachable valve also matters in emergency situations, such as a split pipe found in spring. Put a small access door in front of it, not a sheet of drywall. If the ceiling is still open, check with your local building department on access to that valve before it is closed.
From our catalog, for a single small valve:
| Model | Type | Opening | Size on the surface |
|---|---|---|---|
| PAD0606 | Hinged door | Service opening and cut-out 4.35 × 4.35 in | 6 × 6 in overall |
| PAD0808 | Hinged door | Service opening and cut-out 6.35 × 6.35 in | 8 × 8 in overall |
| SAP0808 | Removable spring-loaded panel | Fits openings from 6 × 6 to 8 × 8 in | 10 × 10 in cover |
Measure before you choose. You need room for your hand to turn the handle all the way, to unscrew the bleeder cap, and to hold a cloth or a small pan under it. The smallest door suits only a small valve sitting just behind the surface; for most of these valves the larger door gives your hand more room. A hinged door stays attached and swings down out of the way in a ceiling, which helps when your other hand is busy. Its cut-out is the size of its service opening, with rounded corners, and the door's product page has a full-size template. The frame sits on the surface and is screwed on, and the screws come with the door.
Our guides on how to measure for an access panel and installing one in a ceiling cover the cut. Compare every door on the access doors page, or options for pipes and valves on the plumbing access panels page.
How do you turn the outside water back on in spring?
- Close the outdoor tap, and check that the bleeder cap on the inside valve is screwed on.
- Open the inside valve slowly, so the line refills gently, and leave the valve open.
- Watch the valve and the pipe for a few minutes for drips.
- Open the spigot. While it runs, have someone look at the wall or ceiling behind it for water. If a pipe burst over the winter, or a frost-free body split, this is when it leaks.
- If you see water inside, close the inside valve immediately to prevent extensive water damage, and call a plumber.
Burst pipes inside a finished wall can follow a missed fall task, so a few minutes now can save a repair later. If the house will sit empty all winter, the outside faucets are one line on a longer list: see how to winterize a vacant house.
Measure before you order: our guide on how to measure for an access panel shows how, and the access panel size chart compares every opening and cover.