
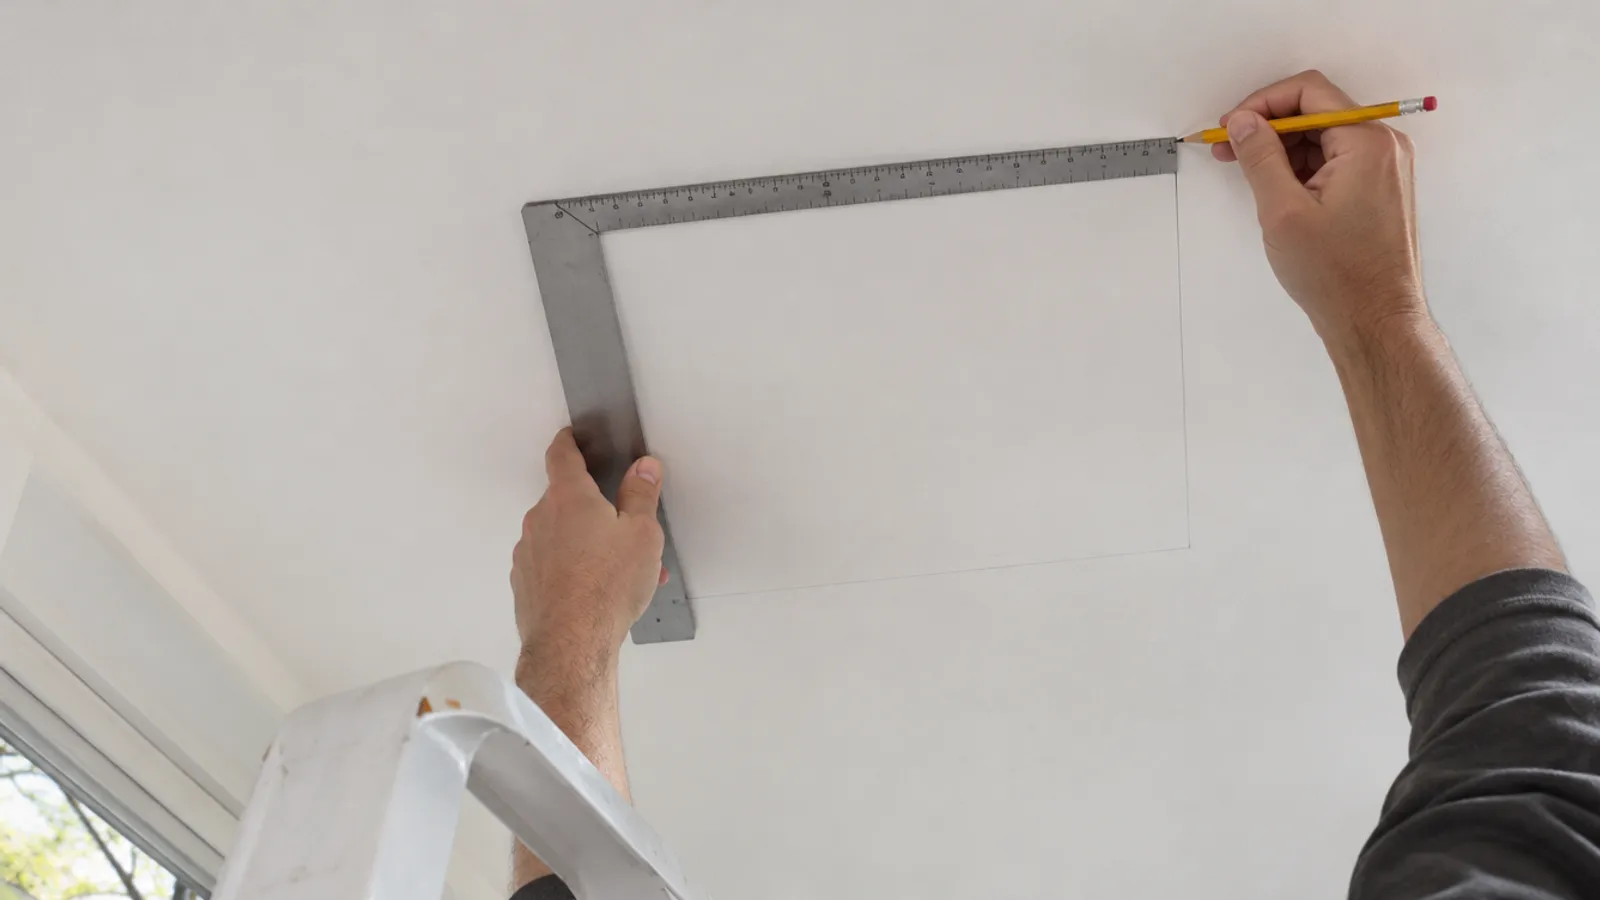
To install an access panel in a drywall ceiling, check what is above it, find the joists, and mark an opening between them sized to your exact model. Cut it from a stable ladder with the cut-out piece supported, then fit the panel or door as its instructions describe. To climb into an attic, you need an attic hatch instead.
This guide is for a homeowner, plumber or electrician providing easy access to a shut-off valve, a plumbing cleanout, a junction box or an HVAC damper above a drywall ceiling. It follows the installation process in order, from choosing the opening to the test fit, then covers the insulation above.
Is it a service panel or an attic hatch?
It is a service panel if you only need to reach something above the ceiling, and an attic hatch if you need to climb through. A service access panel lets you reach the plumbing, wiring or HVAC parts above the ceiling: a valve, a cleanout, a damper or a junction box you need to keep reachable.
None of our access panels or doors is made as an attic hatch. The largest opening in our range belongs to the SAP1414 spring-loaded panel: fits 10 × 10 to 14 × 14 in openings, overall 16 × 16 in.
What tools do you need, and does the ceiling type matter?
You need the same tools as for a wall, plus a stable ladder and eye protection for working overhead. The ceiling type matters: these steps are for drywall (gypsum board) fixed to wood framing.
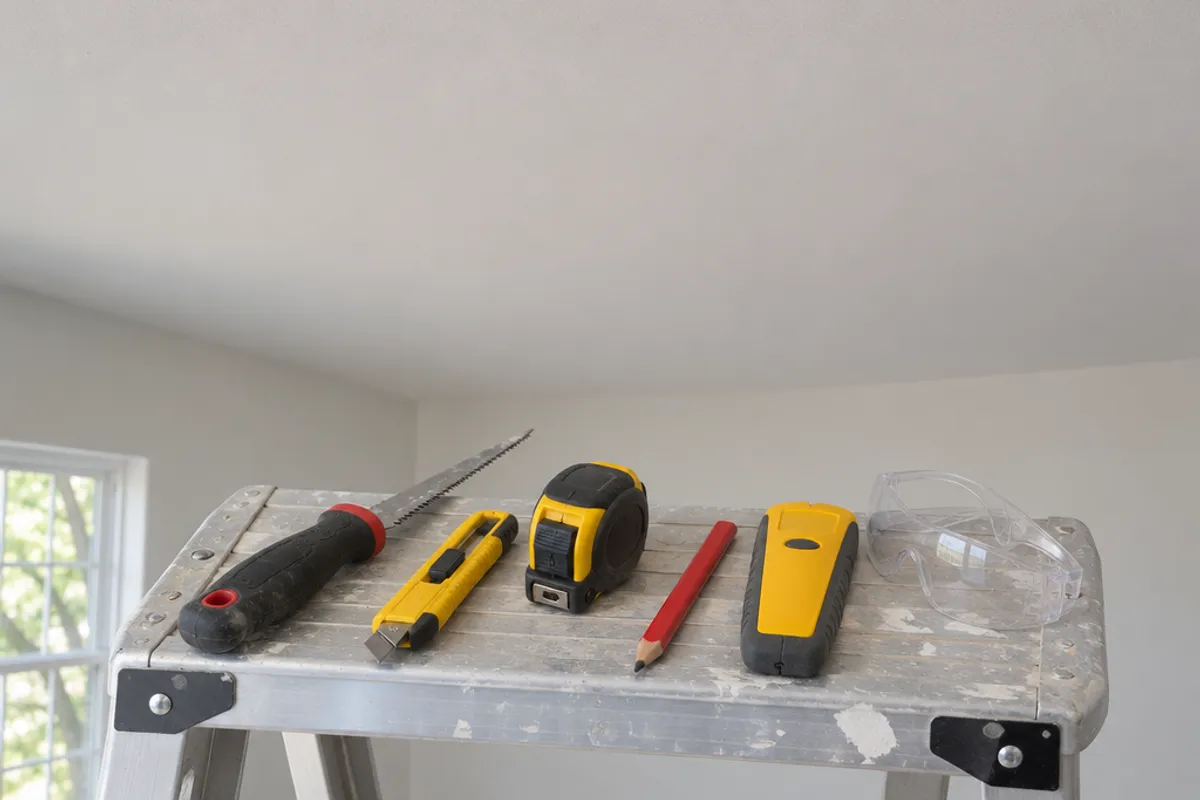
The full list:
- a stable stepladder or work platform, set so you can reach the whole outline without leaning
- safety glasses and a dust mask
- a stud finder, a flashlight and a small inspection mirror
- a utility knife with a fresh blade and a drywall jab saw
- a pencil, a tape measure and a carpenter's square
- painter's tape, and a helper if you can get one, to support the piece you cut out
- a drop cloth
- the access panel or door you are installing, with its instructions
Have the product in hand, or at least its exact model and listed opening dimensions, before you mark anything: you cannot make a hole smaller once it is cut. Review its installation instructions before you begin, because they set the opening and any room it needs behind the board.
A suspended grid ceiling already has lift-out tiles, so you reach the space above without cutting. Plaster, plank or concrete ceilings need other tools and methods, so get advice from someone with that expertise before you cut one.
Should a ceiling access panel be spring-loaded or a hinged panel door?
Choose a hinged door if you will open it often, because it swings down and stays attached, and a spring-loaded panel if you open it rarely and want the whole opening you cut. On a ceiling, gravity decides more than it does on a wall, and spring-loaded ceiling panels and hinged doors handle it differently:
| On a ceiling | Spring-loaded panel | Hinged door |
|---|---|---|
| When you open it | The cover comes out into your hand | The door swings down and stays attached to its frame |
| What is fixed to the ceiling | Nothing; the spring is part of the cover | The frame, screwed on over the cut-out |
| The hole you cut | Any size inside the model's listed range | The door's own cut-out, traced from its template |
| Room needed below | None once it is closed | Space for the door to swing down |
| Suits | Access you need now and then | Routine maintenance, such as a valve you check every year |
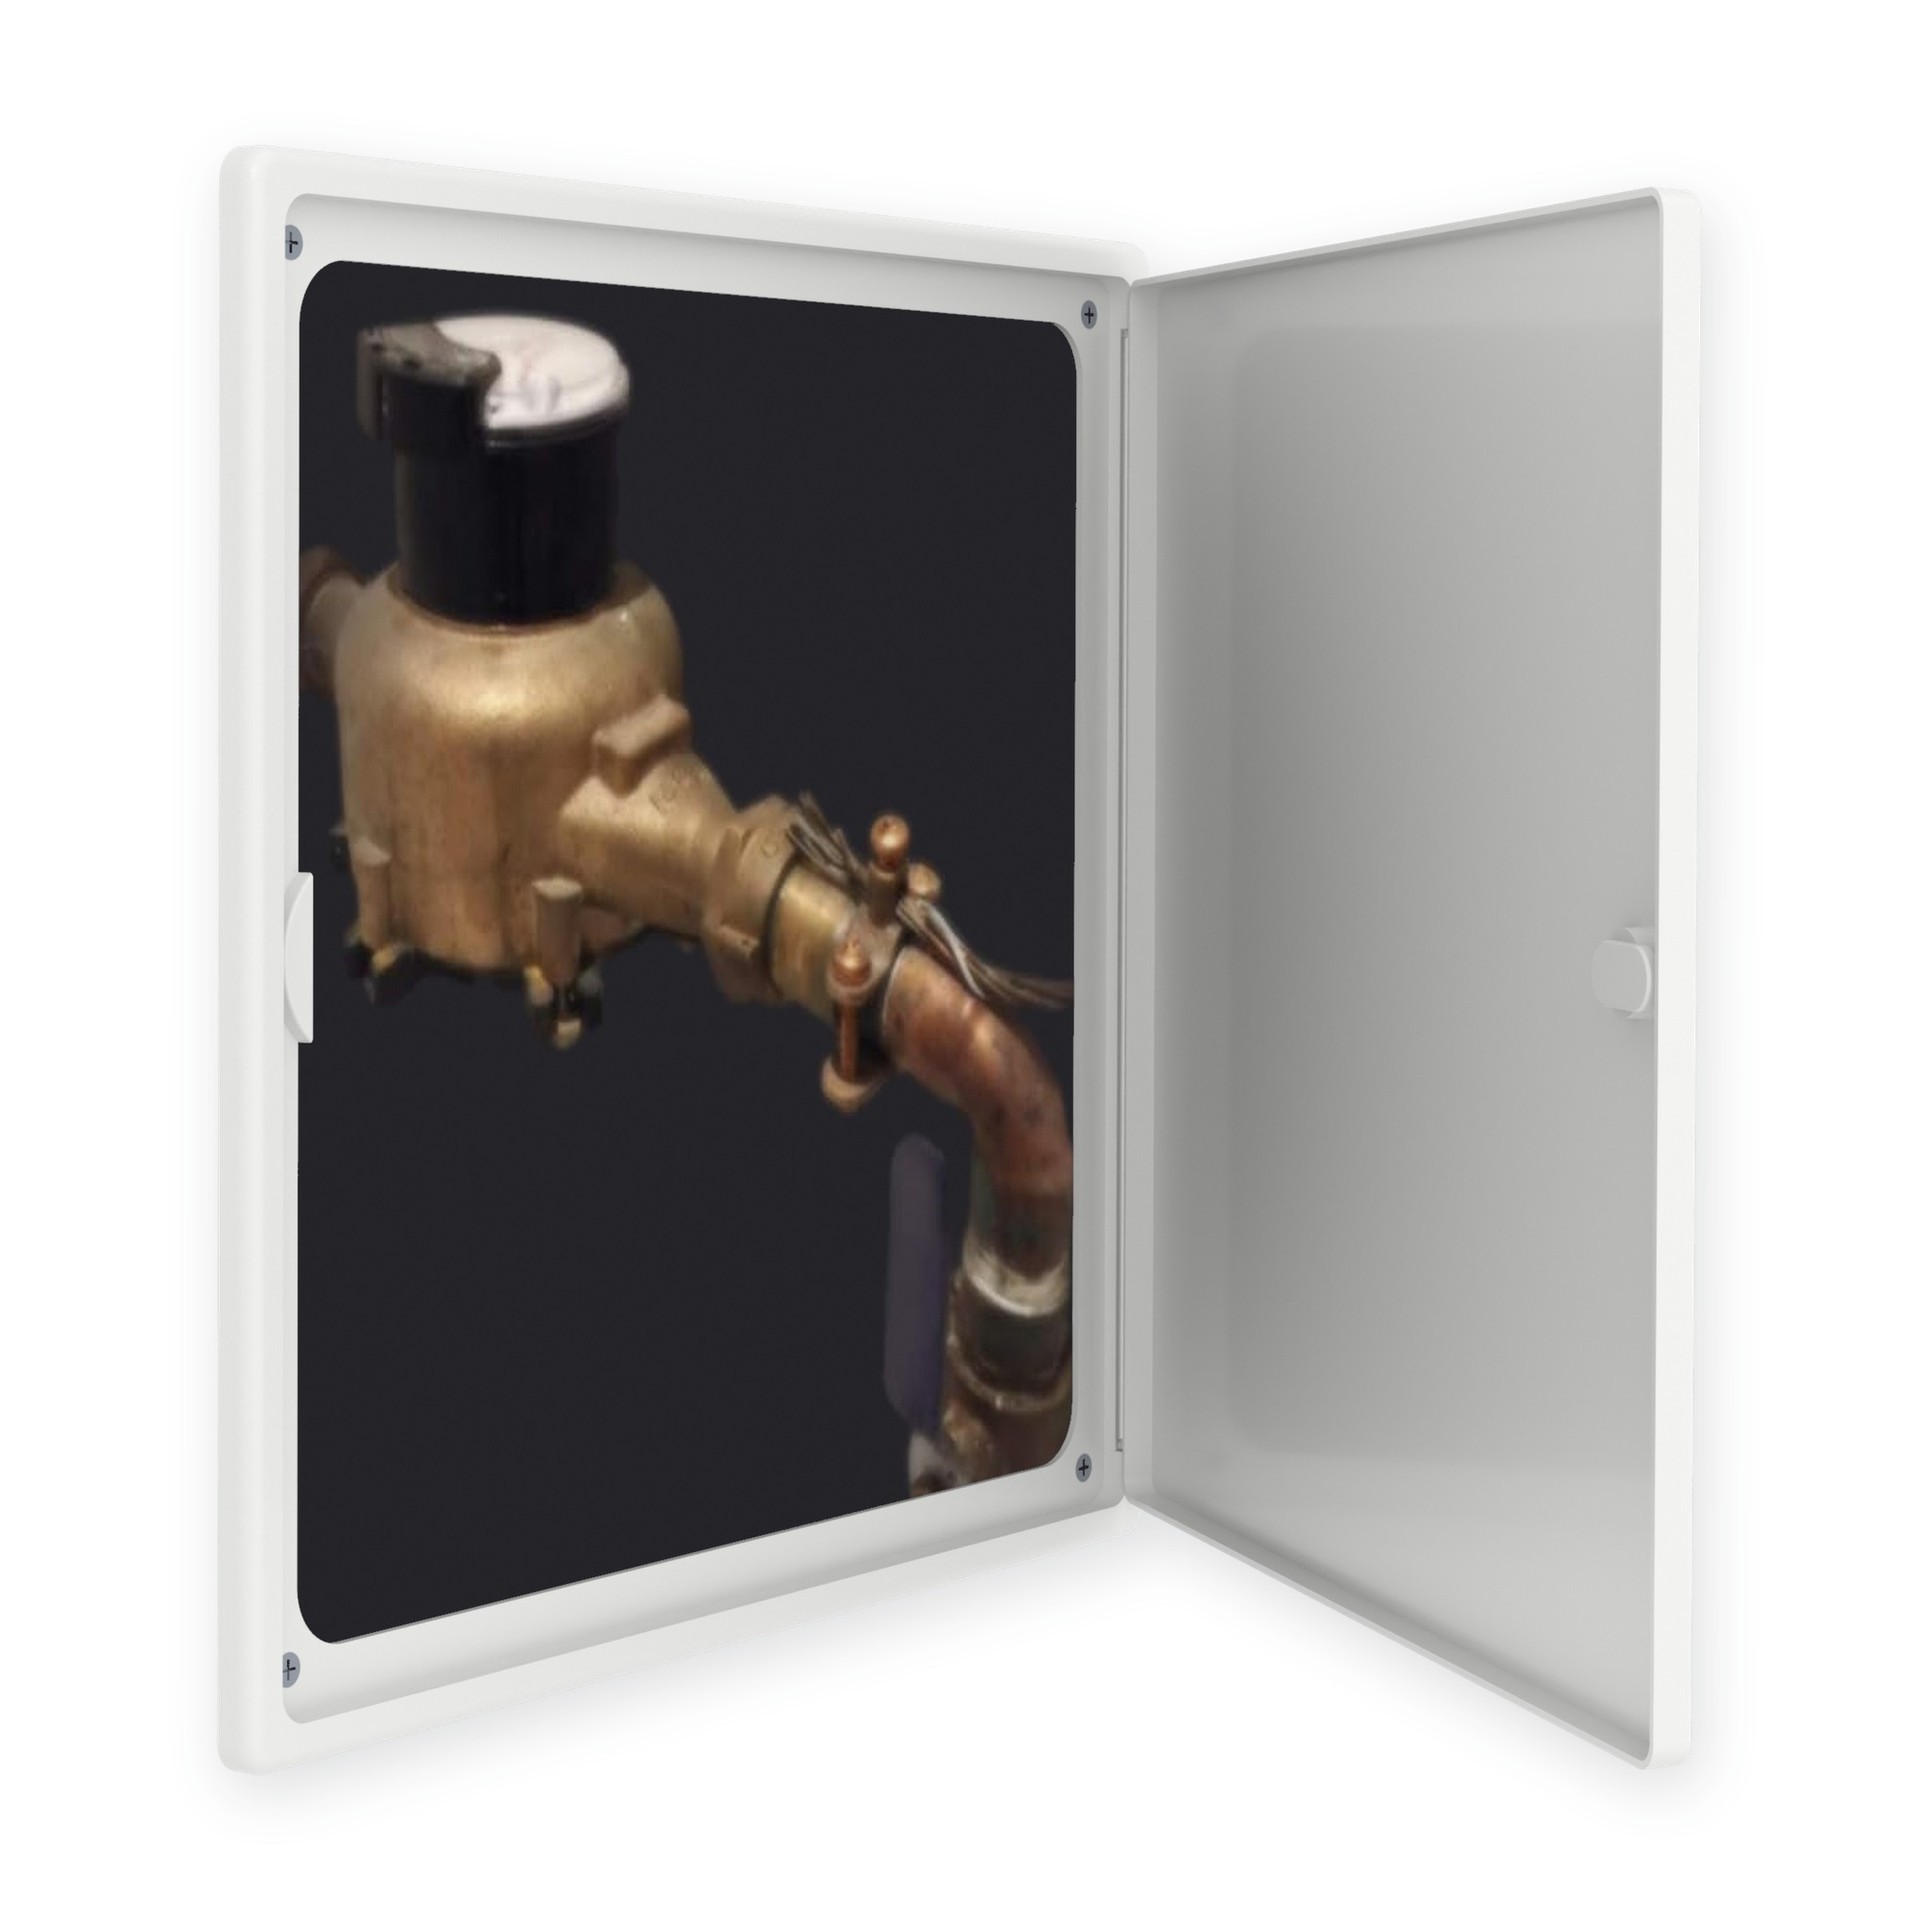
Easy-Exs · PAD1212
12x12 in Plastic Drywall Access Panel with Hinged Door
Rated 4.4 out of 5, 2,789 ratings online
Maximum service opening 10.35 × 10.35 in (estimated) · Overall 12 × 12 in
USD $13.99 each
- 10+ panels: $10.99 each
- 80+ panels: $9.49 each
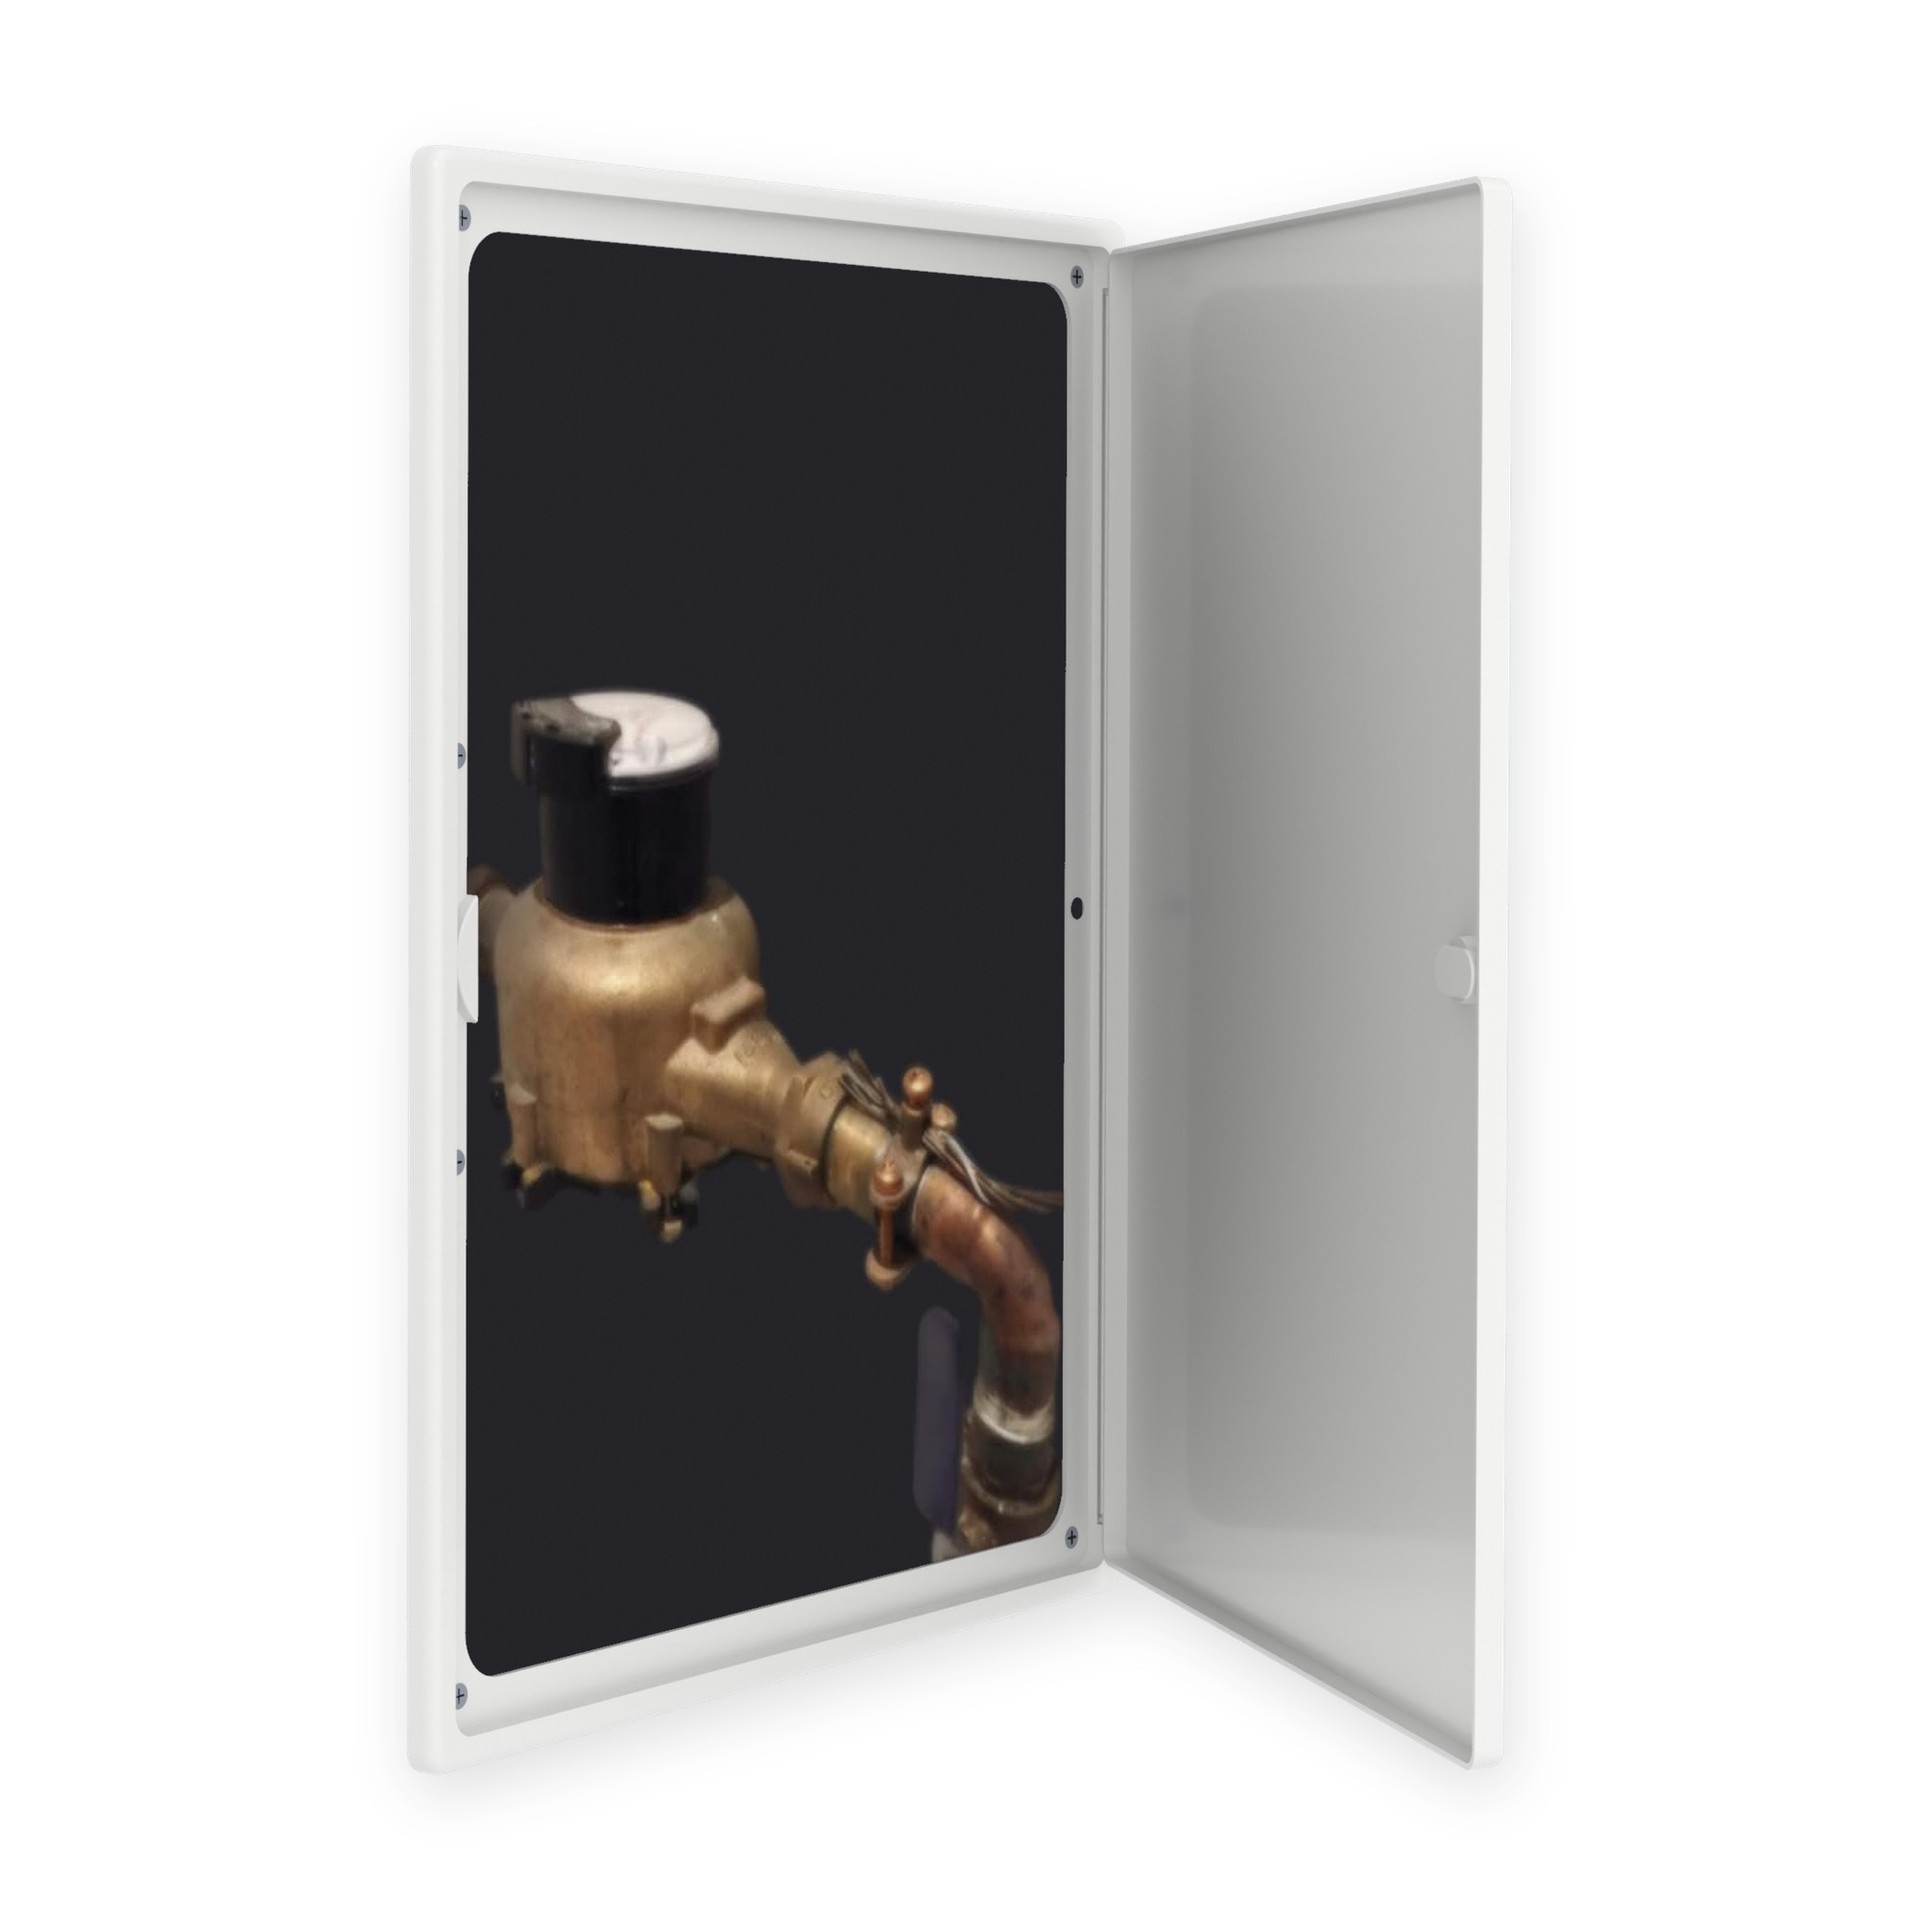
Easy-Exs · PAD1216
12x16 in Plastic Drywall Access Panel with Hinged Door
Rated 4.4 out of 5, 2,789 ratings online
Maximum service opening 10.35 × 14.35 in (estimated) · Overall 12 × 16 in
USD $16.49 each
- 10+ panels: $13.99 each
- 80+ panels: $10.99 each
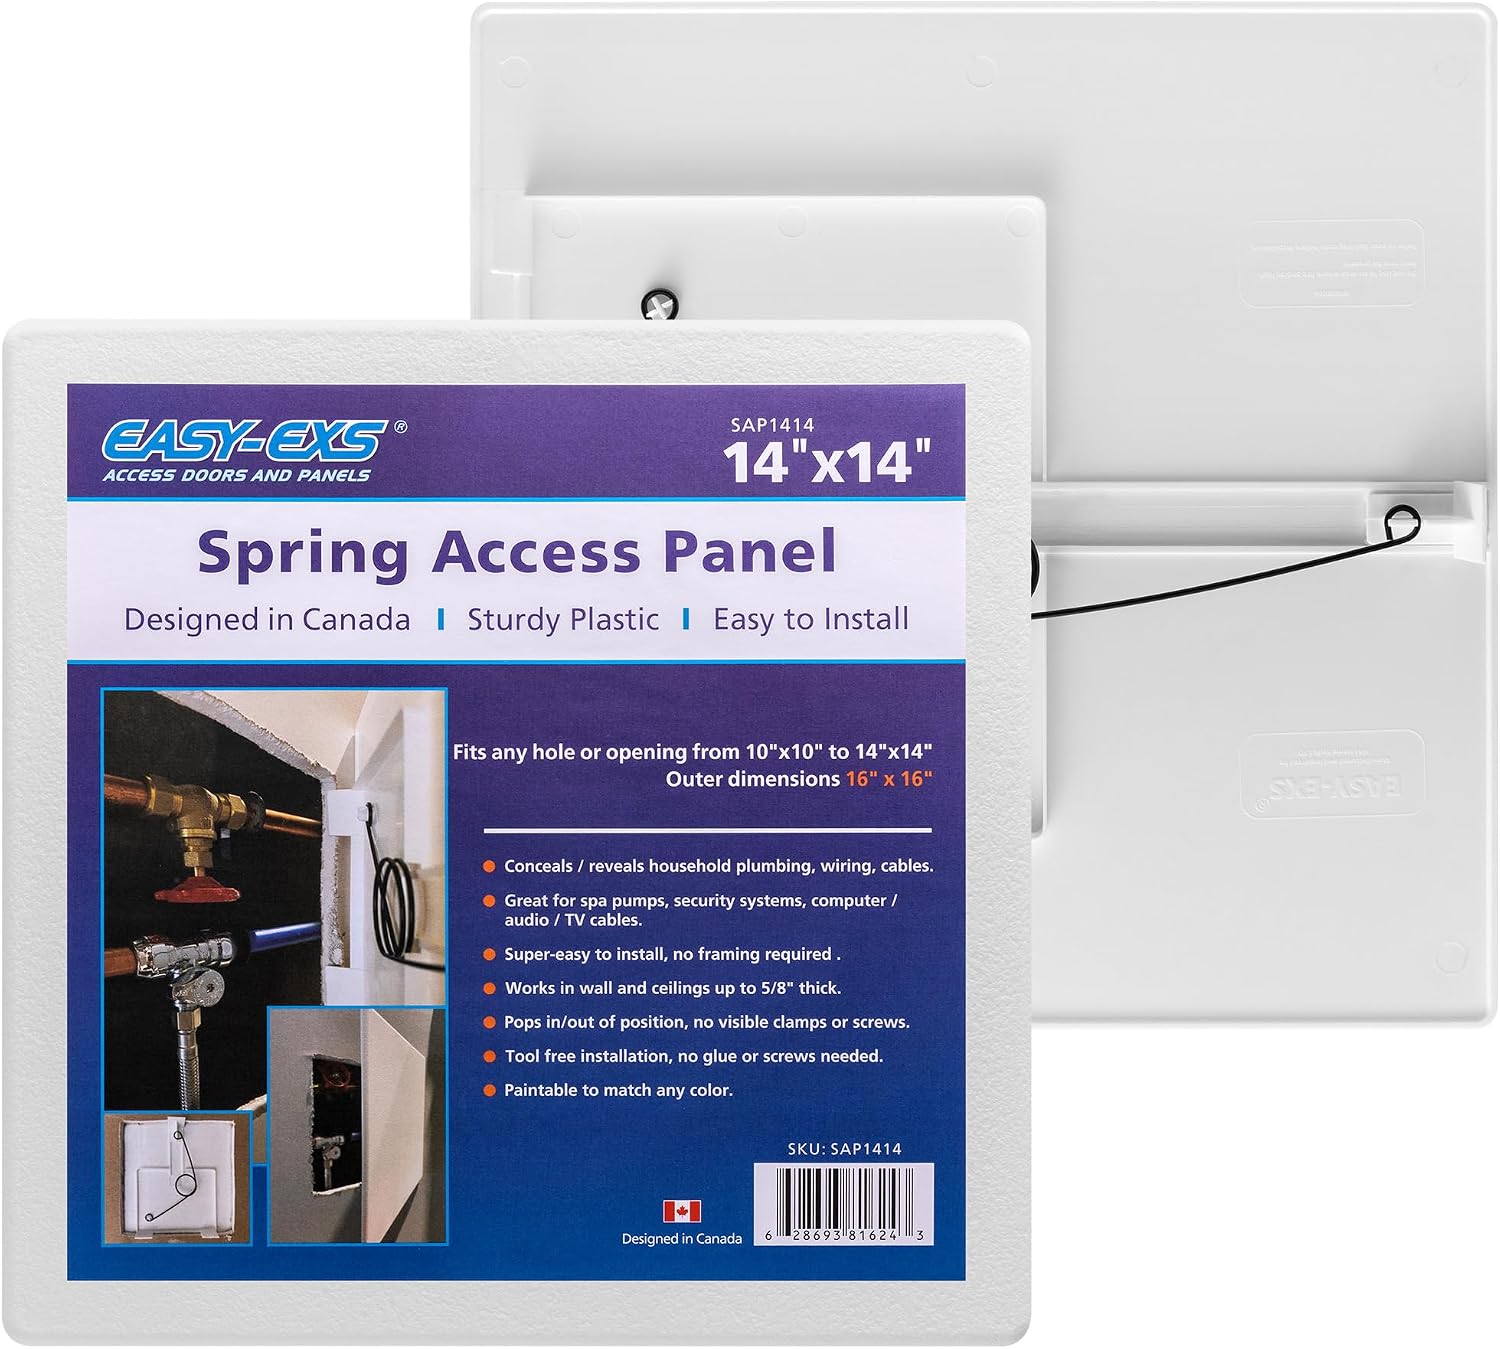
Easy-Exs · SAP1414
14x14 in Spring-Loaded Plastic Drywall Access Panel
Rated 4.6 out of 5, 718 ratings online
Fits 10 × 10 to 14 × 14 in openings · Overall 16 × 16 in
USD $18.49 each
- 10+ panels: $16.49 each
- 80+ panels: $14.99 each
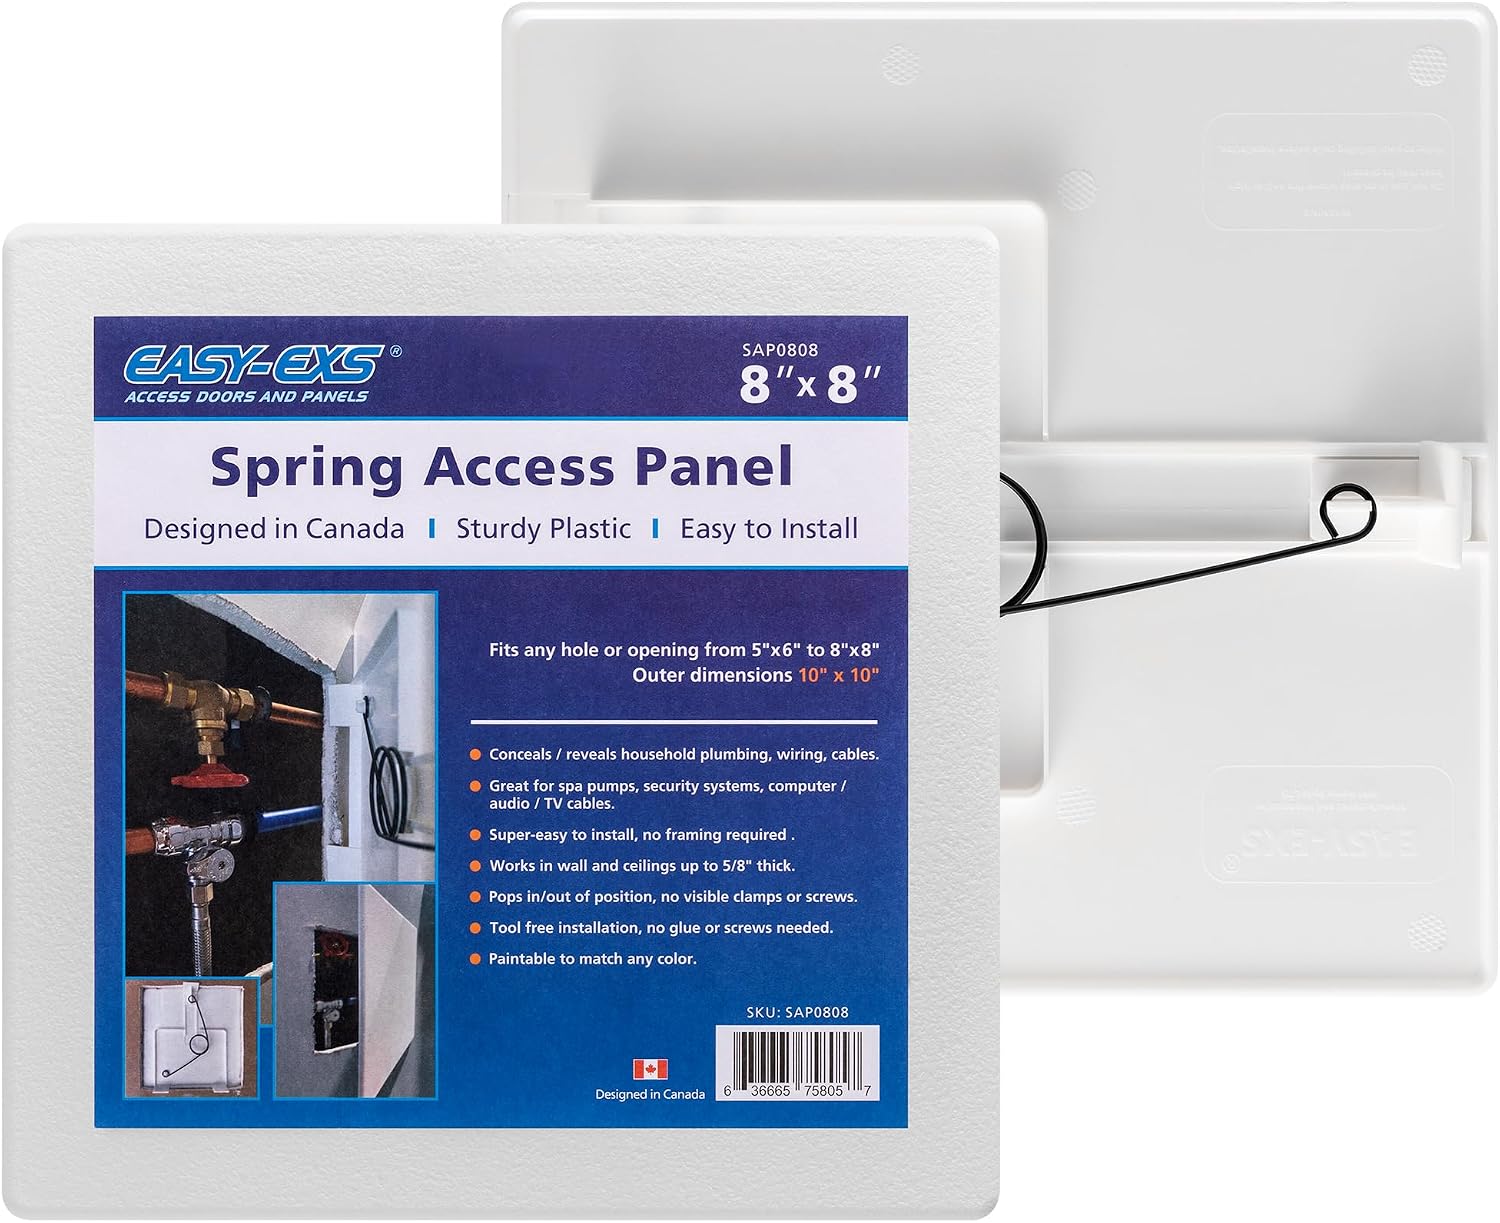
Easy-Exs · SAP0808
8x8 in Spring-Loaded Plastic Drywall Access Panel
Rated 4.6 out of 5, 718 ratings online
Fits 6 × 6 to 8 × 8 in openings · Overall 10 × 10 in
USD $9.49 each
- 10+ panels: $8.49 each
- 80+ panels: $7.49 each
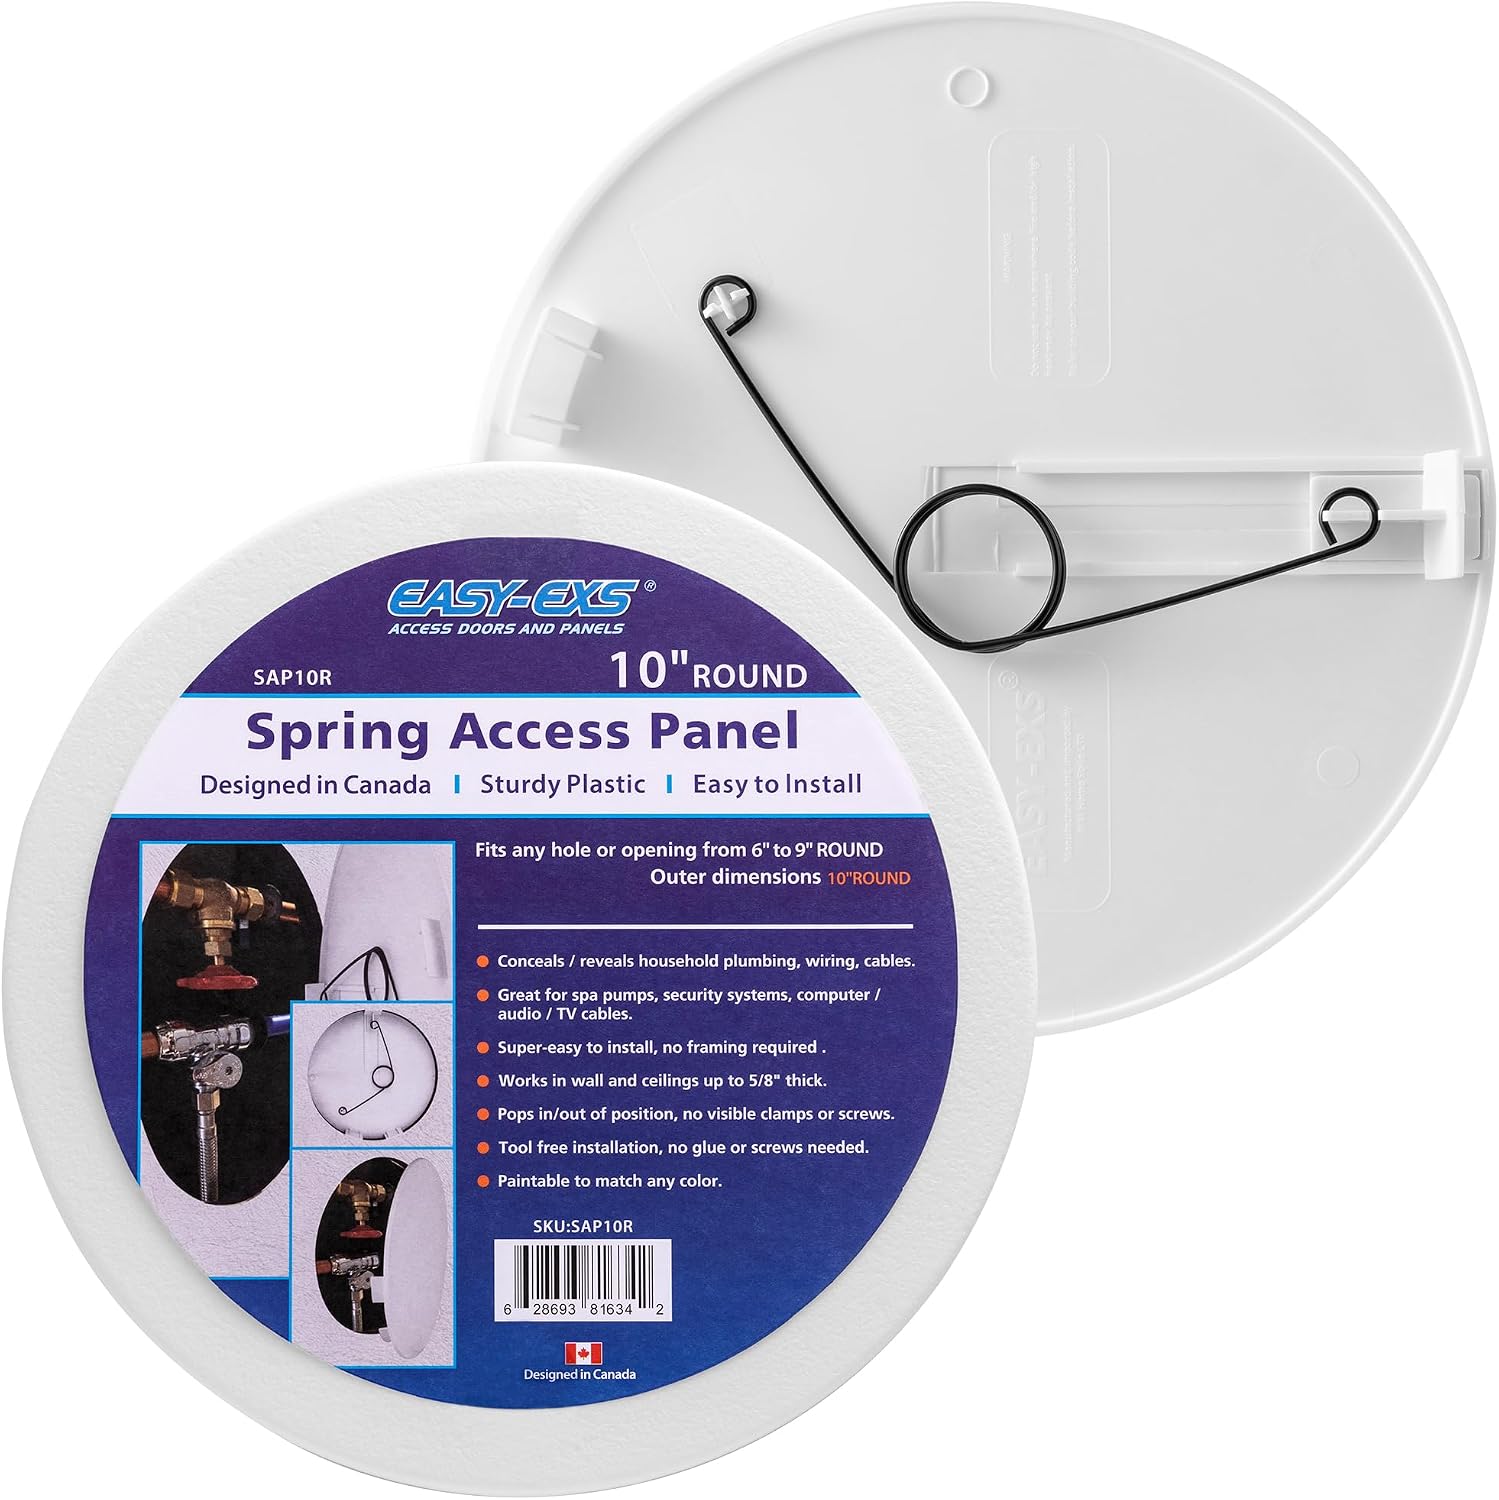
Easy-Exs · SAP10R
10 in Round Spring-Loaded Access Panel for 6–9 in Openings
Rated 4.5 out of 5, 243 ratings online
Fits 6–9 in round openings · Overall 10 in diameter
USD $10.99 each
- 10+ panels: $9.49 each
- 80+ panels: $7.49 each
The ceiling access panels page compares them for ceilings, and our guide to spring-loaded panels and hinged access doors explores the trade-offs in general.
What fits between the ceiling joists?
Any access panel whose opening fits inside the clear gap between two neighboring joists will fit, so measure that gap, face to face, rather than assume a figure. The cover or frame can overlap the framing, because it sits on the drywall surface. Compare the Opening column with your measurement:
| Model | Type | Opening | Overall size |
|---|---|---|---|
| SAP0808 | spring-loaded panel | Fits 6 × 6 to 8 × 8 in openings | 10 × 10 in |
| SAP1414 | spring-loaded panel | Fits 10 × 10 to 14 × 14 in openings | 16 × 16 in |
| SAP10R | round cover | Fits 6–9 in round openings | 10 in diameter |
| PAD0808 | hinged door | Maximum service opening 6.35 × 6.35 in | 8 × 8 in |
| PAD1212 | hinged door | Maximum service opening 10.35 × 10.35 in (estimated) | 12 × 12 in |
| PAD1216 | hinged door | Maximum service opening 10.35 × 14.35 in (estimated) | 12 × 16 in |
Larger panels need the widest gap, and a spring-loaded cover also needs room in the cavity for its spring. Install a rectangular door with its long side along the framing. If nothing fits the gap, choose a smaller model; never cut or notch a joist to make room.
How to install access panels in ceilings, step by step
The installation process takes six steps: find the joists, check what is above, mark the panel position, cut the drywall, install the access panel or door, and test fit it. Step 1 and step 2 happen before any blade touches the ceiling.
Step 1: Find the joists from below
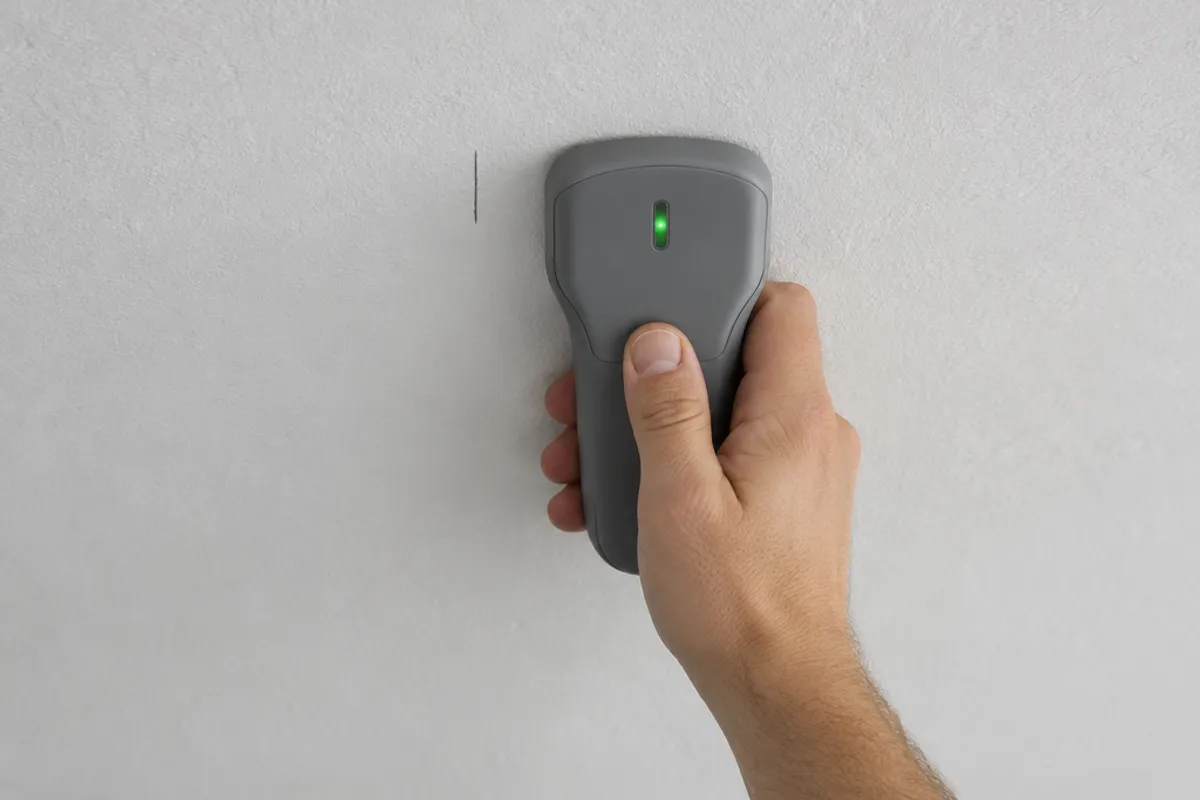
Use a stud finder to locate the hidden ceiling joists: slide it slowly across the area and lightly mark the edges of the joists on each side of the spot you need to reach. Confirm their locations from the attic, measuring each joist's position from an outside wall, or through the inspection hole in step 2.
Step 2: Check what is above the drywall
- If you can get into the space above, go there first. Find what you need to reach, measure its position from something you can also find from below, for example an outside wall, and look for electrical wiring, ducts and plumbing near it.
- Look for clues from below: light fixtures, fans, smoke alarms, vents, and a bathroom or kitchen on the floor above, whose plumbing may run through the ceiling.
- Turning off the power is essential near electrical wiring: switch off the circuits feeding nearby fixtures at the breaker before you cut.
- Cut a small inspection hole in the middle of the planned opening, where the waste piece comes out anyway. Inspect the cavity with a flashlight and a mirror, then insert a bent piece of stiff wire and turn it to feel for anything near your outline. While the hole is open, measure the board's thickness and the gap to the joists.
- Move the outline if framing, a cable, pipe or duct sits at its edge.
If what you need to reach sits over a joist, move the opening to one side or choose a model whose opening fits beside it. If you find wiring you do not recognize, a gas line or framing you would have to cut, stop and get a qualified tradesperson.
If your inspection hole ends up in the wrong place, close it with a small round cover, such as the SAP50 round cover: fits 3.75–4 in round openings (smallest estimated), overall 5 in diameter.
Step 3: Mark the panel position
Center the panel position under the valve, plumbing connection or box you need to reach, for easy access to it. Keep it inside one bay and clear of light fixtures and smoke alarms, with the inspection hole inside the outline. Draw it at the size your model calls for:
- Spring-loaded panel: a square inside its listed range (the Opening column above), drawn with the carpenter's square.
- Round cover: a circle inside its listed range; trace a round object of the right size.
- Hinged door: its cut-out, traced from the full-size template on its product page so the hole matches the frame. Decide now which way the panel door will hang open, with the latch on the side you reach from the ladder.
Check the two diagonals of a square outline: when they match, the corners are square.
Step 4: Cut the drywall safely overhead
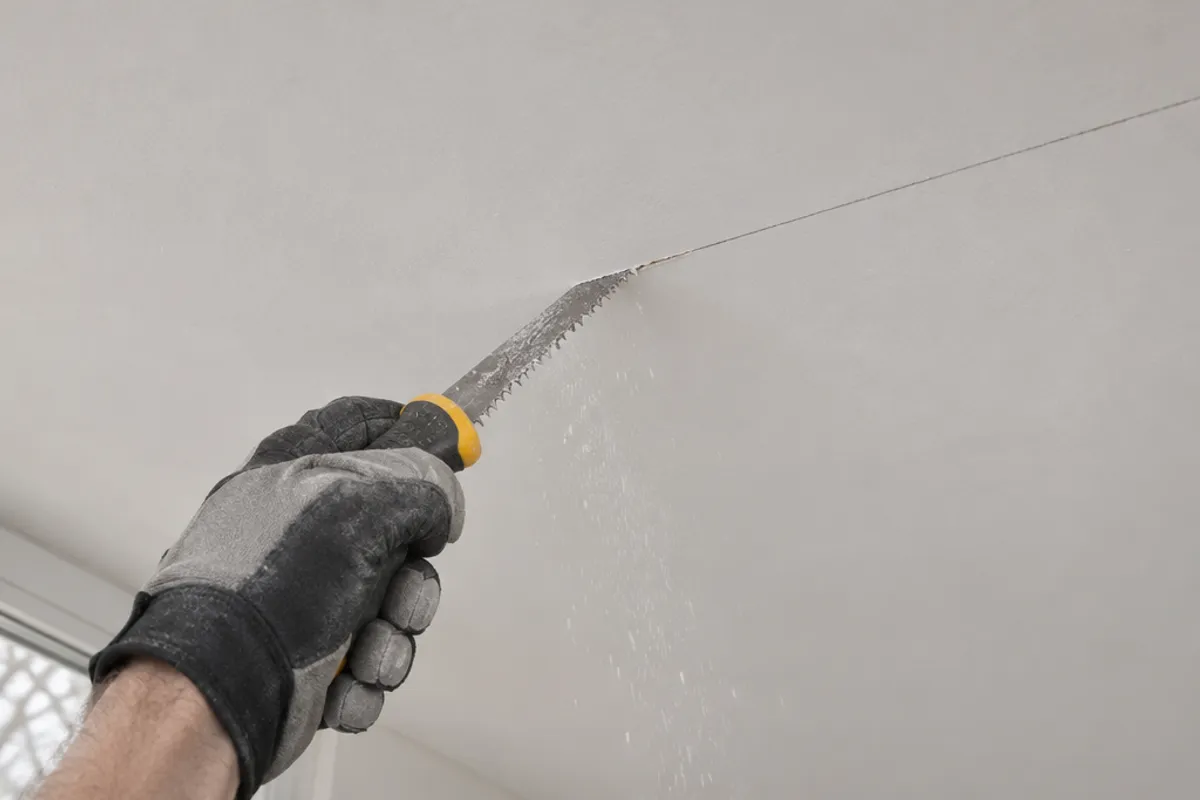
Prepare the area first: drop cloth down, ladder under the outline. Then:
- Wear safety glasses to protect your eyes, as well as the mask: overhead, dust falls toward your face.
- Keep secure footing. Don't stand on the top step or the top cap of a stepladder: OSHA's ladder rules say neither is used as a step. Move the ladder rather than leaning out.
- In an older house, the EPA lists textured paint and patching compounds used on walls and ceilings among materials that may contain asbestos, says you generally can't tell by looking, and suggests an accredited inspection before remodeling. Homes built before 1978 are more likely to have lead-based paint, and disturbing it can create lead dust.
- Keep the blade shallow, because cables or plumbing can rest on the back of the board. Set a power saw or oscillating tool no deeper than the thickness you measured in step 2.
- Score each line of the step 3 outline with the utility knife, lightly at first, then harder on the next two or three passes.
- Before you complete the last cut, tape a loop of painter's tape to the middle of the piece as a handle, or have a helper hold it.
- Insert the jab saw through the inspection hole and carefully cut along the scored lines with short, shallow strokes. Stop if you feel resistance.
- Lower the piece out and trim ragged paper from the edges.
- Measure the opening's dimensions both ways and on both diagonals, and confirm it is still inside the product's range.
Our guide to installing an access panel in drywall covers the knife and saw in more detail.
Step 5: Install the spring-loaded access panel or the hinged door
Spring-loaded ceiling panels. The large wire-loop spring on the back is part of the removable cover, not a frame left in the ceiling. Check that the ceiling surface around the hole is flat and sound, because the cover sits on it, and that the cavity is clear for the spring. Insert the cover and its spring as your model's installation instructions describe, and don't bend the spring to force the cover into an opening it is not listed for.
Hinged doors. The frame sits on the ceiling surface over the cut-out and is screwed on; the screws come with the door. Review the screw positions and clearances on the model's drawing before you mark the outline. Every size is on the access doors page.
Neither needs construction adhesive, or a beaded frame or flange taped into the board. The cover or frame sits on the ceiling rather than flush with it, so it stays visible instead of blending seamlessly into the ceiling, but it makes for an easy installation with no joint compound to finish. Construction adhesive around a spring-loaded cover would stop it coming out, which defeats the point of an access panel.
Step 6: Test fit it
Open and close the access panel a few times. It should seat flat and secure without force. If it rocks, look for a ridge of torn paper or a crumb of gypsum on the surface at the edge of the hole, and trim it. Then reach the valve, box or plumbing connection you installed it for, with the tools you would actually use.
What about insulation and vapor barriers above the ceiling?
Under an attic, an opening is a gap in the insulation and in any vapor barrier, and our covers carry no air-sealing rating, so put the panel in a ceiling between two heated stories where you can.
If it has to go under an attic, the ceiling may have insulation lying on it and a vapor barrier (vapour barrier in Canada) behind the drywall. Natural Resources Canada's Keeping the Heat In guide lists hatches into unheated attics among a house's air leakage areas, says newer houses usually have a polyethylene vapour barrier, warns that moist indoor air escaping into a cold attic can condense there, and calls air sealing the attic essential.
If you can reach the attic, inspect it from above first:
- Pull the insulation back from the spot, wearing gloves and a dust mask.
- Under loose fill, build a rigid dam around the opening so the fill can't pour down each time you open the access panel. The US Department of Energy's attic hatch job aid calls for a dam at least 2 in taller than the final insulation depth. Keep it clear of the cover's spring.
Both guides want a hatch into an attic weatherstripped, held shut and insulated, but our product records list no weatherstripping, air-sealing or load rating for any panel or door, so don't count on the cover for maintaining the air seal.
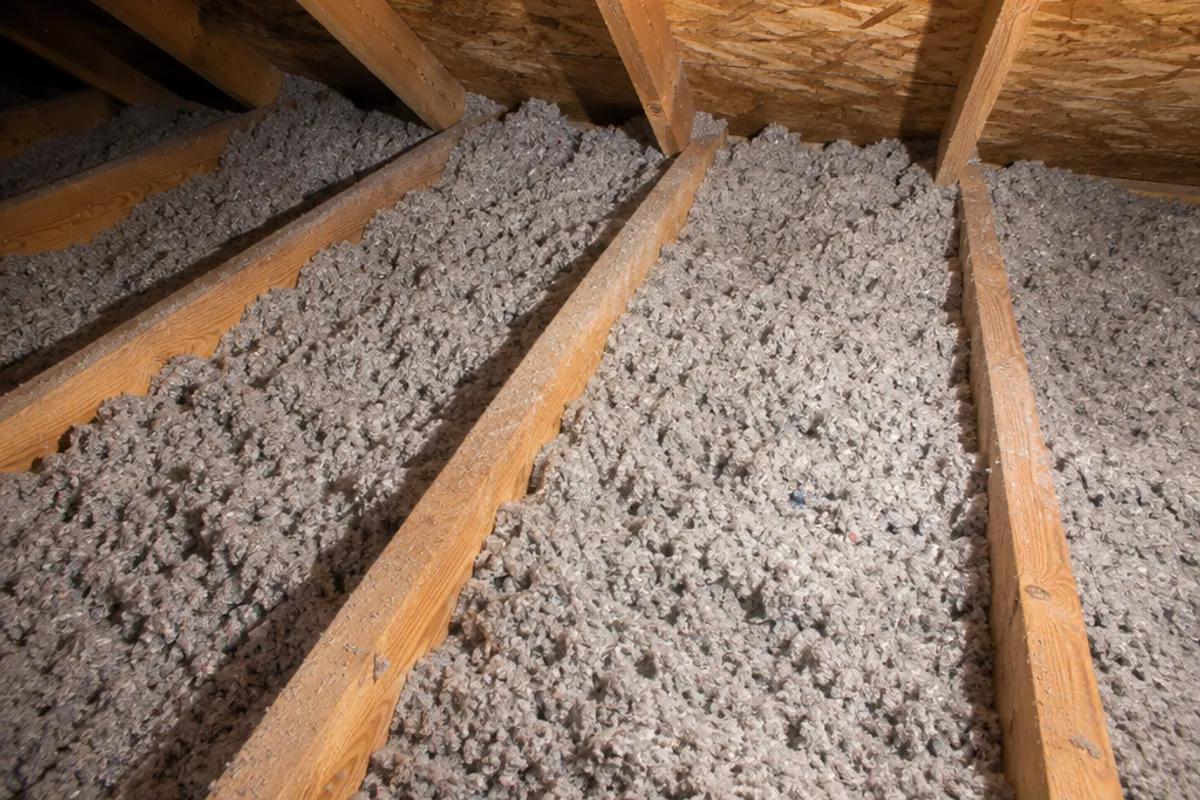
After the installation, put the insulation back around the opening, never on the cover.
When is a plastic drywall access panel the wrong choice?
In a fire-rated ceiling or one that gets wet: we claim no fire rating and publish no water-resistance rating for our plastic access panels and doors.
- Fire-rated walls and ceilings. Some are part of a fire-rated assembly or a required fire separation. Access panels come in plastic and metal, and our guide to plastic vs metal access panels covers what to ask about.
- Wet ceilings. Don't rely on a plastic panel in a ceiling that gets wet.
Your local building department can tell you whether a ceiling is part of a fire-rated assembly and what an attic access there needs.
Measure before you order: our guide on how to measure for an access panel shows how, and the access panel size chart compares every opening and cover.