
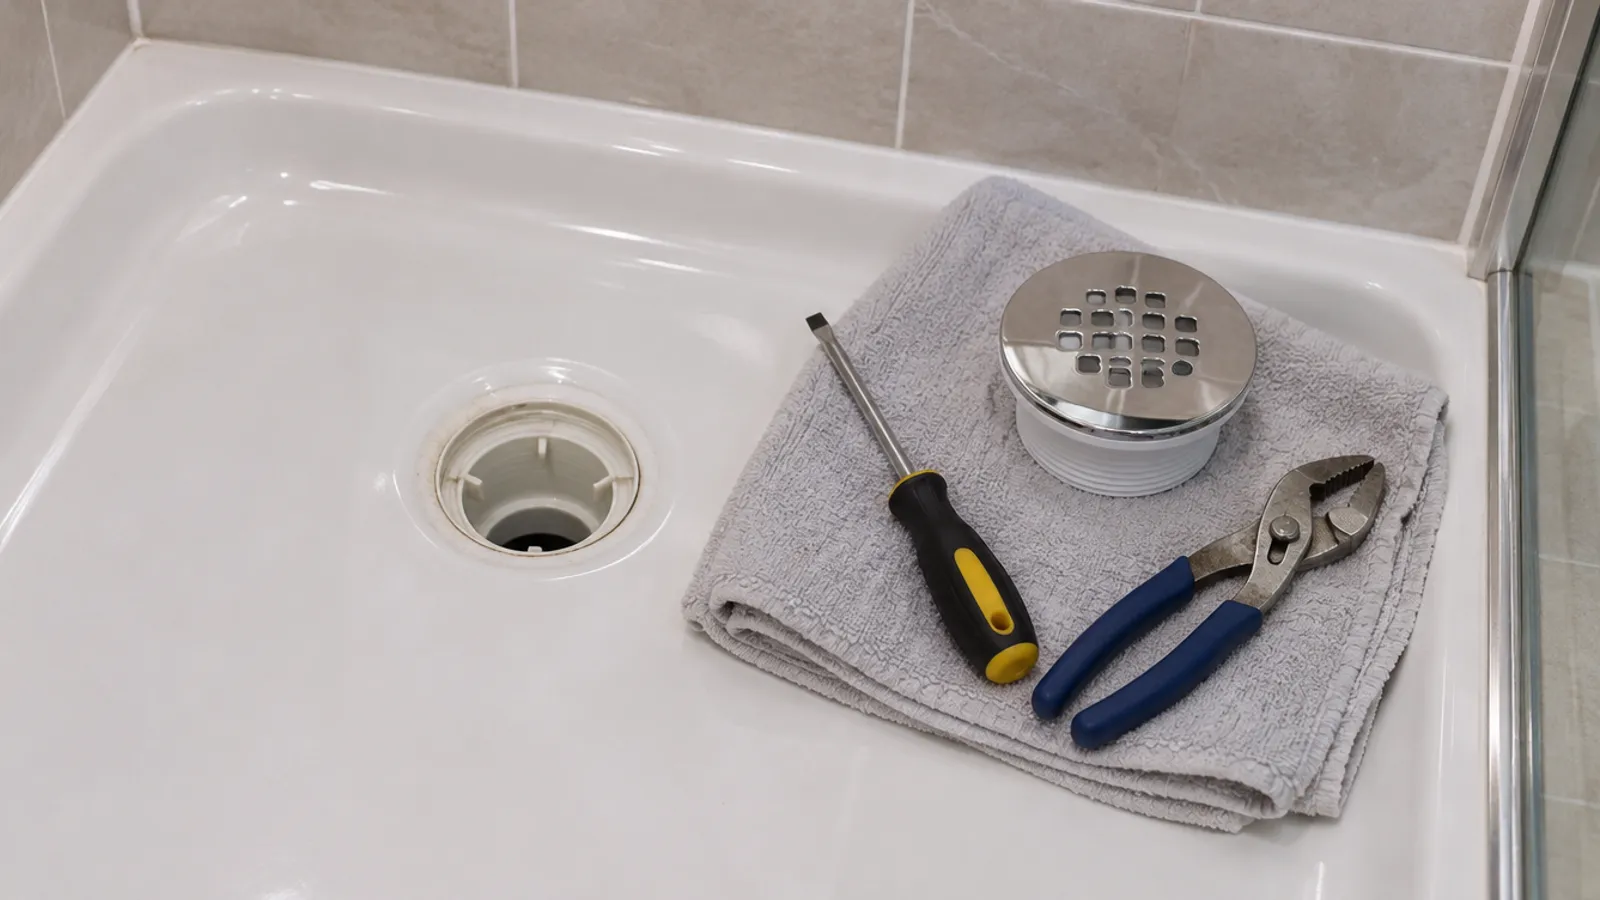
To replace a shower drain, first identify the type. A compression drain in a plastic or fiberglass shower base comes out from above: remove the drain cover, unscrew the compression nut and pull the rubber gasket. A glue-in drain body is cut free from below, and a tile shower's clamping drain usually means a shower pan repair.
Fit new parts as their installation instructions describe, and test with water before you close anything up. If you opened the room below to reach the drain, you can close it with an access panel instead of a patch, so the drain body and trap stay reachable.
When does a shower drain need replacing?
The first sign often turns up somewhere else. Look for:
- a water stain or other water damage on the ceiling below the bathroom that grows after showers
- a drain body that rocks, sits loose in the shower base or has cracked around the drain hole
- a corroded or broken strainer, or a drain cover that no longer stays in place
- a leak that appears only while the shower runs
- old caulk or putty that has cracked or washed out around the flange
A slow shower drain on its own is usually a clog, so clean out hair and debris first. Fresh caulk around the flange only hides what is happening underneath it. A leak that carries on when nobody has used the shower points to the supply side instead, such as the valve or its supply lines. Our guide to a leak behind a shower wall shows how to tell the two apart.
Which type of shower drain do you have?
Take off the drain cover and shine a flashlight inside. What you see tells you how it was installed and how it comes out.
| Type | Usually found in | What you see from above | How you replace it |
|---|---|---|---|
| Compression drain | Plastic, acrylic and fiberglass shower bases | A notched compression nut just below the strainer | From above: new parts, or a body made to install from the top |
| Glue-in drain body | Plastic and acrylic shower bases | Smooth pipe with nothing threaded around it | From below: a basement, a crawl space or an opening in the room below |
| Clamping drain | Tiled showers on a mortar bed | A grate set into the floor | By taking up tile and mortar, usually as part of a shower pan repair |
Compression drain: replaceable from above
The waste line comes up inside the drain body, and a rubber gasket is inserted in the gap between them. A compression nut threaded into the top of the body squeezes that gasket so it seals around the line. Both come out from above, and so can a cracked drain body if you install a replacement made to go in from the top.
Glue-in drain body: reached from below
The waste line is solvent-welded into the bottom of the drain body, and a large nut on the underside of the shower base clamps the body to the base. To take it out, you need to get underneath.
Clamping drain in a tile shower floor
The floor slopes to the drain on a mortar bed over a shower pan liner, the waterproofing layer, and the drain clamps that liner between its two parts. Replacing it means taking up tile and mortar around it, and often redoing the shower pan: usually a job for a plumber or a tile installer.
What tools and materials do you need?
For the job from above
A shower drain replacement from above needs only basic tools. Gather them before you begin:
- a flat screwdriver for the strainer screws and a snap-in cover
- adjustable pliers, or the removal tool the new drain's maker recommends
- a plastic putty knife and a utility knife for old caulk
- plumber's putty or silicone, whichever the installation instructions call for
- a complete drain assembly, or just a new rubber gasket and compression nut
- rags, a flashlight and a small bucket
For the job from below
Add a drywall saw, safety glasses, a dust mask, a pipe saw, couplings, and primer and cement made for your pipe material (PVC or ABS).
Match the new parts to the existing ones: the diameter of the drain hole, the size and material of the pipe, and how the two join. It's a good idea to photograph the old parts before you take them apart and to bring the old drain assembly when you shop.
Work on drain lines may need a permit, and some jurisdictions require a licensed plumber for it. Opening the room below can also expose wiring for lights and fans: turn those circuits off at the breaker before you cut, and leave any electrical work to a licensed electrician. Check with your local building department before you start, and use a licensed plumber or electrician where required.
How do you replace a shower drain from above?
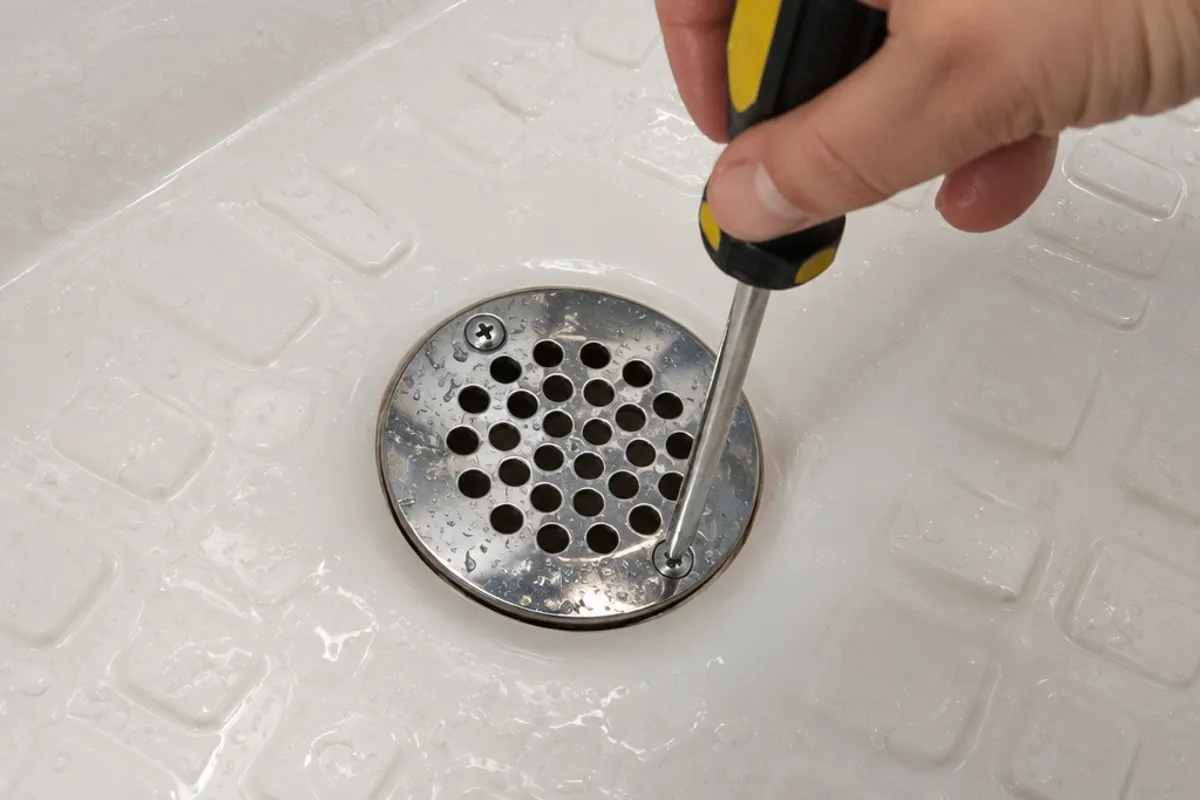
This is the usual fix for a compression drain that leaks where the pipe meets the drain body. Lay a towel in the shower base first, so a dropped screw can't fall in.
- Begin with the shower drain cover. Most unscrew; a snap-in cover pries up from its edge. Clean out hair and debris.
- Unscrew the compression nut counterclockwise with adjustable pliers or the removal tool. Work slowly so nothing slips and scratches the shower base.
- Lift out the old rubber gasket. If it is stuck, push a screwdriver under its edge or grip it with adjustable pliers, gently.
- Clean the inside of the drain body and the top of the pipe, then wipe them dry.
- If the drain body is cracked or loose, cut it out and install a replacement made to go in from the top, exactly as its installation instructions describe, so its flange sits flush and secure on the shower floor. Don't cut into the shower base or the waste line.
- Insert the new gasket and push it down evenly around the pipe. Thread the nut back in, hand-tighten it, then tighten it as the installation instructions describe: overtightening can crack it and create a new leak.
- Snap or screw the shower drain cover back on and tighten its screws, then run the test below.
While you are there, scrape the old caulk or plumber's putty from around the flange, and reseal it if the instructions call for it. They also decide how long to wait before the shower is used.
How do you reach the drain body and drain pipe from below?
The process from below takes longer. A solvent-welded drain body, a loose nut under the base or a leak at the trap all need the underside of the shower base. With no basement or crawl space, that means going in through the ceiling of the room below.
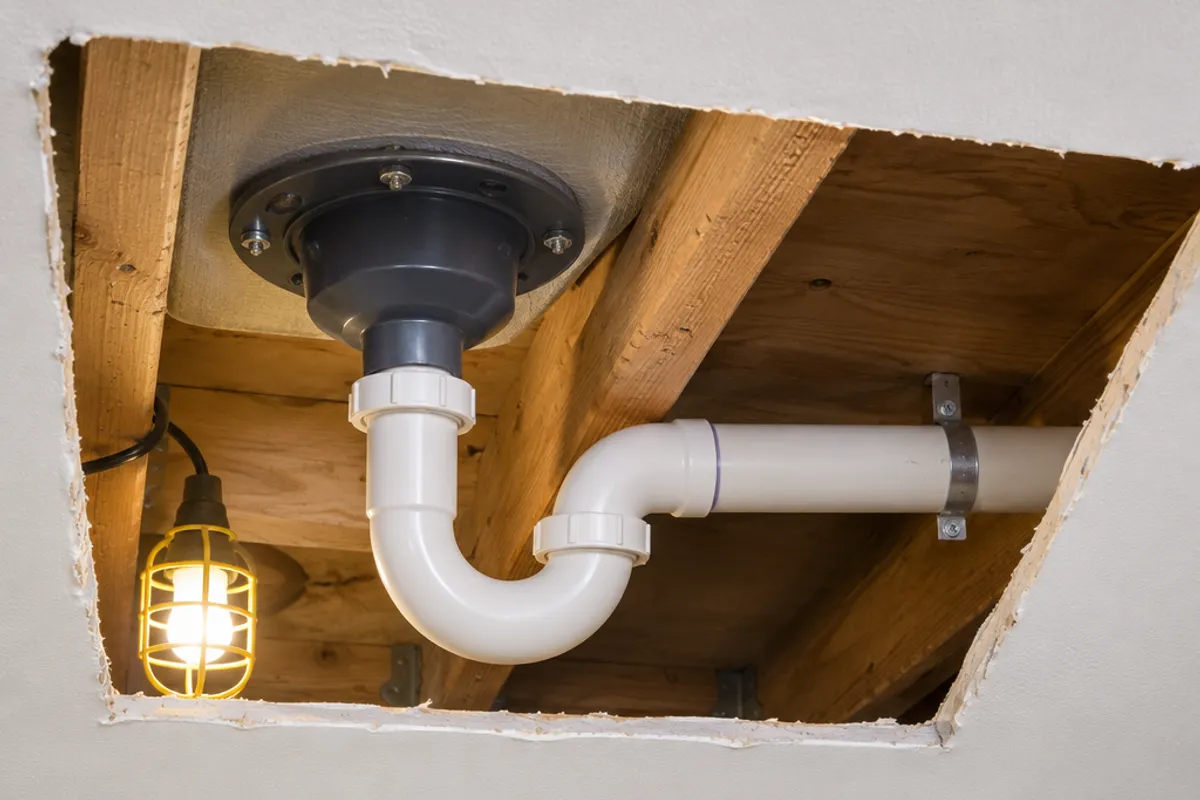
- Find the drain's position. Measure from two walls in the bathroom to its center, transfer both measurements to the room below, and check them against any stain.
- Turn off the circuits for nearby lights and fans. Cut a small inspection hole first and look around with a flashlight, then cut a square or rectangular opening between the joists, big enough to reach the drain body, the trap and their joints. Our guide to installing an access panel overhead covers cutting safely from a ladder.
- Plan the size now if you want to install a panel later. The SAP1414 fits openings from 10 × 10 in to 14 × 14 in, and the PAD1212 hinged door needs a cut-out of 10.35 × 10.35 in (estimated).
- With a bucket in place, cut the waste line below the drain body, square and with enough straight length left to take a coupling.
- Loosen the large nut on the underside of the shower base, push the old body up and out, and clean the hole.
- Install the new drain body with the sealant its installation instructions specify, and tighten it from underneath until the body is secure in the base.
- Rejoin the line with a coupling, using primer and cement made for that material. Wait as long as the cement maker says before any water goes down.
In colder regions such as Alberta or the Maritimes, a trap over an unheated garage or crawl space can freeze, so check how it is protected while you have it open.
How do you test a new shower drain?
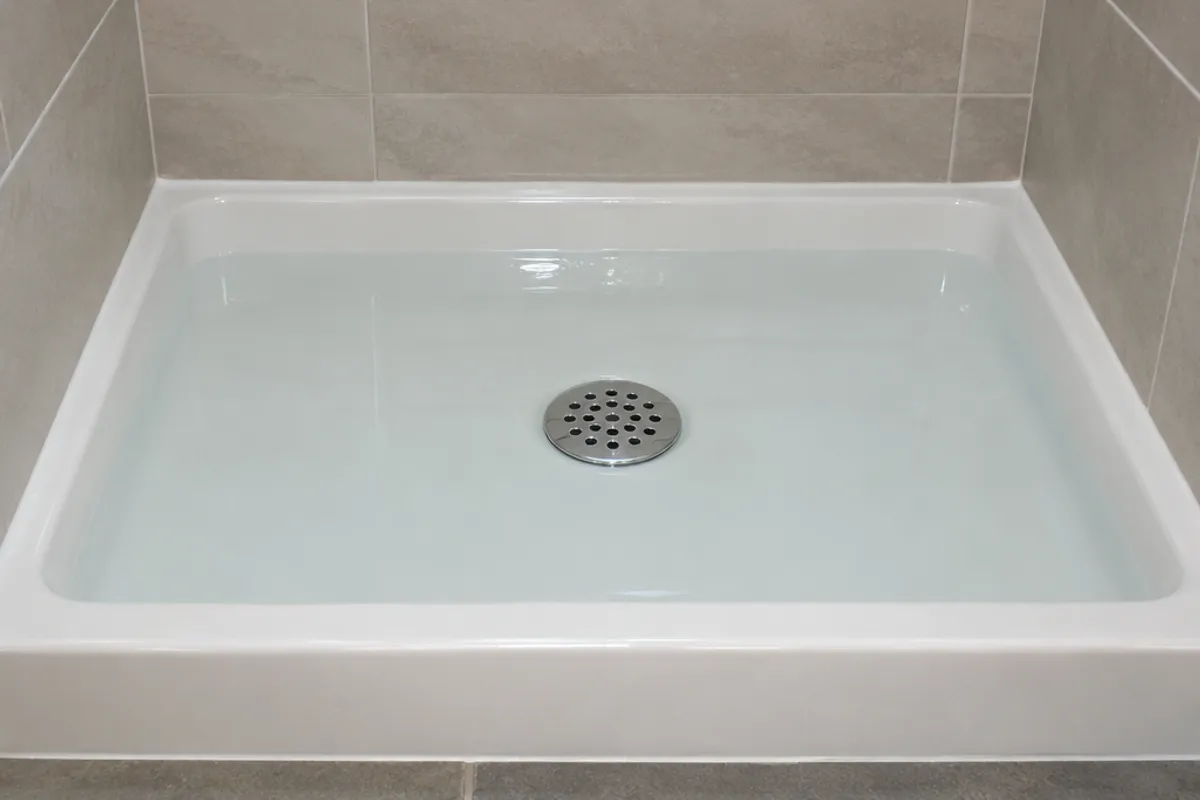
Complete this test before you close anything, whichever process you used. Insert a test plug, or cover the drain so it holds water, and fill the shower base partway. Leave it standing while you check the flange seal from above and the joints from below, with a flashlight and a dry paper towel. Then take the plug out and let all the water rush through at once, so the trap and every joint see a full flow, and check again.
When the flood test is complete, run the shower for a few minutes as a last check. Any drip means a joint gets redone, not caulked over; at the compression joint, try tightening it a little first. Look at the room below again after the next few showers.
Should you patch the opening below or fit an access panel?
You can patch it, but then the drain body and trap are sealed away, and the next repair starts with another cut. Install an access panel instead and they stay reachable. The ceiling access panels page compares the options, and the shower access panels page covers panels behind shower valves. If you'd rather patch, how to fix a hole in the ceiling walks through it. See plumbing access panels and doors compared by job.
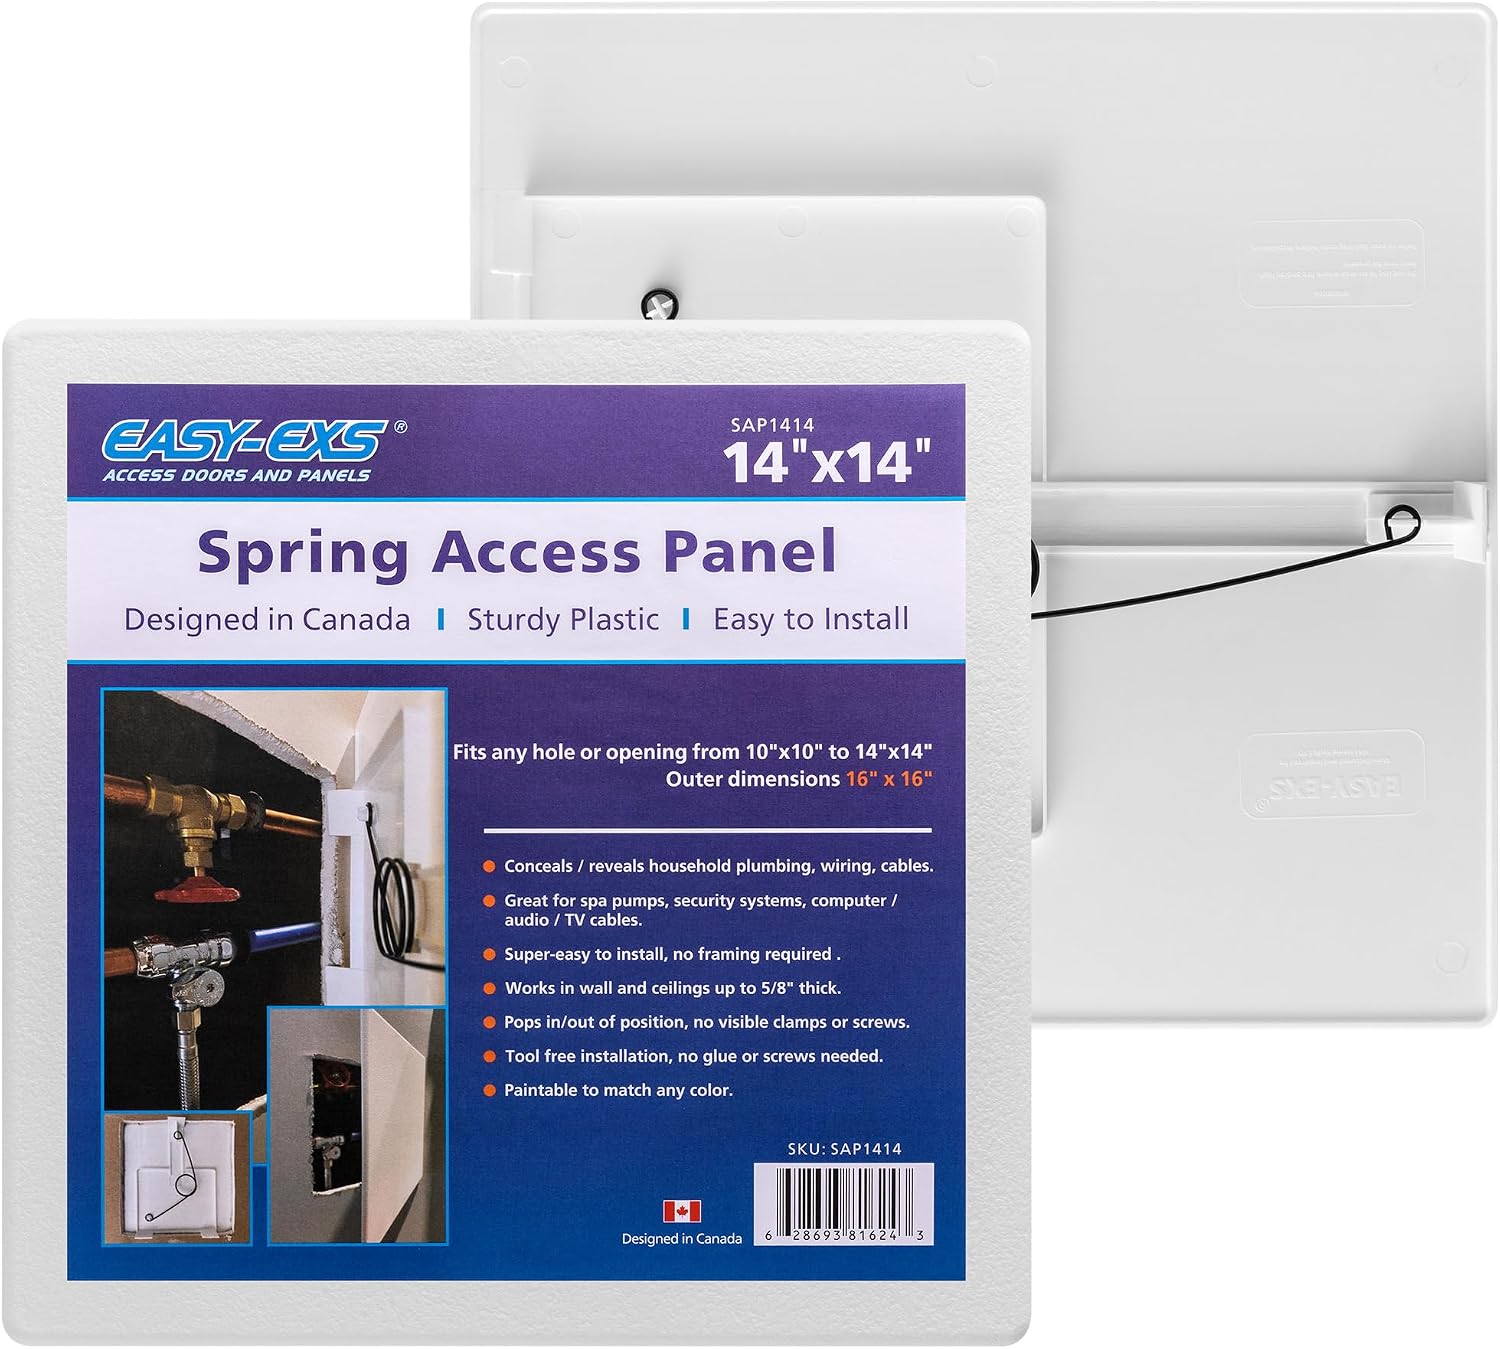
Easy-Exs · SAP1414
14x14 in Spring-Loaded Plastic Drywall Access Panel
Rated 4.6 out of 5, 718 ratings online
Fits 10 × 10 to 14 × 14 in openings · Overall 16 × 16 in
USD $18.49 each
- 10+ panels: $16.49 each
- 80+ panels: $14.99 each
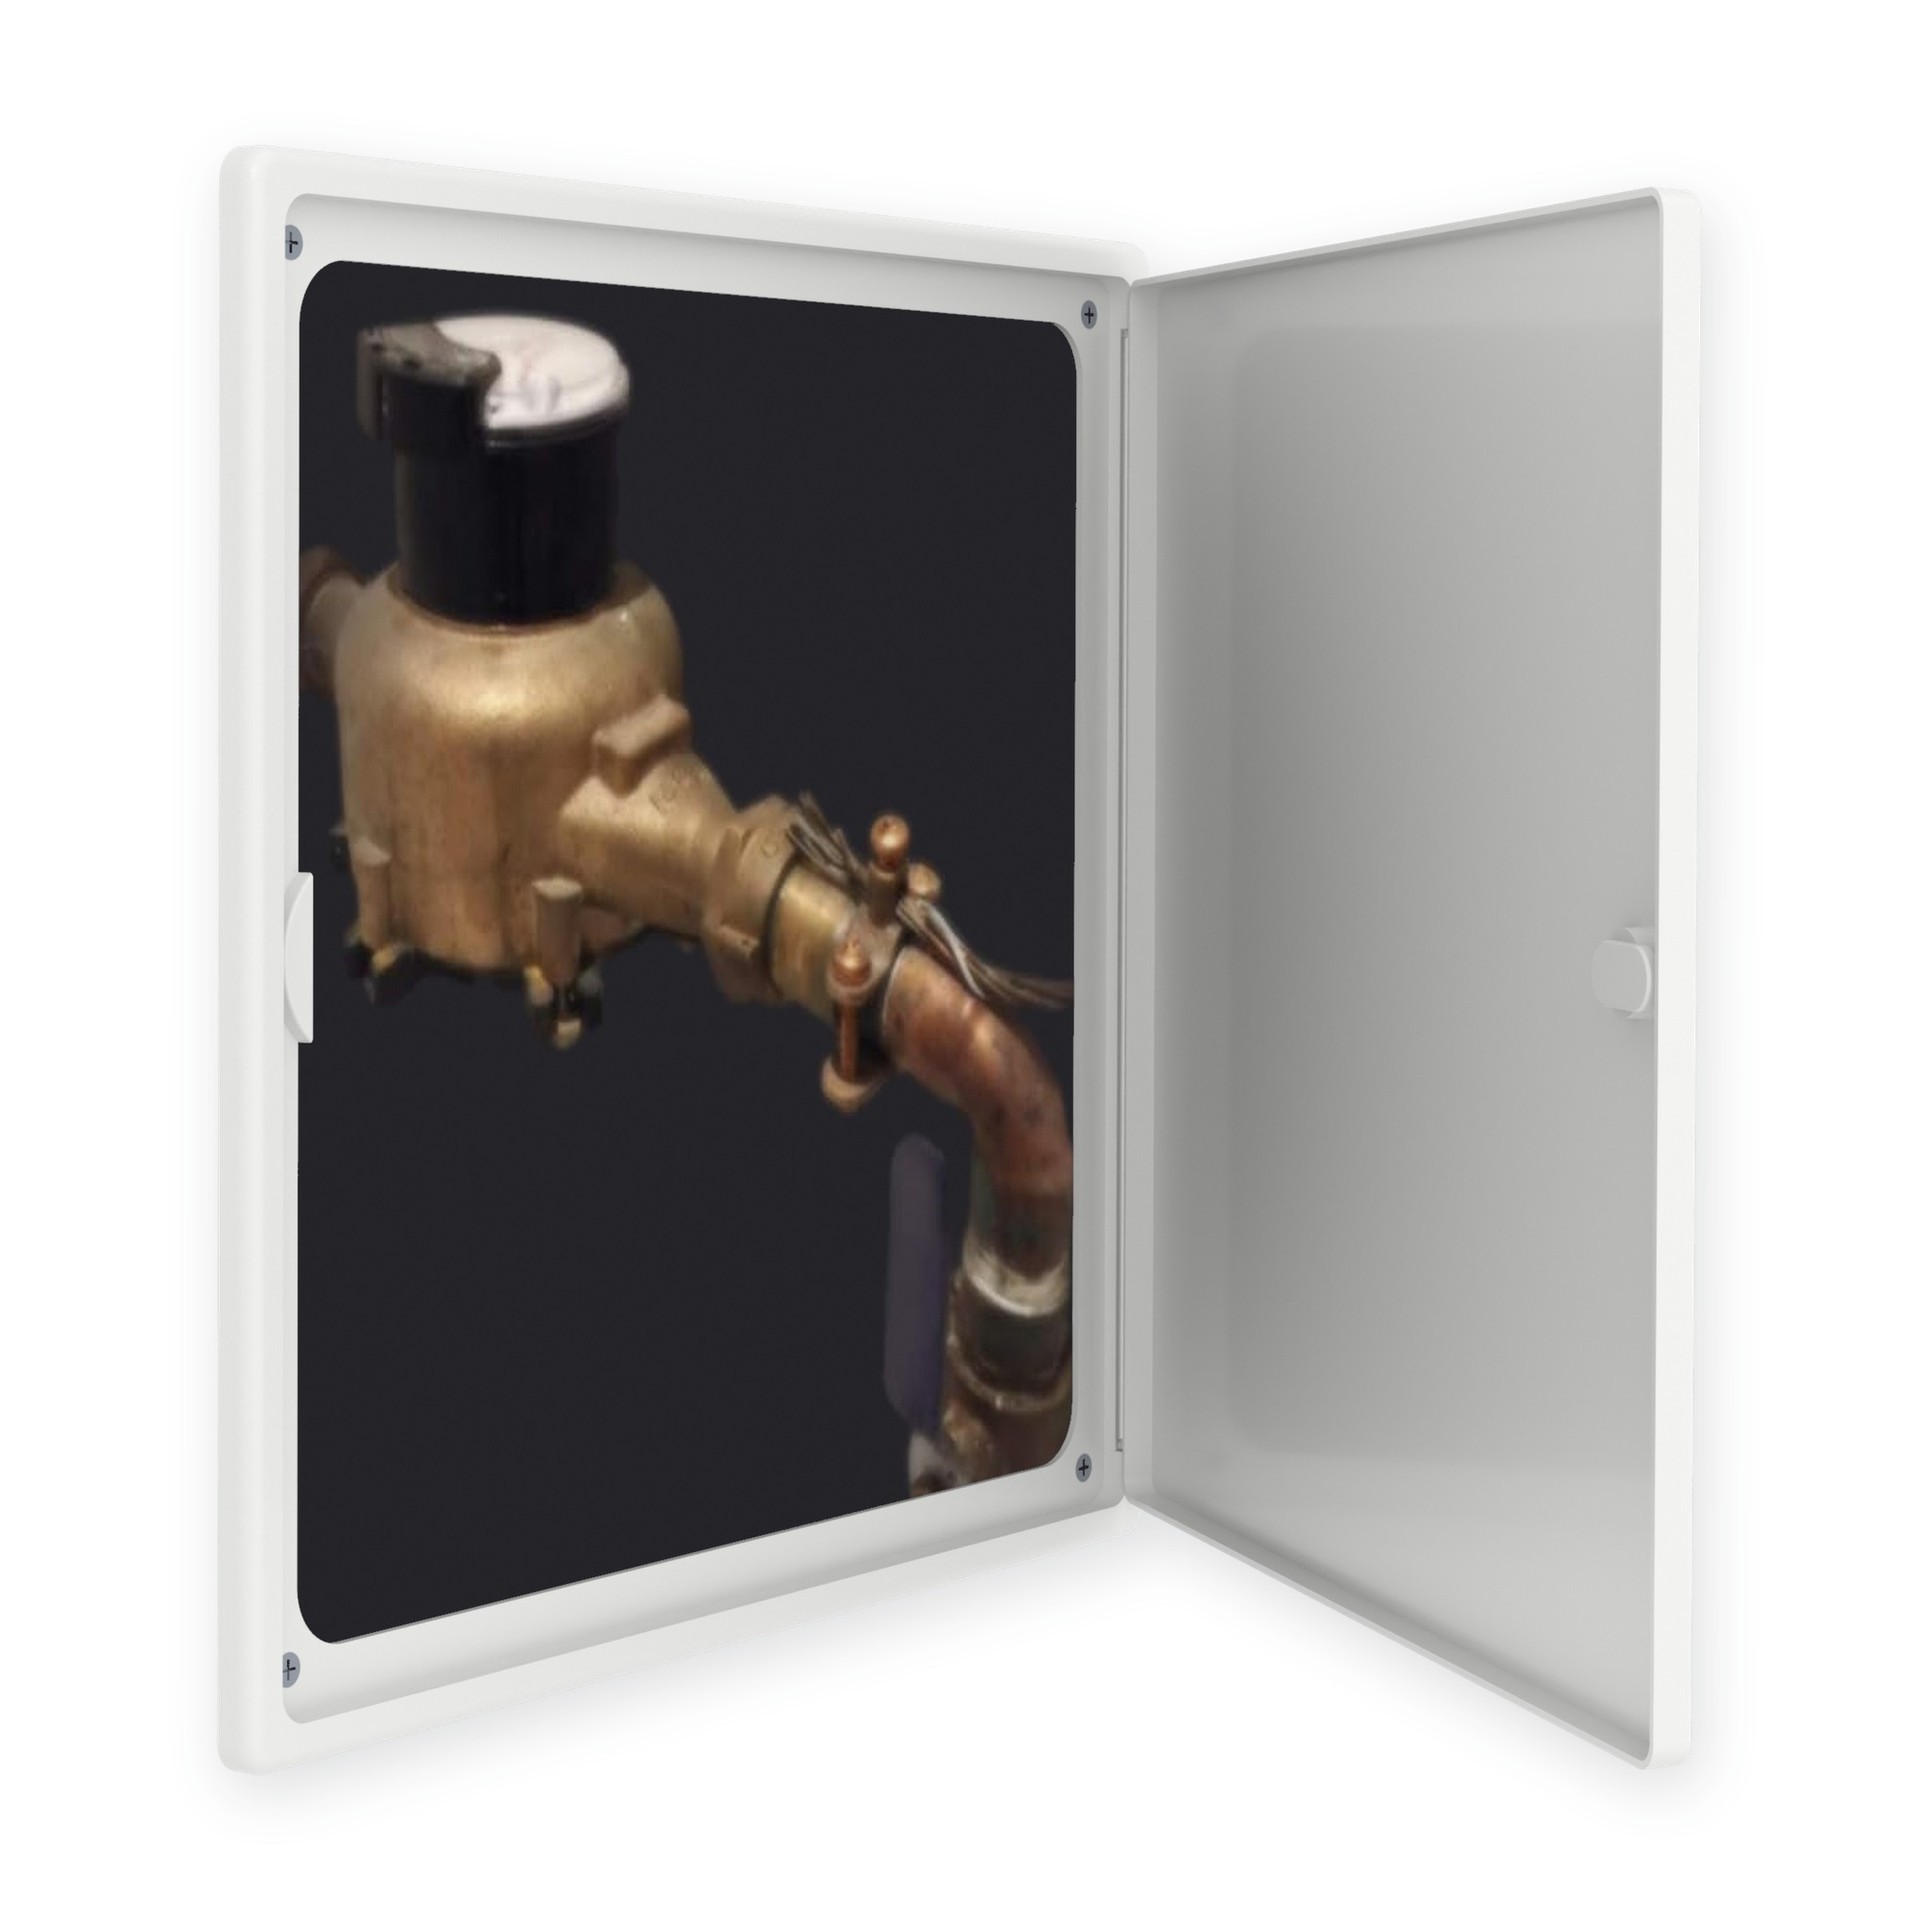
Easy-Exs · PAD1212
12x12 in Plastic Drywall Access Panel with Hinged Door
Rated 4.4 out of 5, 2,789 ratings online
Maximum service opening 10.35 × 10.35 in (estimated) · Overall 12 × 12 in
USD $13.99 each
- 10+ panels: $10.99 each
- 80+ panels: $9.49 each
Removable spring-loaded panel
The SAP1414 spring-loaded panel fits openings from 10 × 10 in to 14 × 14 in under a 16 × 16 in cover. It comes out completely, so you get the whole opening you cut.
Hinged access door
The PAD1212 swings down and stays attached. Its service opening and cut-out are 10.35 × 10.35 in (estimated), with rounded corners, and its product page has a 1:1 cut-out template. The frame attaches to the drywall with the screws that come with the door.
Fire and water ratings
No fire rating or water-resistance rating is claimed for either one. If the room below is a garage or another dwelling unit, it may need a fire separation overhead, so ask your building department before you fit a panel there.
When do you need a plumber, a permit or an inspection?
When to call a plumber
Call a licensed plumber when:
- it is a clamping drain in a tiled shower, or the shower pan liner may be damaged
- the pipe below is metal, or the joints are hard to reach
- the flood test still shows leaks after you redo a joint
- water damage has reached the framing or insulation, or the drywall below is soft
- your area requires a licensed plumber or a permit for the work
If the work needs an inspection, leave the opening below open until the inspector has seen the drain and any comments are dealt with. Ask your local building department, too, whether a removable panel under the drain counts as access before you close the ceiling with one.
Measure before you order: our guide on how to measure for an access panel shows how, and the access panel size chart compares every opening and cover.