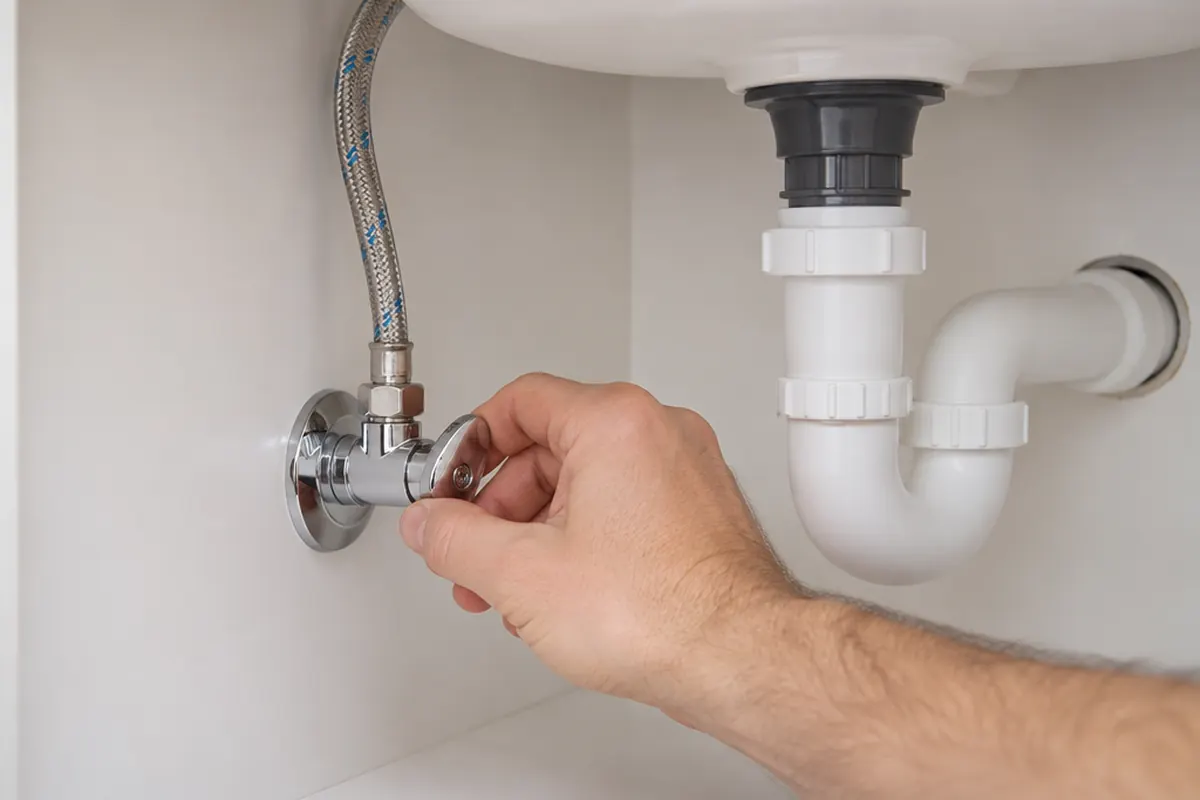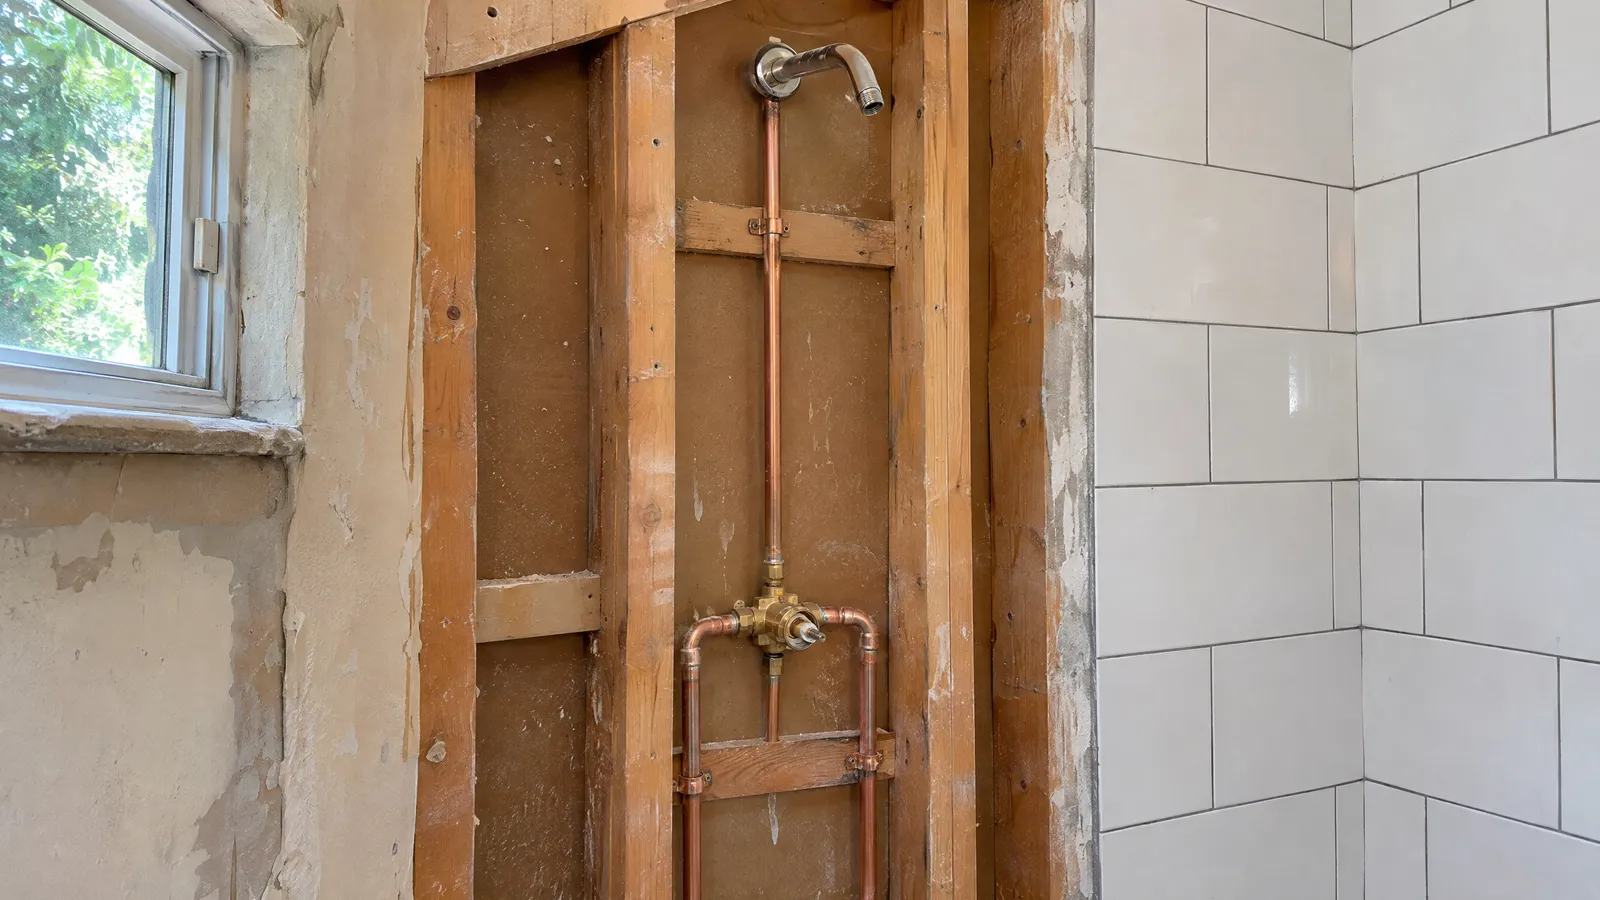
There is no single shower valve access panel size. Size the opening for the work: room to reach the valve body, its supply connections and any stops with your hand and tools. Then choose a panel whose opening is at least that large, and check the valve's instructions and local code.
How do you work out the size you need?
Start from what you will do through the opening, not from a product. Changing a cartridge is often done from the shower side, through the trim. Reaching a leaking connection, a stop valve or the valve body itself is done from behind, and that is what the access panel is for.
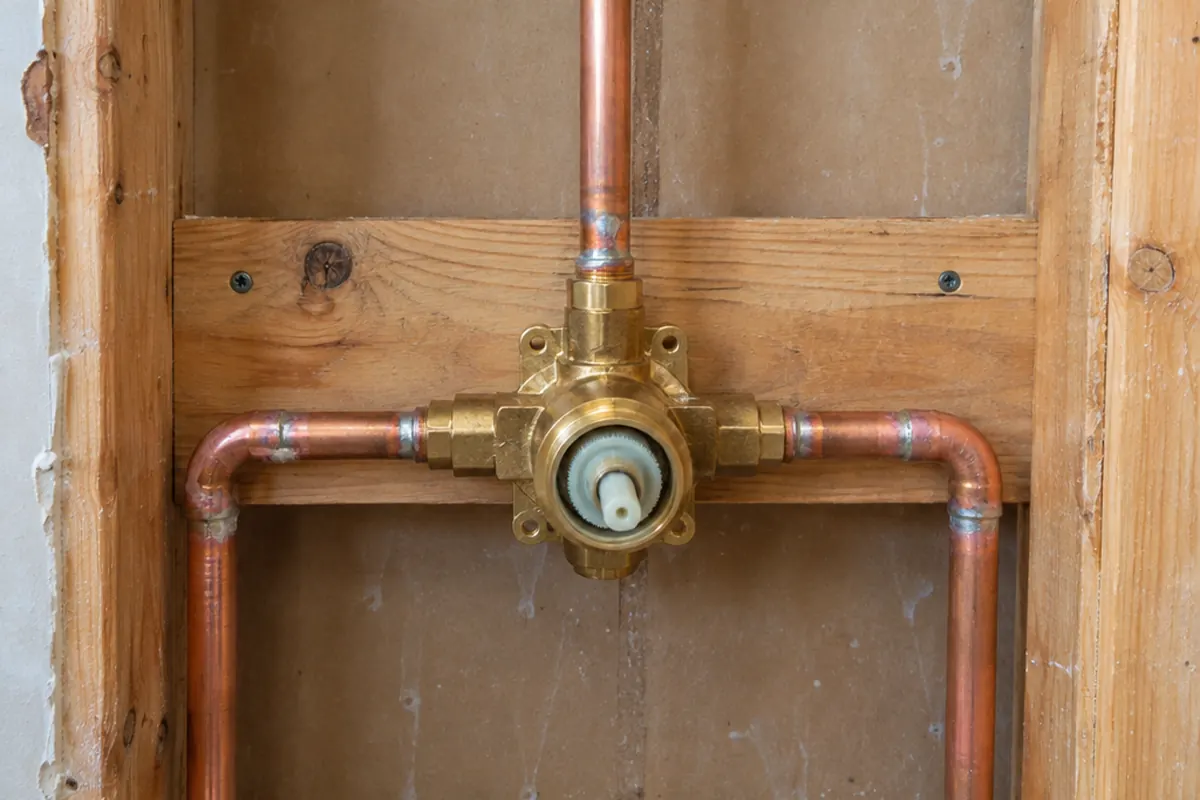
Measure three things from the open wall or from the valve's rough-in drawing:
- The valve body and its connections. The width across the hot and cold supply connections, and the height from the lowest connection to the top of the valve body.
- Your working room. Add space around those connections for a hand and a wrench. A tight opening that lets you see a fitting but not turn it is not much use.
- Anything you may need to lift out. If you might replace the valve body later, the opening has to be big enough to work on the joints around it.
Write those numbers down. They are the minimum opening, and the panel you choose has to give at least that much access.
How big are shower valve bodies?
The bodies themselves are small. One maker's spec sheets draw them at these sizes:
| Valve type | Size on the maker's drawing |
|---|---|
| Pressure-balancing valve | 4-5/8 in (117 mm) across the inlets, with the outlet ports 1-15/16 in (49 mm) above and below the center |
| Thermostatic mixing valve | 4-5/8 in (117 mm) across the inlets |
| Transfer valve, which switches water between two or three outlets | 3-3/8 in (86 mm) across and 3-5/8 in (92 mm) top to bottom |
So the body rarely sets the size of the opening. The pipes, the joints you need to reach and your hands do. On a tub and shower, the spout joint can sit well below the valve: the pressure-balancing sheet calls for a straight drop of 7 to 18 in (178 to 457 mm) between the valve and a wall-mount spout.
The front gives you less room than it seems. The same sheet calls for a round hole in the finished wall, 5 in (127 mm) across on walls thicker than 3/4 in (19 mm), and the trim covers it. Cartridge work happens through that hole, and the thermostatic sheet describes its valve as fully serviceable from the front. Joints further out, on the supply lines, the riser to the shower head or the spout drop, sit outside that hole. Those are what the panel on the back is for.
Where should a shower valve access panel go?
Behind the valve, on the other side of the wall. If the shower shares a wall with a closet, hallway, bedroom or utility space, mark the valve's position on that side and plan the opening there. In a new basement bathroom, see where to place the shower valve at rough-in.
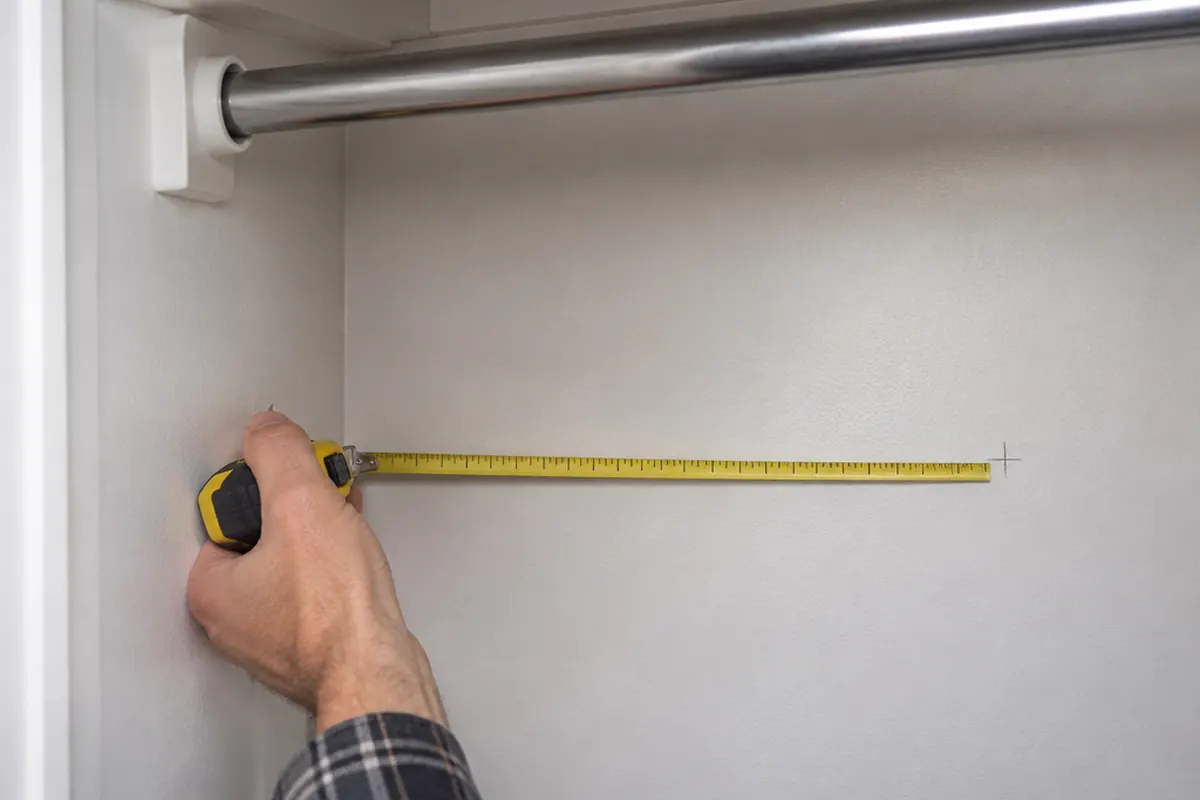
- On the shower side, measure from a fixed reference, such as the corner of the room, to the center of the valve handle. Measure the height from the finished floor too.
- Transfer both measurements to the other side of the wall. Corners are not always square, so measure from the same corner and check from the floor as well.
- Locate the studs on that side. Most valves sit in a single stud bay, and the opening has to fit between the studs.
- Mark the outline so the valve body sits roughly in the middle, with the connections inside the opening.
- Cut a small inspection hole first and look inside before cutting the full opening.
Putting the panel inside the shower, in the tiled wall, is a different job. We do not publish water-resistance ratings for our panels, and an access panel should not be relied on as part of a shower's waterproofing. If the only way in is through the shower wall, talk to a plumber or tile installer about the right method for your shower.
How do you measure a shower valve from the back?
Measure through the inspection hole before you cut the full opening. The hole is small, so a flashlight and an inspection mirror help.
- Find the valve body, both supply lines, the outlet up to the shower head and, on a tub and shower, the drop to the spout.
- Decide which joints you may need to work on. If you are chasing a leak, look for staining, corrosion or wet framing around each one.
- Along the face of the wall you are cutting, measure from the center of the hole to the outside of each of those joints: left, right, up and down. That outline is what the opening has to cover.
- Estimate how far behind the wall face the joints sit. The deeper they are, the more room your forearm and wrench need, so allow extra width.
- Note anything else in the bay, such as blocking, a cable or a second valve, that the opening has to clear.
- Add working room on every side of the outline, check it still fits between the studs, and compare the result with a panel's opening range or a door's service opening.
Will the opening fit between the studs?
Usually, if you plan for it. Framing spacing varies, so measure the clear space between the two studs in your bay rather than assuming a figure. That clear width is the widest opening you can cut without touching framing.
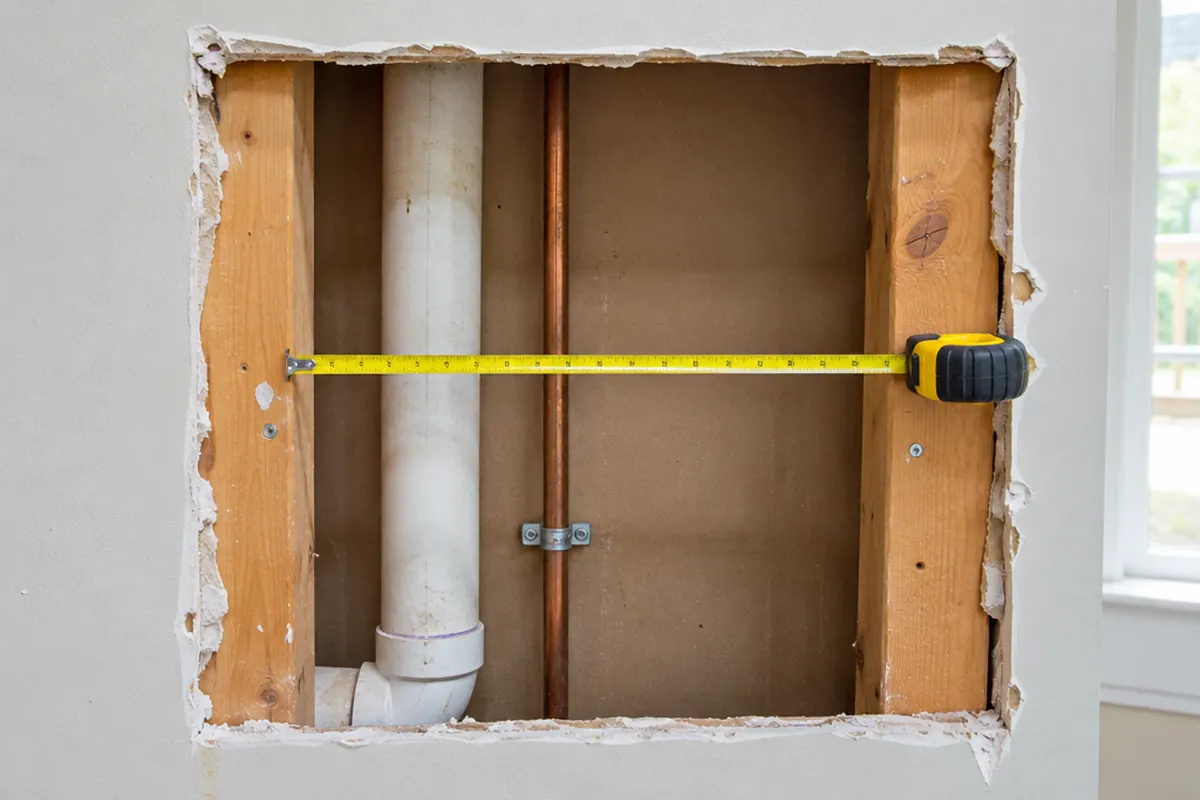
Do not cut a stud to make room for a bigger panel. If the bay is narrower than the opening you need, use a taller rectangle, or ask a builder about framing options.
Shut off the water to the shower, at the fixture's stops or at the main, and open the shower valve to release pressure. Check for wiring in the wall on the access side, especially near outlets, switches and light fixtures, and turn off the circuit before cutting.
Which access panels suit a shower valve opening?
Match your measured opening to a product's opening fit or service opening, not the size in its name. From our catalog:
| Model | Type | Access it gives | Size on the wall |
|---|---|---|---|
| SAP1414 | Removable spring-loaded panel | Fits openings from 10 × 10 to 14 × 14 in | 16 × 16 in cover |
| PAD1212 | Hinged door | Service opening up to 10.35 × 10.35 in (estimated) | 12 × 12 in overall |
| PAD1216 | Hinged door | Service opening up to 10.35 × 14.35 in (estimated) | 12 × 16 in overall |
A removable panel gives you the whole opening you cut, so it suits a job where you want the most access from the space between two studs. A hinged door stays attached and closes with a latch, which suits a spot you open often. Its service opening is smaller than its frame, and the wall cut-out is the size of that opening, with rounded corners; its product page has the template.
A smaller panel or door may be enough to reach a single stop valve, but check your measured minimum before you choose one for a whole valve body. Compare every size on the access panel size chart, or see the products sold as 12 × 12 in on the 12 × 12 in page.
Three common setups show the method. Your own measurements decide the product.
A shower-only pressure-balancing valve. The body is small, so the supply joints and the outlet set the outline. Measure that outline and add working room on every side. If the result falls inside a removable panel's range, it covers the opening: SAP1414 spring-loaded panel: fits 10 × 10 to 14 × 14 in openings, overall 16 × 16 in.
A tub and shower valve with a long spout drop. The spout elbow can sit well below the valve, so one opening that reaches both may be taller than anything in our range. Two smaller openings, one at the valve and one at the elbow, keep each inside a product's opening and leave more of the wall intact. For example:
- at the valve: SAP1414 spring-loaded panel: fits 10 × 10 to 14 × 14 in openings, overall 16 × 16 in
- at the spout elbow, if the joint and your hand fit its service opening: PAD0808 hinged door: maximum service opening 6.35 × 6.35 in, overall 8 × 8 in
A thermostatic valve with a separate transfer valve. Two bodies in one stud bay make one long outline. Measure from the lowest joint to the highest. If that span plus working room fits inside a door's service opening, one hinged door covers both and stays attached each time you open it: PAD1216 hinged door: maximum service opening 10.35 × 14.35 in (estimated), overall 12 × 16 in. If it doesn't, give each valve its own opening.
Does the code require an access panel for a shower valve?
Check two sources: the valve manufacturer's installation instructions and your local building or plumbing code. Requirements vary by jurisdiction, so ask your local plumbing inspector or building department what access they expect at the valve.
What else should you think about?
- Finish. Our panels are white plastic: a white textured finish on the spring-loaded panels and white gloss on the hinged doors. Plan for a white panel on the access side.
- Fire separation. If the access side is a garage or another space with a fire-rated wall, do not use a plastic access panel there. Nothing in our product information establishes a fire rating.
- Future access. Leave the opening clear. Shelving, a fixed mirror or a heavy cabinet in front of the panel defeats the purpose.
Before you buy, follow the full measuring process in how to measure for an access panel, and when you are ready to cut, use our guide to installing an access panel in drywall. For work on the drain, see how to replace a shower drain.