
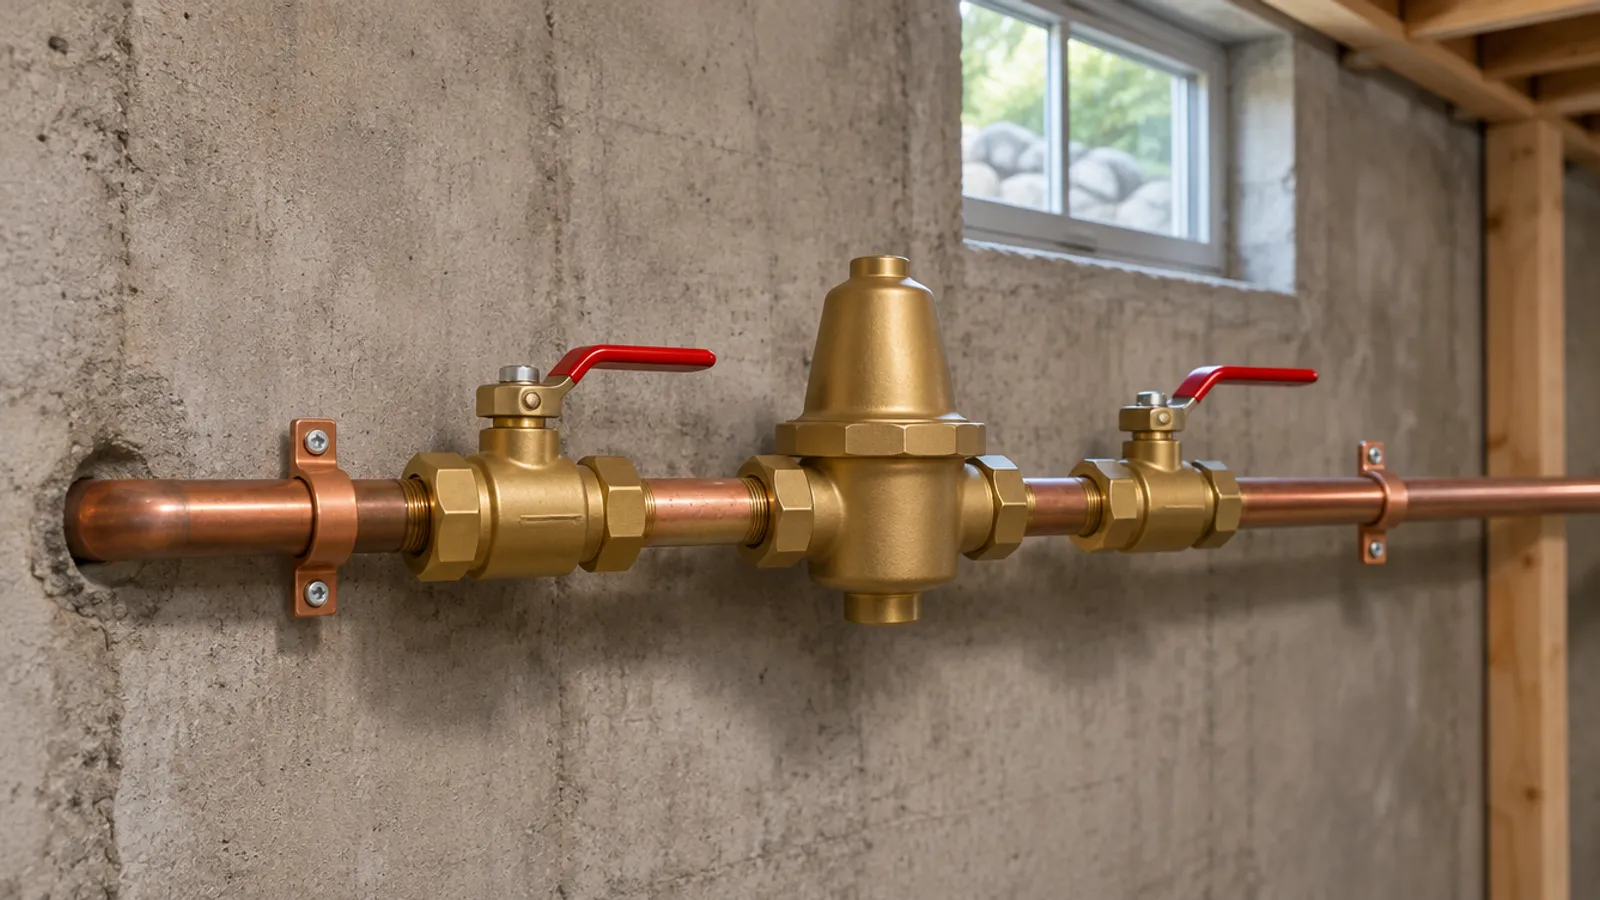
To install a water pressure regulator, shut off the main and drain the line, then cut the valve in just past the main shut-off, its arrow in the direction of flow. Add a shut-off on each side and a union, set the water pressure with a gauge, then reopen the water slowly, flush the lines and check for leaks.
This guide covers how to install a water pressure regulator, also called a pressure reducing valve or PRV, and how to replace a pressure reducing valve that no longer holds its setting. Plan the spot before any drywall goes up: the regulator needs a way in for yearly service.
Where does a water pressure regulator go on the main line?
Put the water pressure regulator after the main shut-off valve and ahead of the first branch, so every fixture in the home gets the lower, more stable water pressure it provides. On new installations, Ashley Valley Water & Sewer says, it usually sits just inside the foundation where the water line comes in, next to the main shut-off. The ECCV water district's PRV sheet puts it at the service entry point, after the first shutoff valve. Your water utility may help too: Ashley Valley's distribution staff help customers work out where a new regulator goes.
In some areas it sits outdoors near the water meter. Rainbow Municipal Water District asks customers to install it as close as possible to the downstream side of the district's water meter, so all their plumbing is protected. Many properties there have two pressure regulators: one at the meter for the irrigation and one at the residence.
Where winters freeze, keep it inside. One maker's installation manual says installing a pressure reducing valve below ground is not advisable, and outdoors only where it is protected from freezing and the weather. Its compact valve can sit on a vertical or horizontal pipe, but never upside down. To trace the main first, see where the water shut-off valve is. If a whole-house filter will share the line, where to install a whole house water filter covers matching its pressure range to the regulator.
What do you need for a water pressure regulator installation?
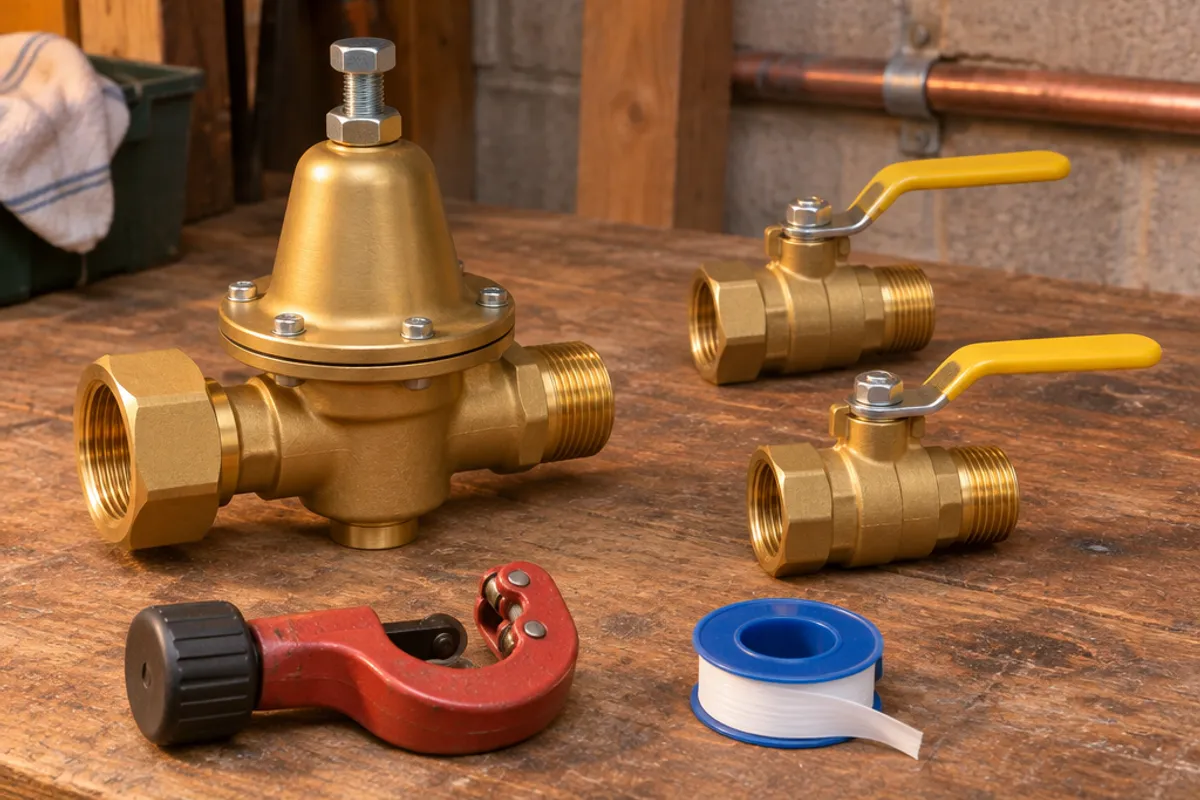
Besides the regulator, the maker's manual asks for a way to measure the upstream pressure, such as a shut-off valve with pressure ports, and for shut-off valves upstream and downstream to make maintenance easier.
| Part | Why you need it |
|---|---|
| A regulator sized for the home's flow | The manual sizes its valve from the design flow rate, at a flow velocity of 3 to 6 feet per second. Its example picks the 3/4 in valve for 8 gpm. |
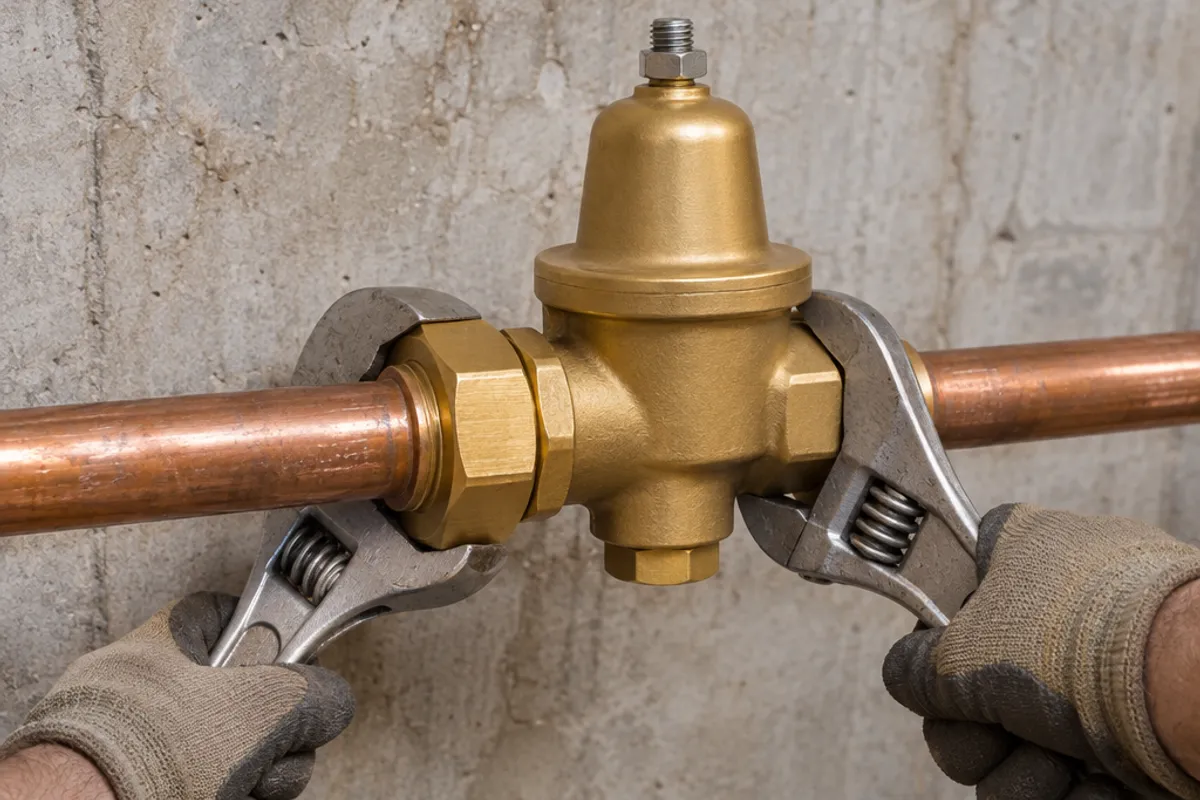
| An inlet union | Lets the valve come out later without cutting pipe. That maker's compact valve has one for threaded, sweat, press and PEX pipe. |
| A shut-off on each side | Isolates the regulator for service. A main shut-off right beside it can be the upstream one. |
| A pressure gauge | Verifies the setting. Some pressure regulators have a gauge port; otherwise use a hose faucet. |
| Pipe supports | The manual says to support the piping on both sides, so vibration and noise don't spread. |
| Tools | A tubing cutter, two wrenches, thread sealant, and a torch, press tool or PEX tool for your joints. |
What if you have high water pressure from the street?
Learn your incoming water pressure first. In a home with no regulator, thread a gauge onto a hose faucet and read it with every faucet and appliance off, as Rainbow describes. City water can reach a home at 150 or 200 psi, the City of Lincoln notes, and a water pressure regulator brings that down to a safe level before the water reaches the fixtures. Left alone, high water pressure can make joints fail, fixtures leak and appliances break down over time, Lincoln says, and Ashley Valley adds that a working regulator helps prevent surges from the public main from entering the home.
The manual keeps the ratio of incoming to set pressure ideally at 2:1 and no greater than 3:1, to avoid cavitation, which erodes the valve's sealing area and causes vibration and noise. Above that, it says to review the system's design pressure or the use of first-stage pressure regulators: its example has a first-stage valve drop 200 psi to 100, then a second valve takes 100 down to 60.
How do you install a pressure reducing valve, step by step?
You are cutting into the pipe that feeds the whole home, and sweat joints mean an open flame near framing. The maker's manual says qualified personnel must do the work, following the applicable codes and ordinances. Use a licensed plumber where your area requires one, and ask your building department about a permit.
- Read the incoming pressure on a gauge, to compare with your setting later.
- Close the main shut-off, then open the lowest faucet in the home and one upstairs to drain the line.
- Hold the regulator, its fittings and the downstream shut-off against the pipe and mark the cuts. The maker's dimension table gives each model's lay length.
- Cut the pipe square, then deburr and clean the ends, with a bucket under the cut.
- Fit the downstream shut-off, plus an upstream one if the main shut-off isn't right beside the regulator.
- Set the regulator with its arrow pointing in the direction of flow, toward the fixtures, and the union on the inlet side. Make each joint the way your pipe needs, and avoid forcing the pipe to meet the valve: the maker warns that over-stressed connections can break over time.
- Thread in the gauge if there is a gauge port, and support the pipe on both sides to prevent vibration.
- With the downstream shut-off closed, open several faucets and turn the main back on slowly, then slowly open the downstream shut-off valve.
How do you set the water pressure on a new regulator?
Most pressure regulators come preset, so check the setting before you trust it. The maker's compact valve leaves the factory at 45 psi and can be adjusted from 15 to 80 psi. The ECCV sheet says most residential PRVs work between 25 and 75 psi and are preset at about 45 psi.
Inside the regulator, a spring regulates the pressure on the downstream side, and the adjusting screw changes how hard that spring is compressed, Ashley Valley explains.
- Close every faucet and turn off water-using appliances.
- Read the gauge downstream of the water pressure regulator. It helps to have someone at a faucet while you watch the gauge.
- Loosen the locknut, if there is one, and turn the adjusting screw on top: clockwise raises the setting and counterclockwise lowers it, as the manual and Ashley Valley both describe.
- Keep each adjustment small. Open a faucet briefly after each turn, close it, and read the gauge again.
- Tighten the locknut when the gauge holds where you want it. The maker's valve also comes with a cap that hides the screw, to prevent tampering once it's adjusted.
Which number to aim for is partly your choice:
| Source | What it says about the setting |
|---|---|
| Ashley Valley Water & Sewer | Most homeowners set about 50 psi; lower settings help conserve water and prolong plumbing life. |
| City of Lincoln | Most homeowners set about 50 psi; use the lowest pressure that lets fixtures and irrigation work properly. |
| Rainbow Municipal Water District | Household plumbing should generally see between 30 and 80 psi. |
| ECCV | Its standard specifications call for static pressure no greater than 80 psi. |
The setting is a no-flow number. With water flowing, the manual explains, pressure downstream falls by the valve's pressure drop: about 10 psi at 8 gpm in its 3/4 in example. So a lower reading while the shower runs is normal, but one that keeps creeping higher with everything shut is a sign of a problem; how long pressure reducing valves last covers the other signs and a two-gauge test.
How do you flush the lines and check for leaks?
The maker's steps begin with all the faucets on, to flush the system and expel any air, and end by slowly reopening the downstream shut-off. Let each faucet run until it stops sputtering. If one has weak flow afterward, rinse the grit out of its aerator.
Then check every joint you made:
- Wipe each joint dry and hold a dry paper towel under it. A damp spot is a sign of a leak.
- Look again after an hour and the next morning, since a slow weep at a threaded joint or union nut takes time to show.
- With everything off, watch the water meter. If the water meter's dial or leak indicator moves, water is going somewhere.
- Read the gauge later in the day to confirm the pressure stays stable.
If the pipes bang when a valve shuts, work on that problem too: the manual names water hammer as a common reason for pressure reducing valve failures, and how to fix water hammer explains the fixes.
How do you replace a pressure reducing valve?
Replacing an old regulator follows the same steps, with four differences:
- Check that it needs replacing. Lincoln lists fixes that range from a simple adjustment or cleaning out a plugged line to rebuilding or replacing the regulator. The maker above sells a replacement cartridge and a replacement valve body. If the pipes themselves are old galvanized steel, see galvanized pipe replacement.
- Free the old valve. Shut off the main, relieve the pressure at a faucet and undo the inlet union. If there is none, cut the valve out and add a union for next time.
- Match the gap. Compare the lay lengths and adapt the pipe if they differ.
- Set it from scratch. A new water pressure regulator has to be adjusted from its factory setting; it won't copy the old one's.
Pressure regulators on your side of the water meter are yours: Ashley Valley and Rainbow both put installing and maintaining them on the property owner. The San Diego Public Utilities FAQ says owners may install one themselves or with a plumbing professional's help, while Lincoln requires a permit to repair or replace one, so ask your local building department first.
How do you keep the regulator reachable after the wall is finished?
The maker's manual says to service and clean the cartridge at least every 12 months: close the shut-offs on both sides, back off the adjusting screw, lift off the cover and pull the cartridge out with pliers. So a finished wall has to leave the screw, the gauge, both shut-off handles and the union nut of the water pressure regulator within reach, with room for a hand and pliers, to prevent a yearly job from turning into drywall repair.
Plan it while the wall is still open:
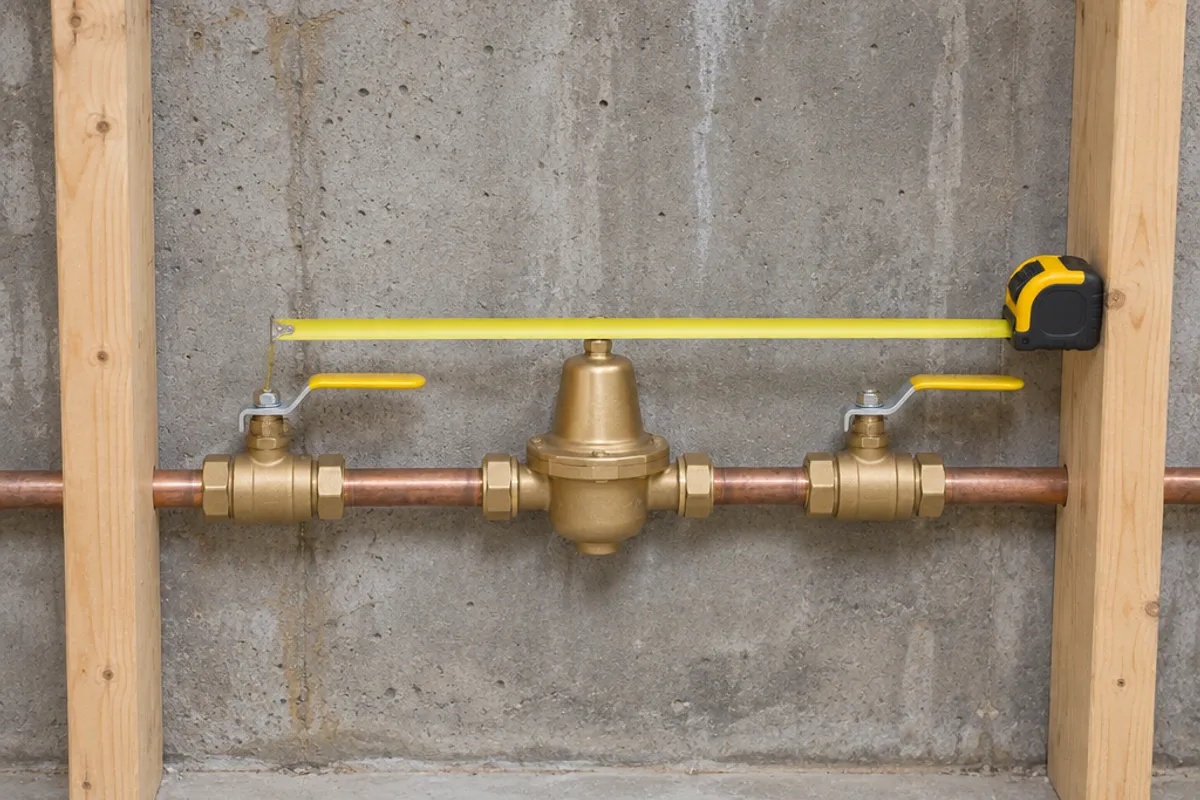
- Turn the regulator so its adjusting screw and gauge face the room.
- Keep both shut-offs and the union inside one opening, if the run allows, to avoid a second cut in the wall.
- Measure the assembled run end to end, from one shut-off handle to the other, and its depth from the wall to the regulator's cap.
- Pick a door or panel whose opening clears it, and frame for it before the drywall goes up.
For a regulator you open every year:
- A hinged door that stays on the wall: PAD1212 hinged door: maximum service opening 10.35 × 10.35 in (estimated), overall 12 × 12 in
- A lift-out panel that fits a range of openings: SAP1414 spring-loaded panel: fits 10 × 10 to 14 × 14 in openings, overall 16 × 16 in
If the run is longer than these openings, center the opening on the regulator's cap and inlet union, and give the main shut-off its own. A wall between the home and an attached garage may be a fire separation, so read this before you cut:
Our plastic access panels and doors are not fire-rated, and we publish no water-resistance rating for them, so don't fit one in a fire separation, such as the wall between a house and an attached garage.
Other doors and panels for main-line valves are on the plumbing access panel page.
Measure before you order: our guide on how to measure for an access panel shows how, and the access panel size chart compares every opening and cover. How to install an access panel in drywall covers fitting it.