
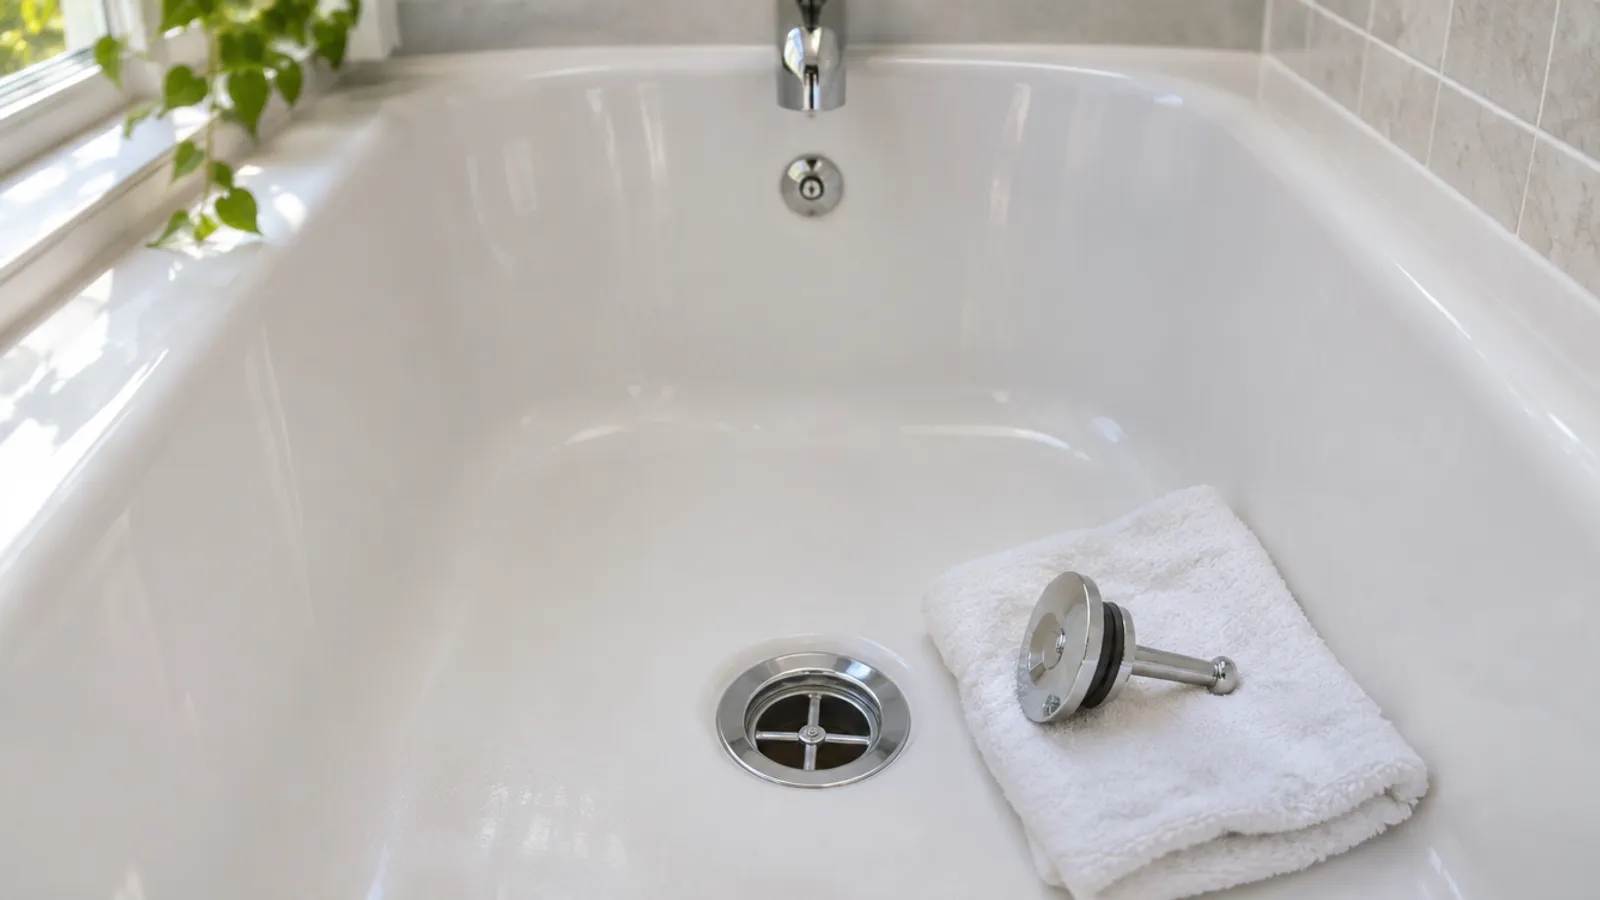
To remove a bathtub drain, take the stopper out first, then unscrew the drain flange counter-clockwise with a tub drain removal tool that grips the crossbar inside it. Cut any old caulk first, and work slowly if the drain is old or rusted. Below the flange sit the drain shoe and its gasket, reached from under the tub.
Work in the right order to protect the bathtub's finish and the drain threads below: remove the stopper, then any trip lever linkage, then the drain flange.
How to remove bathtub drain stoppers: which type of tub stopper is yours?
The stopper, or drain plug, seals the drain opening when you fill the bathtub. Each stopper design comes out a different way, so identify yours first. Look in two places: the drain, and the overflow faceplate, the round cover on the bathtub wall above the drain.
| Stopper | How you use it | How it comes out |
|---|---|---|
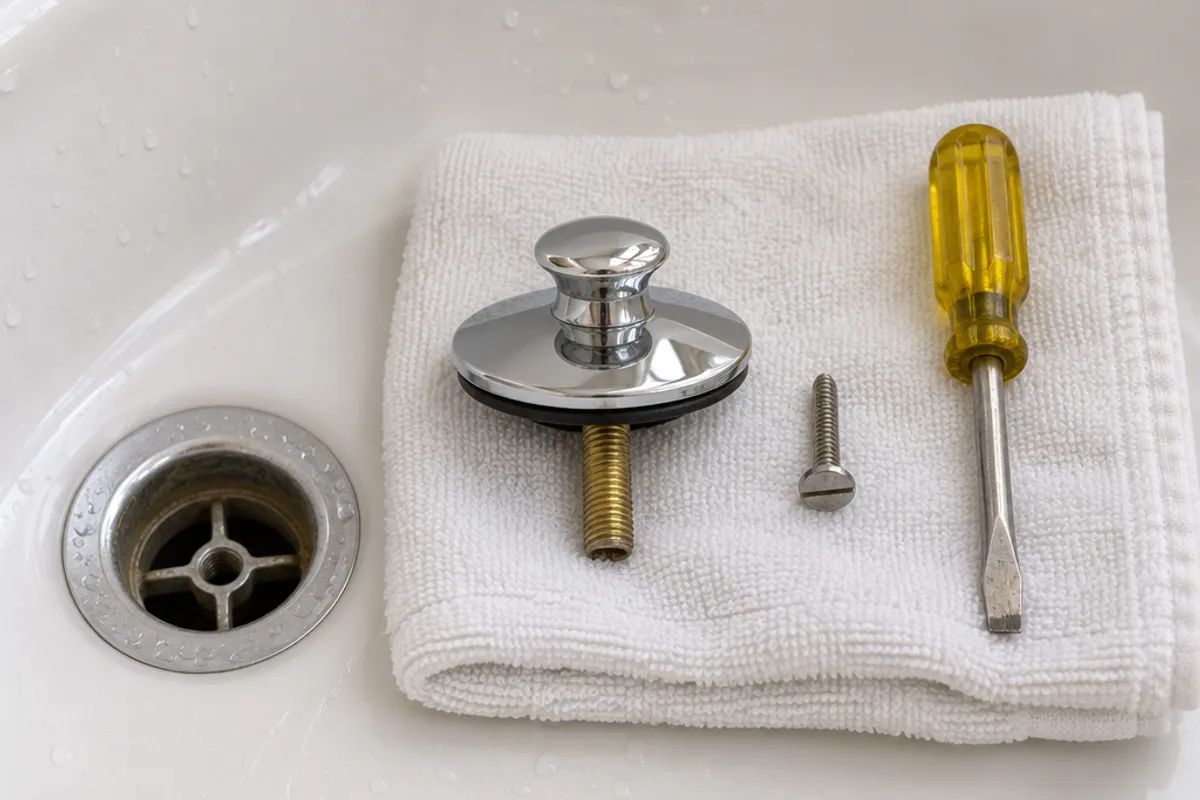
| Lift-and-turn | Lift the knob and turn it to open; turn and drop the stopper to close | Unscrews from a threaded post; some hide a screw under the knob or a set screw on the side |
| Push-pull | Pull the knob to open; push the stopper down to close | Unscrew the knob, then the post under it |
| Toe touch | Push the stopper with your toe to close; push again to open | Unscrew the cap, then the screw or body under it |
| Trip lever with a rocker arm | Flip the trip lever on the overflow faceplate | Pull the stopper and rocker arm out of the drain; pull the linkage out through the overflow |
| Trip lever with a plunger | Flip the trip lever; a plunger inside the overflow pipe blocks the water flow | Remove the overflow faceplate and pull out the plunger and linkage |
A lever on the faceplate means a trip lever drain; if the drain then holds only a screen, the stopper is a plunger hidden inside the overflow.
Most stopper removal is about clearing hair, soap scum and other debris. Removing the drain flange is a bigger job, for a drain that is corroded or leaking, or when you replace it.
What tools do you need to remove a tub drain?
To remove the stopper, a screwdriver and a rag are often enough. To remove the drain flange you need more:
- flathead and Phillips screwdrivers, including a stubby one for cramped spots
- needle-nose and slip-joint pliers, with tape to wrap the jaws so they don't scratch the finish
- a bathtub drain removal tool that matches the inside diameter of your drain, plus a wrench or ratchet to turn it
- a utility knife for old caulk, a flashlight, a towel for the tub floor, and a bag for hair and debris
A dumbbell-style drain wrench has stepped ends that drop into the crossbar slots. An internal extractor is a tapered, toothed tool that bites the inside wall of the drain as you turn it counter-clockwise; use it when the bars have broken off or rusted away.
How do you remove a tub stopper, type by type?
No matter which stopper you have, start in the open position so you can grab the stopper and see what holds it. Lay a towel in the bathtub so a dropped screw can't chip the finish or fall into the drain opening.
Lift-and-turn stopper
- Lift the knob and turn the stopper to the open position.
- Hold the stopper with one hand and rotate the whole stopper counter-clockwise. On many models the stopper unscrews from a threaded post and lifts out.
- If the stopper won't come off, hold the stopper body and unscrew the knob instead. A screw under the knob often holds the stopper to the post: remove the screw with a screwdriver.
- No screw under the knob? Look for a set screw on the side of the stopper. Loosen it with a hex key or a small screwdriver and lift the stopper out.
- If the post stays in the drain, unscrew it from the crossbar. Check the O-ring under the knob and replace it if it is cracked.
Push-pull stopper
A push-pull stopper looks like a lift-and-turn stopper, but you pull the knob to open the drain and push the stopper down to the closed position. With the stopper open, hold its body and twist the knob counter-clockwise; if it is tight, grip it with taped pliers. Under the knob, a threaded post holds the stopper to the crossbar. Insert a flathead screwdriver in the post's slot, unscrew it, then pull the stopper out and check its O-ring. Some push-pull stoppers unscrew as one piece when you rotate the whole body.
Toe touch stopper
A toe touch stopper has a spring cartridge: push the stopper with your toe to close the drain, and push again to open it. With the stopper in the open position, hold its base and twist the cap counter-clockwise. On many toe touch stoppers that exposes a screw in the center; remove the screw and the stopper body lifts off the crossbar. On others, the whole cartridge unscrews when you rotate it. If the cap won't turn, wrap it in a rag and use pliers. Be careful: the plating scratches easily.
Trip lever stopper: flip it open, then lift out the rocker arm
This trip lever drain has a stopper you can see in the drain and a lever on the overflow faceplate. Flip the trip lever and a rod behind the faceplate presses on the rocker arm under the stopper, which lifts the stopper.
- Flip it to the open position so the stopper sits up.
- Grab the stopper and pull it straight up. The rocker arm, a bent metal arm attached under the stopper, follows; rotate and wiggle the stopper so the arm clears the crossbar and comes out of the drain opening.
- Remove the two screws on the overflow faceplate.
- Pull the faceplate away and pull the trip lever linkage up through the overflow. Clean hair, soap and debris off the rod and spring.
Trip lever with a plunger: remove the overflow faceplate
Here the drain has only a strainer, held by a screw in its center, and the stopper is a plunger: a heavy metal cylinder on the end of the linkage inside the overflow pipe. Flip the trip lever one way and the plunger drops to stop the water flow; flip it back and the plunger lifts. To remove the plunger, unscrew the overflow faceplate, then pull the faceplate, linkage and plunger up and out of the overflow.
How do you unscrew the tub drain flange?
The drain flange (also called the drain body or strainer) is the metal ring in the bottom of the bathtub. It screws down into the drain shoe, an elbow under the tub, with plumber's putty or sealant under its rim. The removal process:
- Remove the stopper and any strainer.
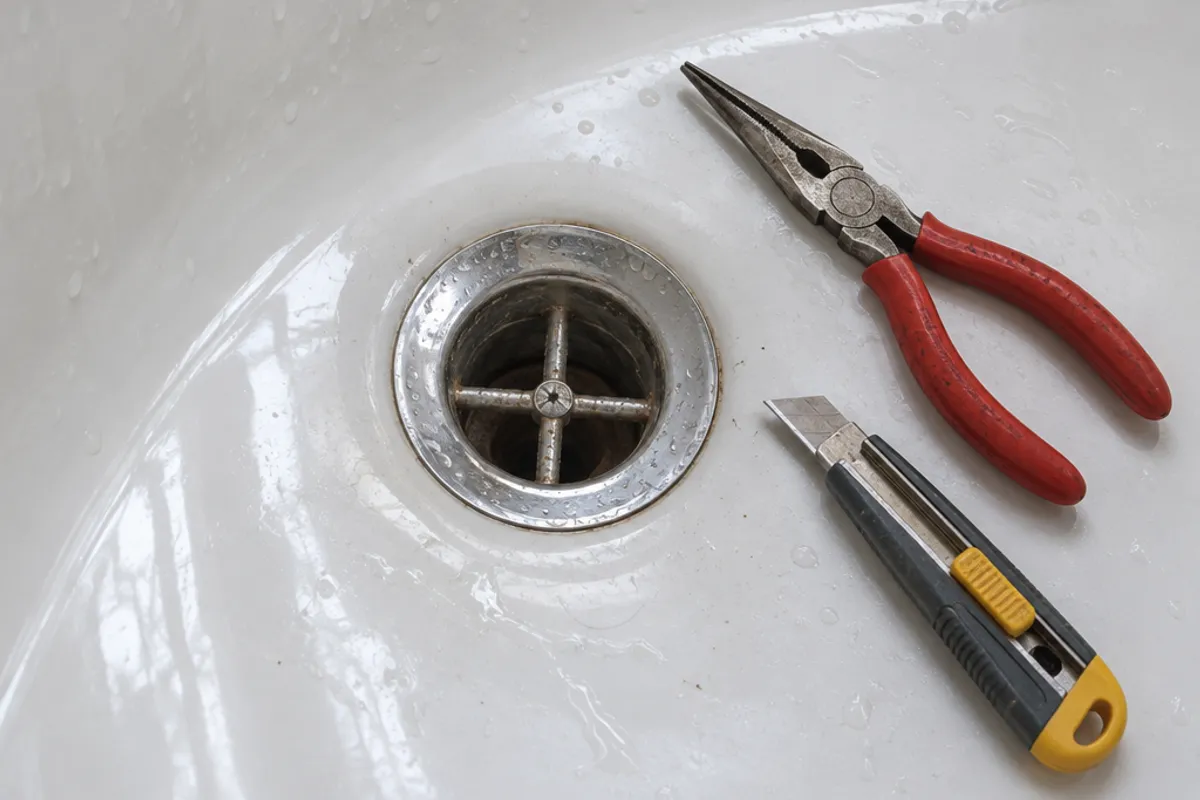
- Cut any caulk or silicone around the drain's rim with a utility knife, and scrape it off without scratching the bathtub.
- Insert the drain removal tool into the crossbar, or seat an internal extractor in the drain.
- Turn the tool counter-clockwise with a wrench or ratchet, steadily rather than in jerks, to loosen the drain. Old putty may crack and squeeze up as it turns; don't worry, it is replaced anyway.
- Unscrew the drain flange and lift it out. Throw out the old putty and wipe the threads in the shoe.
With no drain removal tool, insert the jaws of needle-nose pliers into the crossbar and push a screwdriver through the pliers' handles to turn them. It works on a drain that isn't stuck, but it slips easily, so tape the pliers and keep a hand on them. Some drains have no bars, only nubs inside the rim; a tool with a matching profile, or pliers on two opposite nubs, turns those in the same direction.
What if the drain flange is stuck, rusted or stripped?
An old metal drain can be held by rust, hardened putty, or threads corroded into the shoe. Try these in order, and stop before you force anything:
- Old putty or sealant. Warm the drain flange with a hair dryer to soften it and try again; old putty eventually lets go. Never use a torch: the shoe below may be plastic, and heat can damage the bathtub.
- A broken or rusted crossbar. Switch to an internal extractor.
- Stripped threads. If the drain turns but won't rise, the threads are stripped. An extractor sometimes pulls it up as it turns; otherwise you have to replace the shoe too.
- The whole drain spins. If the shoe turns with the drain flange, nothing is holding it. Someone has to hold the shoe from below or behind the bathtub while you loosen the drain from above.
If none of these works, a plumber can cut the old drain out without damaging the shoe or the tub.
What sits below the tub drain?
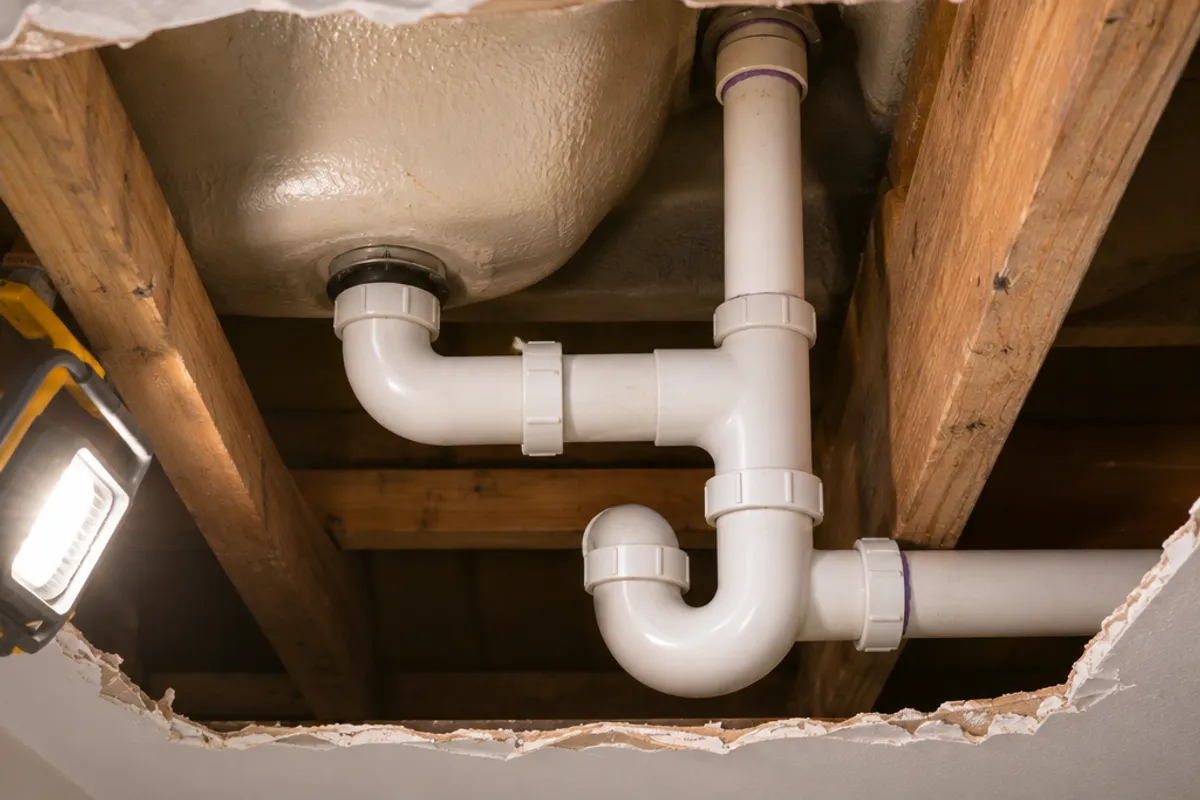
Removing the drain flange shows only the top of the drain system. Under the bathtub are:
| Part | Where it is | What goes wrong |
|---|---|---|
| Drain shoe | The elbow the drain flange screws into, under the drain opening | Cracks, or its threads strip |
| Shoe gasket | Between the shoe and the underside of the tub | Hardens or shifts, so the drain leaks whenever there is water in the tub |
| Overflow pipe | Runs down from the overflow elbow behind the faceplate | Its gasket at the tub leaks after deep baths |
| Tee | Where the overflow pipe and the shoe's waste arm meet | Loose or cracked joints |
| Trap and drain pipe | Below the tee | Slip nuts work loose; old metal traps rust |
If water shows up only after a deep bath, the overflow gasket is the likely source: see tub overflow gasket leaking. A stain on the ceiling below can travel along joists before it shows, so trace the leak before you open anything.
Unlike sink drains, which sit in the open under a bathroom sink, a tub drain is closed in by the floor, a wall or the ceiling below, so a leak at the shoe or the trap is fixed from there.
How do you reinstall or replace the drain and stopper?
Follow the instructions that come with the new drain, because makers differ on putty, silicone and gaskets. The general process for installing it:
- Before installing, take the old drain flange to the plumbing store to match the new drain's threads. Threads differ between makers, and a drain that doesn't match the shoe won't seal.
- Clean the drain opening, the tub around it and the shoe threads.
- Seal under the drain's rim with plumber's putty or silicone, as the instructions say.
- Thread the new drain in by hand, then snug it with the tool. Don't overtighten: that can crack the shoe or push the gasket out.
- Reinstall the stopper, or the trip lever linkage and overflow faceplate, in the order they came out.
- Fill the bathtub, watch below for drips, then drain it and watch again.
If you discover the shoe is cracked or its threads are gone, the job becomes a waste-and-overflow replacement from below.
When do you need to work in tight spaces under or behind the tub?
You need access to the drain from below or behind when:
- the shoe gasket leaks, or the shoe is cracked or stripped
- the whole drain spins and someone has to hold the shoe
- the new drain won't thread into the old shoe
- the trap, tee or drain pipe leaks
If the bathroom is above a finished room or basement, open the ceiling under the drain end. If a closet, hallway or bedroom is behind the tub, open the wall behind the drain end, between studs. Cut a small inspection hole first and enlarge it only as far as the work needs; installing an access panel in drywall covers marking and cutting. If the faucet valve is in the same wall, plan one opening for both, as in replacing a tub faucet with no access panel.
Check for wiring and pipes first, and turn off nearby circuits at the breaker. Electrical work is for a licensed electrician, and drain work may need a licensed plumber and a permit where you live. If the wall is a fire separation, such as one to an attached garage, ask your building department first.
Close the opening with an access panel, not a patch, so the next repair starts without a saw. From our catalog:
| Model | Type | Opening | Size on the wall |
|---|---|---|---|
| SAP1414 | Removable spring-loaded panel | Fits openings from 10 × 10 to 14 × 14 in | 16 × 16 in cover |
| PAD1212 | Hinged door | Cut-out and service opening 10.35 × 10.35 in (estimated), rounded corners | 12 × 12 in overall |
The SAP1414's springs hold it in the opening, and you remove it completely to work. The PAD1212's frame screws on over a cut-out traced from the 1:1 template on its product page, and the screws come with the door. Neither is fire-rated, and we publish no water-resistance rating for them, so keep them on the dry side. Compare them on the tub access panels page and the plumbing access panels page.
Your local building department can say whether it wants a way in to the tub's drain connections; ask before you patch the wall or ceiling.
More posts: what should you read next?
If the bathroom also has a shower stall, see how a shower drain is replaced.
Measure before you order: our guide on how to measure for an access panel shows how, and the access panel size chart compares every opening and cover.