
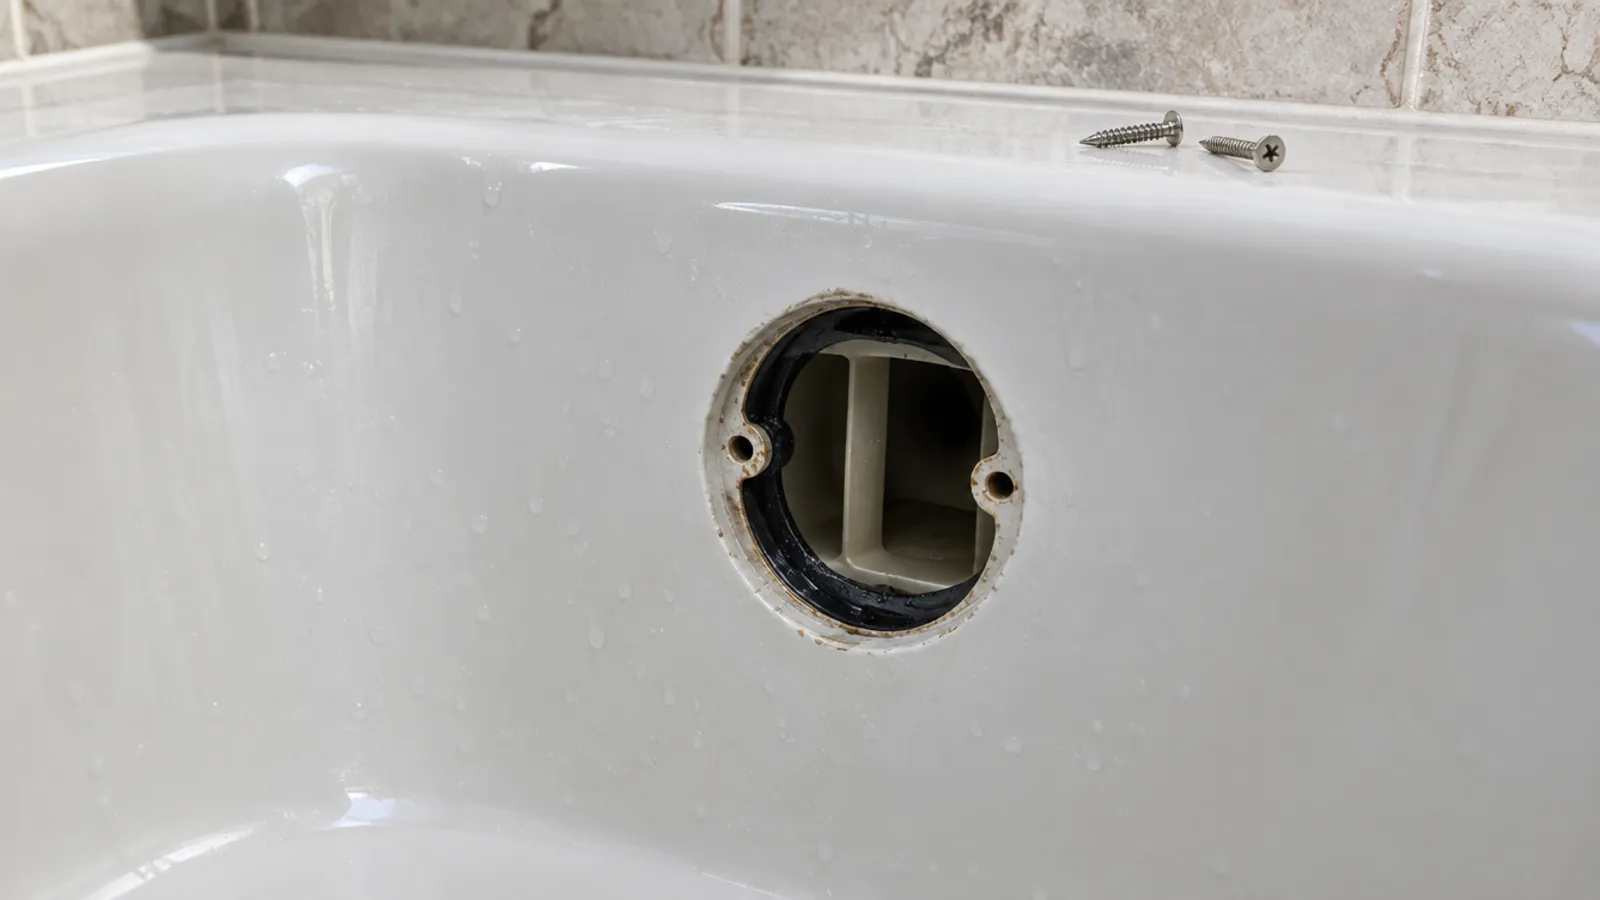
A leaking tub overflow gasket lets water escape whenever the bath is filled high enough to reach the overflow, so the usual sign is a stain on the ceiling below that grows after deep baths. You can often fix it from inside the tub: remove the overflow plate, replace the gasket and tighten the screws evenly. If the elbow behind the overflow plate is loose or cracked, or the new one will not seat, you need access from behind the tub.
This guide covers the overflow; the rest of the tub drain assembly runs from the flange down to the trap.
What does the overflow gasket do behind the overflow plate?
The overflow plate (also called the overflow cover, trim plate or faceplate) covers the opening near the top of the tub at the drain end. On a trip-lever drain, the lever that operates the stopper sits on the plate too. Behind it sits the elbow at the top of the overflow tube, and the gasket is the rubber ring between the elbow and the tub. When you tighten the overflow plate screws, they draw the elbow in and squeeze the ring.
The elbow is one part of the tub drain assembly, or waste and overflow. The drain flange in the drain opening usually screws into the drain shoe, and the shoe and the overflow tube meet at a tee above the trap. The tub spout and faucet are the separate supply side. From inside the tub you can reach only the flange and the overflow plate, which means the rest of the drain assembly is reached from behind or below.
The ring only gets wet when water reaches the overflow, so when it hardens or splits, or the screws work loose, the water runs down the outside of the tub where you cannot see it. Fixing it early keeps a small plumbing repair from becoming a ceiling repair.
How do you know the leak is coming from the overflow?
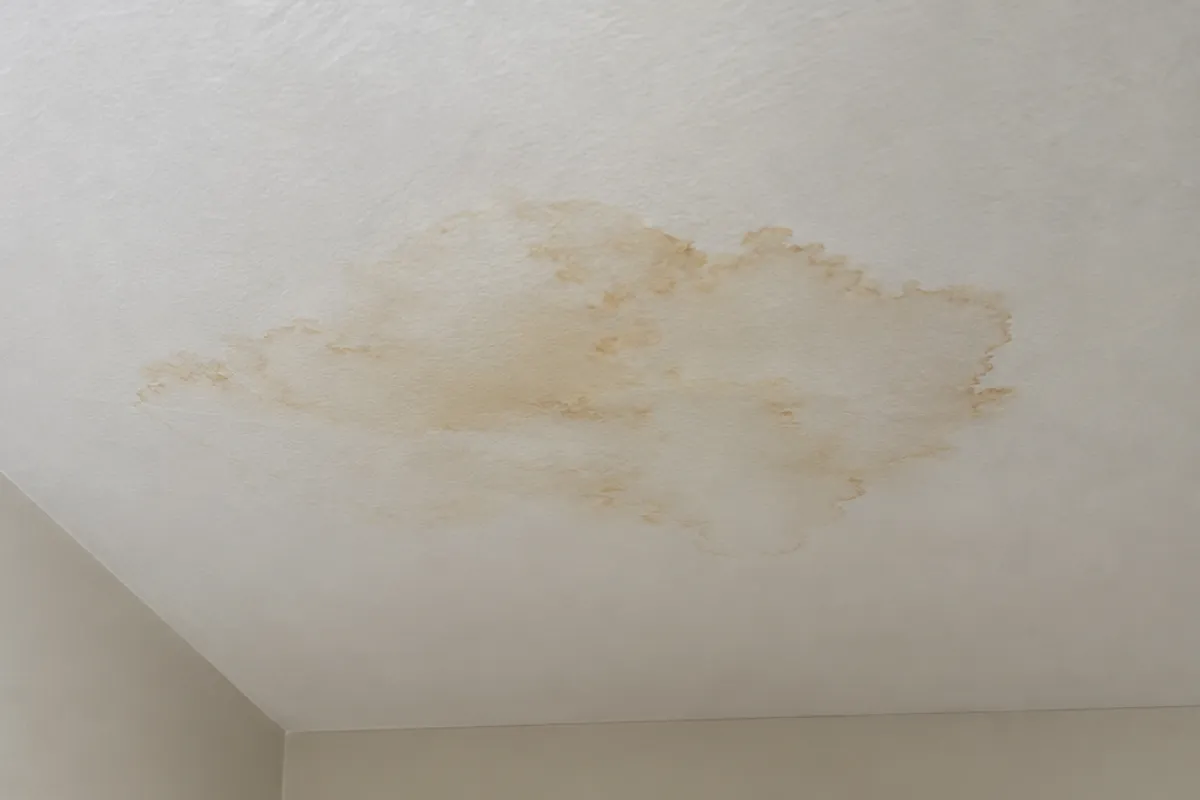
The signs are a stain or drip on the ceiling below after the tub has been filled high, drips at the height of the overflow plate seen from behind the tub, or a damp subfloor at the drain end.
Other parts of the drain assembly leak at other times, and the timing points to the source: the drain flange or shoe whenever there is water in the tub, the trap while the tub drains, and the tub spout while the faucet runs. Water can run along pipes and framing before it drips, so a stain is not always right under the source.
How do you test the tub drain and overflow for a leak?
- Dry everything you can see from below or behind, and put a towel or bucket under the tub drain.
- Close the drain, fill to just below the overflow plate, turn off the faucet and watch. Any leak now comes from somewhere else; in that case, check the tub drain flange, the shoe and the faucet.
- Run the faucet until water flows into the overflow, then turn it off. Water behind the plate now, or a stain that grows, means the gasket or the elbow is leaking.
- Open the drain. Drips as the tub empties point lower down the drain assembly: the shoe, the tee or the trap.
If a finished ceiling hides the plumbing, a small inspection hole below the drain end lets you look, and a panel you can remove closes it afterwards.
What is needed to replace the gasket, and how long does it take?
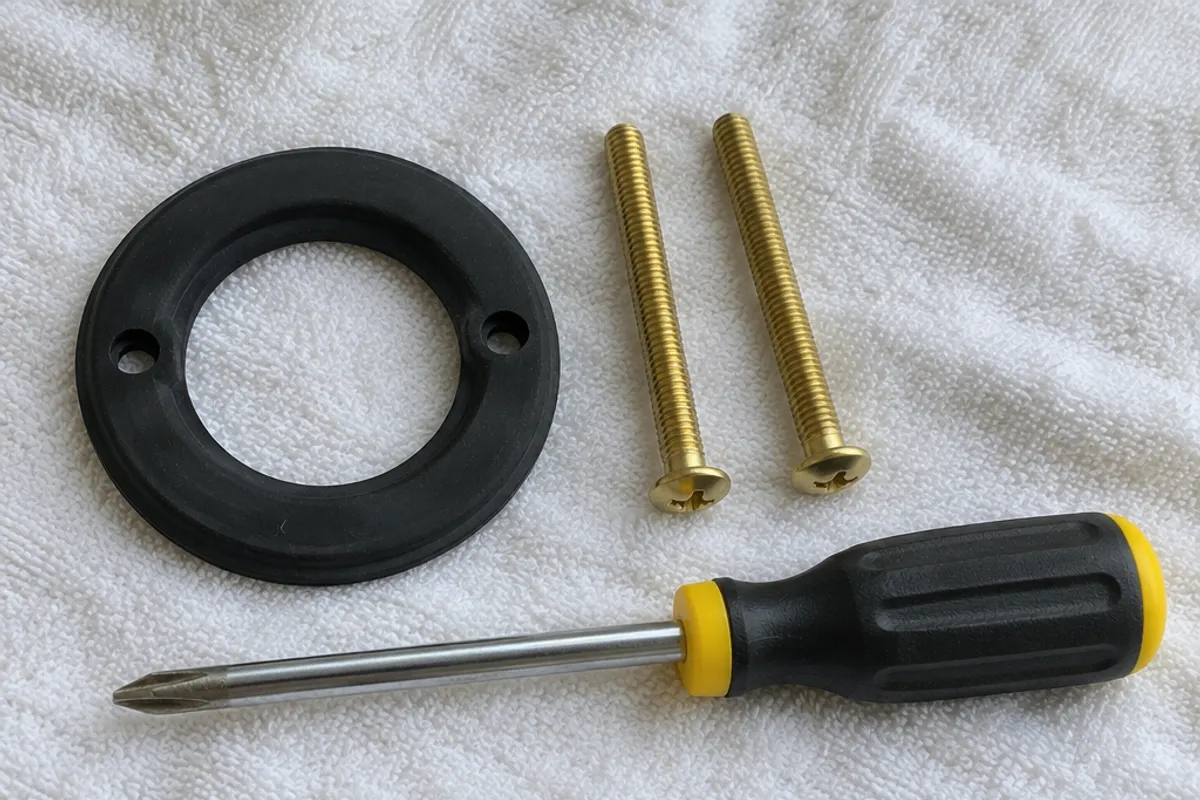
No special tools are needed:
- a new gasket that matches your elbow (take the old one, or the brand of your drain, to a plumbing supply or hardware store)
- new overflow plate screws, if needed, the same size as the old ones
- a screwdriver to remove the screws, a flashlight, a rag and a towel
From the front, this is a small job, and a new gasket costs little: most of the time goes into easing the old one out and lining up the replacement. Read the kit's instructions first, and leave time for the leak test. Behind the tub, with an opening to cut and a door to fit, it is a bigger job.
How do you replace a bathtub overflow gasket from the front?
- Drain the tub and dry around the overflow plate. Lay a towel over the drain end so a dropped screw cannot chip the finish or go down the tub drain.
- Remove the screws and the overflow plate. On a trip-lever drain, remove the linkage with it: lift it straight up and keep it in order.
- Remove the old gasket through the opening. If you can feel the elbow move, push it back slightly to free it. Old rubber can come out in pieces, so remove every piece, and wipe the elbow's face clean.
- Fold the new gasket, feed it through the opening and seat it on the elbow's face the way the kit shows, with any screw holes lined up. Many overflow gaskets are tapered, so check which edge goes where.
- Refit the overflow plate and the linkage, holding everything in place as you start the screws. If the elbow has drifted back, a long screw started partway into one of its holes gives you something to pull it forward with.
- Tighten the screws a little at a time on each side, so the ring is squeezed evenly. Stop when it is snug, because overtightening can crack a plastic elbow.
- Repeat the test to check the repair.
The front repair succeeds only when the elbow can be pulled up to the tub tightly enough to seal.
When does the drain assembly need access from behind the tub?
In these cases the problem is the elbow rather than the gasket, or the new one cannot be seated from the front:
- the elbow is loose, cracked, or has pulled away from the tub
- its screw holes are stripped, so the trim plate screws will not tighten
- the overflow tube is glued solid and the elbow will not move far enough
- the leak comes back after a careful refit, or the test shows it at the tee, the tube or the shoe
Replacing the elbow, or the whole tub drain assembly, is a bathtub overflow drain replacement: you install the new parts from behind or below.
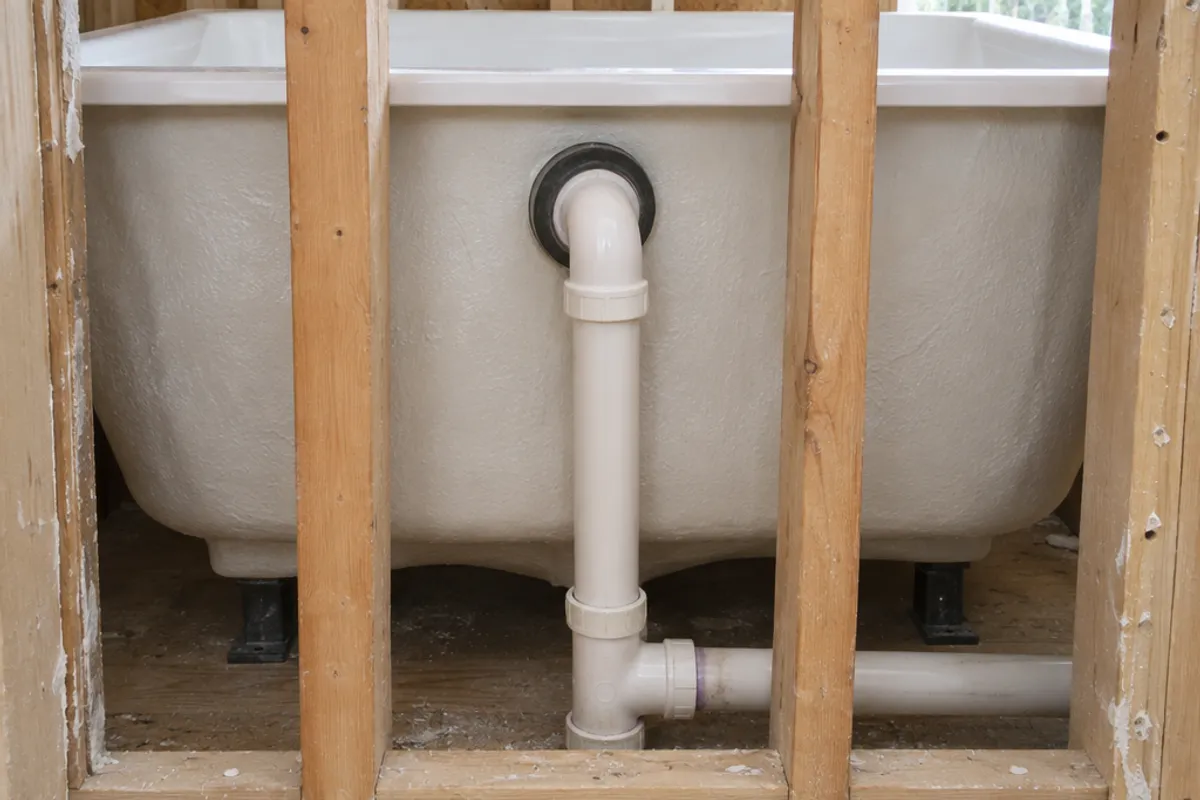
The way in is from the room behind the tub, such as a closet or hallway. Transfer the opening's position to that side, cut a small inspection hole first, and enlarge it only as far as needed. How to install an access panel in drywall covers marking and cutting. If the tub's faucet valve is in the same wall, plan one opening for both, as in replacing a tub faucet with no access panel.
Check for wiring and plumbing, turn off nearby circuits at the breaker, and keep the opening between studs. Some areas require a permit or a licensed plumber for drain work, and electrical work is for a licensed electrician. If the wall is a fire separation, such as one to an attached garage, ask your building department before you cut.
Close the opening with an access door rather than patching it, so the next gasket change starts with opening a latch:
- The PAD1212 hinged door has a service opening and cut-out of 10.35 × 10.35 in (estimated).
- If more space is needed, the PAD1216 hinged door has a service opening and cut-out of 10.35 × 14.35 in (estimated).
- The SAP1414 spring-loaded panel fits openings from 10 × 10 to 14 × 14 in, and you remove it completely to get in.
A hinged door's cut-out has rounded corners, and its product page has a 1:1 template to trace. Keep it on the dry side of the wall: we publish no water-resistance rating for our panels or doors. See the tub access panels page for placing one at the drain end, and the plumbing access panels page for valves and slip joints.
Whether the drain end of the tub must stay reachable is your local building department's call, so ask before you close the wall.
Measure before you order: our guide on how to measure for an access panel shows how, and the access panel size chart compares every opening and cover.