
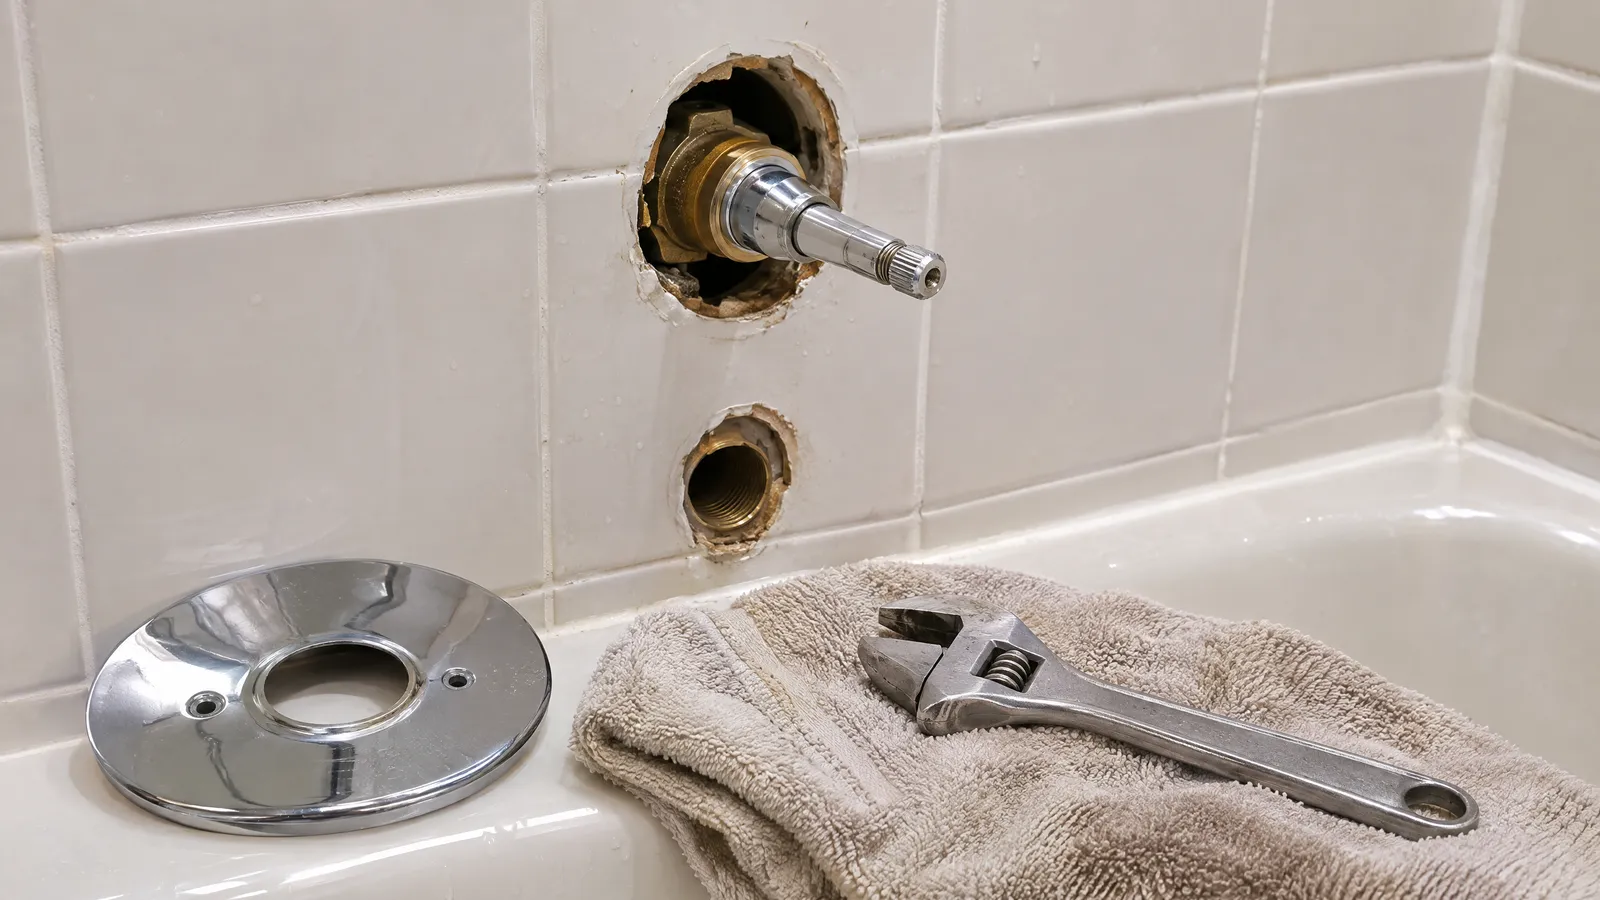
If there is no access panel, you have three routes: replace only the parts you can reach from above, reach the valve from below or beside the tub, or cut an access opening and close it with a panel afterwards. Whichever you choose, shut off the water first, and plan the opening so the next repair needs no cutting.
Why is a Roman tub faucet hard to replace?
A Roman tub faucet is mounted on the tub deck or the platform around it, and its valve body and supply connections sit underneath, inside the platform. When the platform is closed in with drywall and tile, there is no way to reach those parts except from above, through the faucet holes, or by opening the platform.

Some faucets are built so the handles, spout and cartridges come out from above. Others need the valve body and its connections worked on from below. Before you decide on an approach, identify your faucet and find its parts diagram or installation instructions.
Which faucet and valve do you have?
Read the deck before you take anything apart. The layout tells you what is underneath.
- Two handles and a spout, each in its own hole. Each handle sits on its own valve, and tubing under the deck joins both valves to the spout. On one maker's valve system for deck-mount bath faucets, the two valves sit at least 8 in (203 mm) apart, center to center, with a tee to the spout between them.
- More than three holes. The extra holes carry a hand shower or a diverter, and their connections are under the deck too.
- One handle and a spout. A single mixing valve under the deck feeds the spout, so the joints are close together.
Next, turn a handle from off to full on. The valves in that system are quarter-turn ceramic discs, so a handle that stops after a quarter turn suggests the same type. Then look for a name or model number on the trim, the escutcheon or the valve body, and find the parts diagram that goes with it.
Expect the trim and the valve to be separate parts. One maker's deck-mount faucet trim guide says the valve is sold separately, with its own instructions. The same maker's trim specification sheet lists only its own valve systems as required parts. So a new trim made for your existing valve can go on from above, while a faucet from another maker is likely to need a new valve under the deck.
What can you do from above?
Start with the least destructive option.
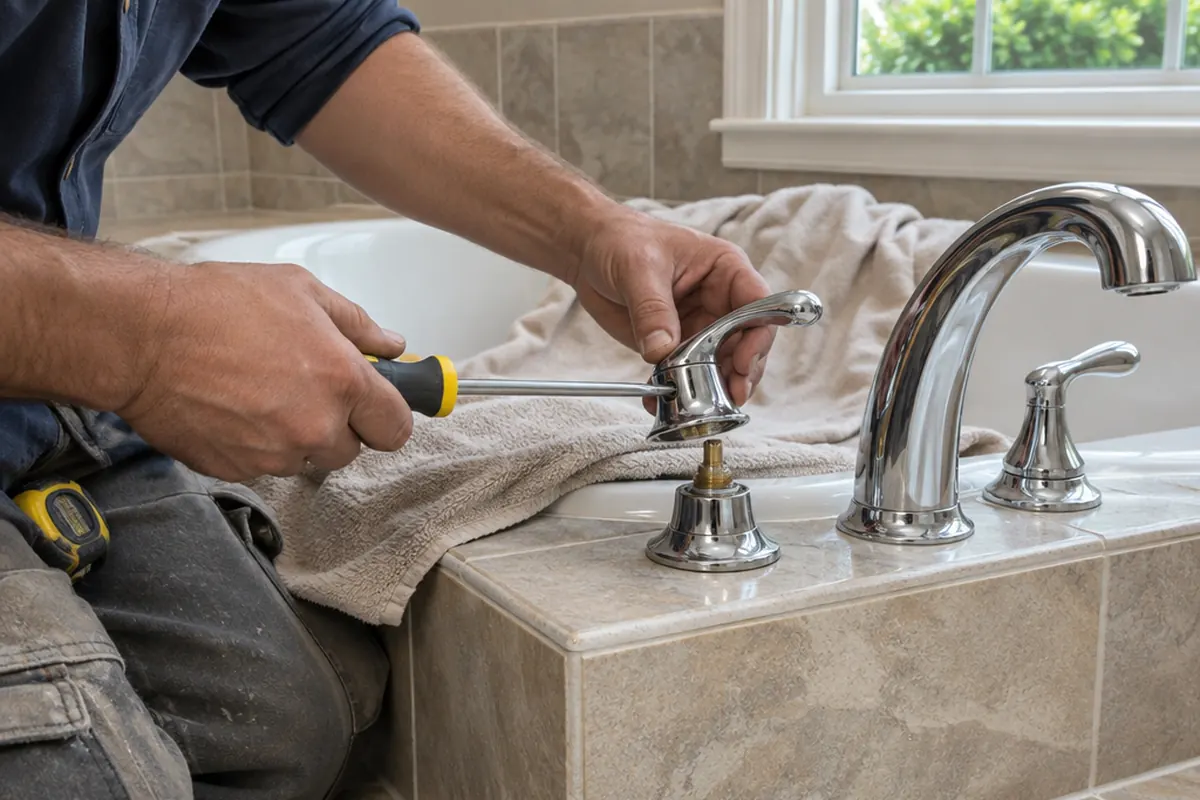
- Shut off the water to the tub. Close its stop valves if it has them, or the main if not, then open the faucet to drain the lines.
- Put a towel in the tub to protect the finish and to catch small parts, and plug the drain.
- Remove the handles and the spout. Look for set screws under caps or on the underside, and keep the parts in order.
- Take photos of each step, and note the brand and any model marks on the valve body or cartridges.
- Check whether the cartridges or stems unscrew from above. If the leak or failure is in a cartridge, replacing it from above may solve the problem without any opening.
If the problem is in the valve body, a supply connection or a corroded fitting below the deck, the top-side route will not get you there.
In that maker's trim guide, the handles thread onto the valve bodies and the spout slides onto a sleeve on its supply tube, held by setscrews. Everything visible on the deck goes on from above, while the tubing and connections under it are reached from below. So the work splits like this:
| Job | Where you work |
|---|---|
| Change the handles or the spout | From above |
| Replace a cartridge or stem | From above on many faucets; the parts diagram tells you |
| Fit a new trim made for the valve you have | From above |
| Stop a leak at a supply connection or the tubing between valves | From below or beside the tub |
| Replace a valve body, or change to another maker's faucet | From below or beside the tub |
Where can you open up access from below?
Look for a face of the tub platform that is easy to cut and repair:
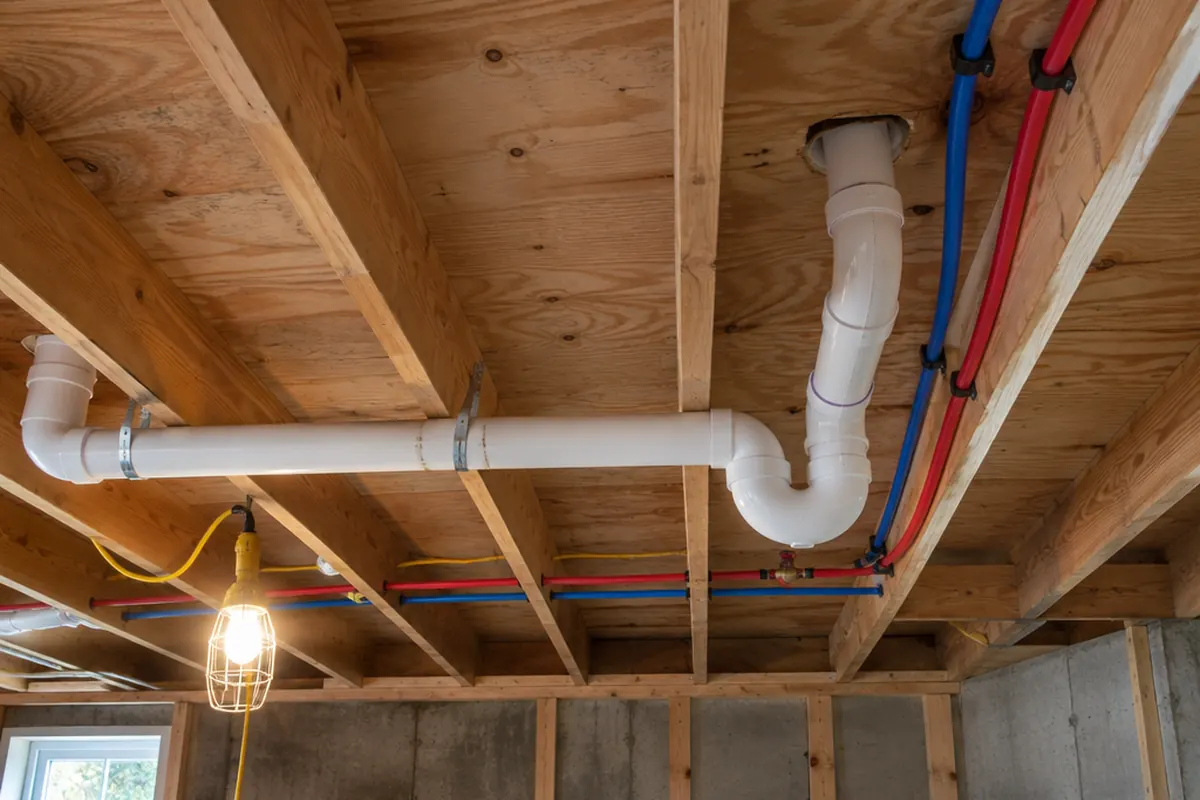
- The platform side or apron, if it is drywall rather than tile.
- An adjoining wall, such as a closet or hallway wall that backs onto the platform.
- The ceiling below, if the bathroom is on an upper floor and the room underneath has a drywall ceiling.
- A basement or crawlspace, if the faucet sits over one and the supplies come up through the floor.
Measure from fixed points, such as a corner and the floor, to locate the faucet on the side you plan to open. Cut a small inspection hole first to confirm you are in the right place before cutting the full opening. Our guide to installing an access panel in drywall covers finding studs, checking for wires and pipes, and choosing between a utility knife and a drywall saw.
Shut off the water and drain the lines first. Check the area for wiring, especially near outlets, switches and any whirlpool pump, and turn off those circuits at the breaker. Wear eye protection when cutting overhead.
How big should the access opening be?
Big enough to do the job with a hand and a wrench at once. Measure the distance between the hot and cold supply connections and the height of the valve body, then add working room around them. A cramped opening makes every fitting harder to reach and turn.
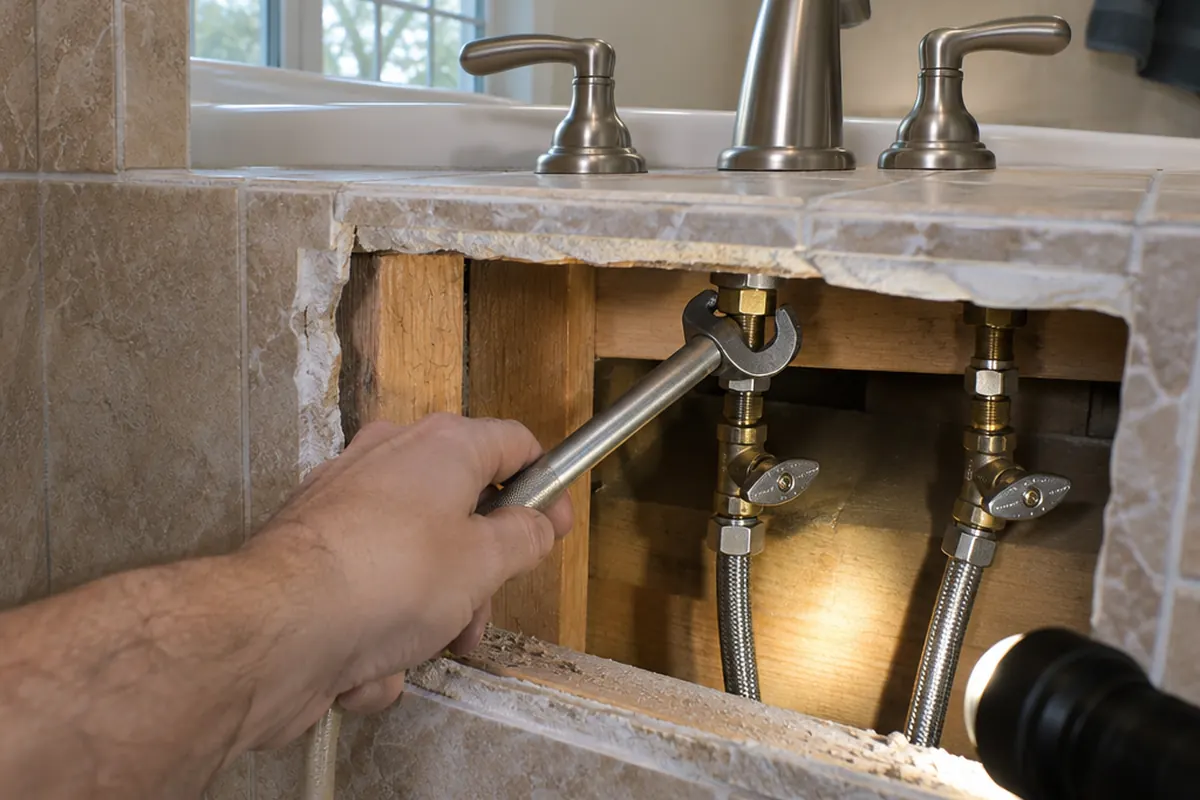
Then pick a panel to suit the opening you cut, using its opening fit or service opening rather than the size in its name:
| Model | Type | Access it gives | Size on the surface |
|---|---|---|---|
| SAP1414 | Removable spring-loaded panel | Fits openings from 10 × 10 to 14 × 14 in | 16 × 16 in cover |
| PAD1216 | Hinged door | Service opening up to 10.35 × 14.35 in (estimated) | 12 × 16 in overall |
| PAD1212 | Hinged door | Service opening up to 10.35 × 10.35 in (estimated) | 12 × 12 in overall |
A removable panel gives you the whole opening you cut and suits a spot you will rarely open. A hinged door stays attached and closes with a latch, which suits a spot you expect to open again. For an Easy-Exs hinged door, cut to the template on its product page: the cut-out is the size of the service opening, with rounded corners.
Measure before you order: our guide on how to measure for an access panel shows how, and the access panel size chart compares every opening and cover.
Which panel fits your repair? Three examples
The measurement drives the choice, not the faucet. These show how.
A drip from one handle of a two-handle faucet. Take the handle off and check the parts diagram. If the cartridge or stem comes out from above, replace it there. You need no opening and no panel.
A leak at the tubing under a widespread faucet, with a drywall platform side. The opening has to reach both valves and the tee between them, so it ends up wider than the valve spacing on that maker's sheet. Measure from the outside of one valve to the outside of the other, add room for a basin wrench at each end, and center the outline under the tee. If the result falls inside a removable panel's range, that panel can close it: SAP1414 spring-loaded panel: fits 10 × 10 to 14 × 14 in openings, overall 16 × 16 in. A hinged door covers less width than its frame suggests, because its cut-out is only as wide as its service opening: PAD1216 hinged door: maximum service opening 10.35 × 14.35 in (estimated), overall 12 × 16 in.
A slow leak under a single-handle faucet, over a finished ceiling. One valve means the joints sit close together, so open the ceiling below with a small inspection hole first and measure from there. If every joint you need falls inside a door's service opening, a hinged door, which stays attached and swings down, can suit a ceiling you will open again; check its instructions for ceiling use first: PAD1212 hinged door: maximum service opening 10.35 × 10.35 in (estimated), overall 12 × 12 in.
Is there a code rule for tub access?
Requirements depend on your local code and the faucet and tub manufacturers' instructions. Before you close the platform, ask your local building or plumbing inspector what access they expect for the faucet valve and the tub drain.
If the tub is a whirlpool, its pump has its own access requirement; see our guide to jetted tub access panel size.
What should you do once the repair is done?
- Turn the water back on slowly and check every connection for drips with the opening still uncovered.
- Run the faucet hot and cold for a few minutes, then check again with a dry paper towel.
- Trim the edges of the opening clean and square, and measure it in width, height and both diagonals.
- Choose a panel listed for that opening and fit it as its instructions describe.
- Keep the faucet's parts list and your photos somewhere you will find them next time.
Closing the opening with an access panel rather than patching it means the next cartridge, supply line or valve repair starts with opening a cover instead of cutting a wall. Browse the access panel range when you have your measurement.