
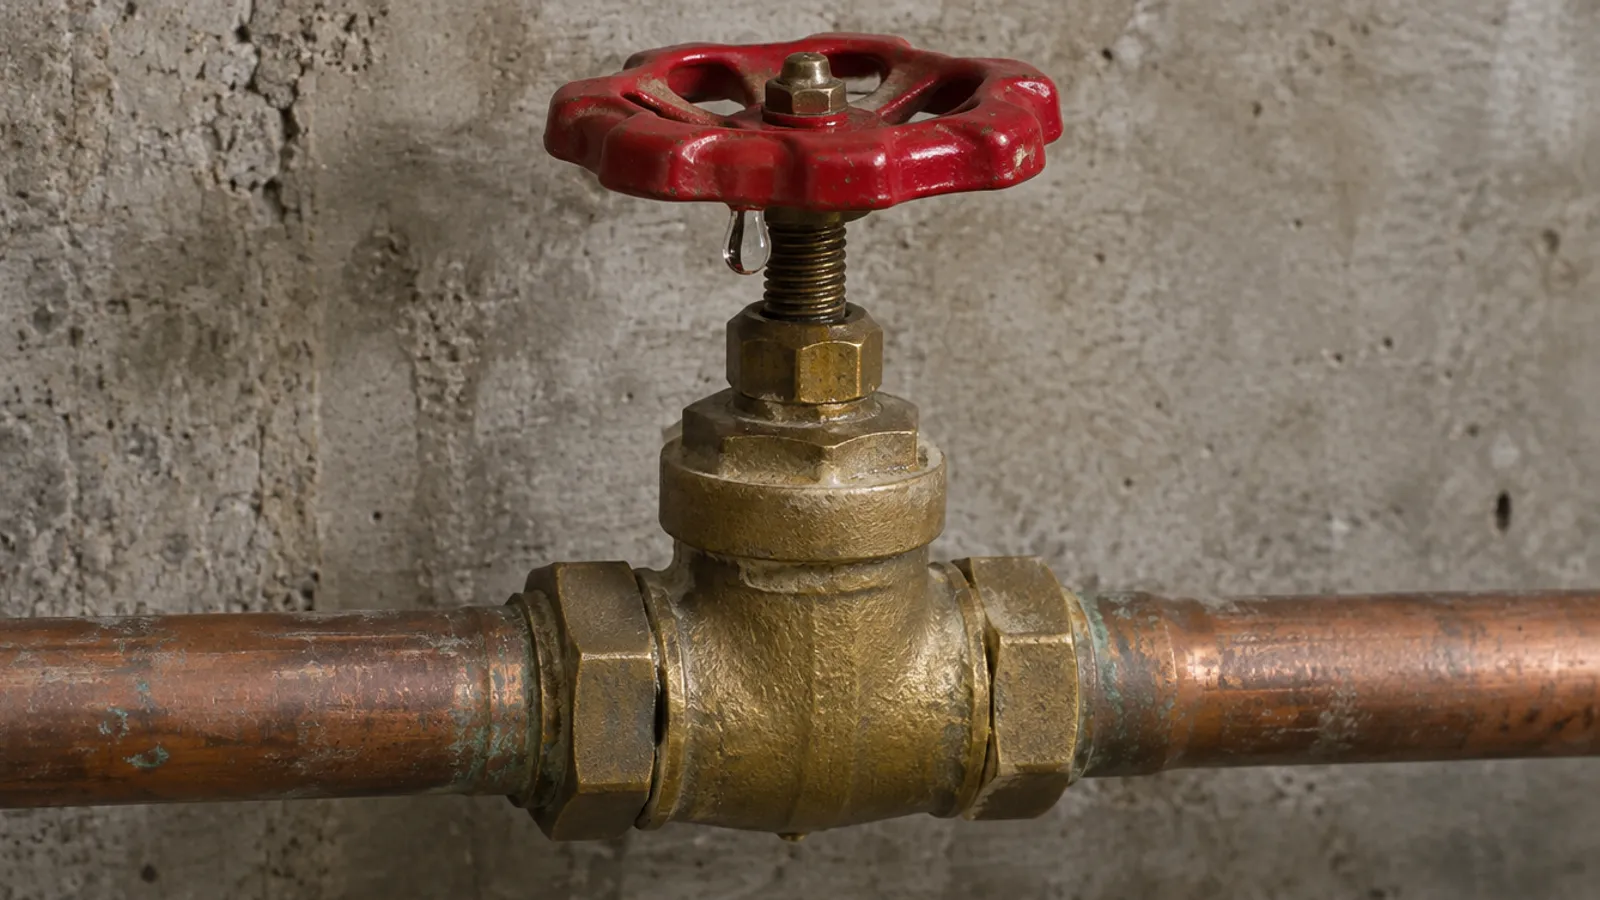
A shut-off valve that leaks when closed has one of two problems. Water dripping from under the handle means worn packing around the valve stem: gently tighten the packing nut or repack it. Water still flowing through the closed valve means a worn washer or seat: fit a new washer where the valve allows, or replace the valve.
Find out which one you have first, because the repair is different for each. To find your valves and close the main, see where the water shut-off valve is.
Is the leak at the stem or through the valve?
Dry the valve, close it, and watch the point where water appears. A leaky shut-off valve shows one of these symptoms:
| What you see | Likely cause | Fix |
|---|---|---|
| Water beads under the handle, at the stem | Hardened or damaged packing | Tighten the packing nut a little; if that doesn't work, repack it |
| A faucet or toilet downstream still runs with the valve closed | A damaged rubber washer, a pitted seat, grit or corrosion | Flush grit by opening and closing it; repair the washer where the valve allows, or fit a new valve |
| The handle turns but nothing closes | A broken stem, or loose parts inside | Replace the valve |
| Drips where the valve meets the pipe | A loose compression nut or a failed joint | Snug the nut with two wrenches; call a plumber for a soldered joint |
| Green buildup, white crust or rust on the body | A slow leak that has run for a long time | Find where it starts; replace a badly corroded valve |
Why does the stem leak after you close it?
The valve stem passes through a packing nut, with packing under it: a packing washer, packing string or, on some valves, an O-ring. Packing that sits still for years hardens, and when you finally turn the handle it shifts and stops sealing. This leak usually occurs right after you move a valve that hadn't moved in years, and it is the easiest one to repair.
In cold regions such as Alberta, Quebec and the Maritimes, the shut-off for an outdoor hose connection is often closed every fall and opened in spring, which is when its packing tends to start leaking.
Should you be worried about a leaky shut-off valve?
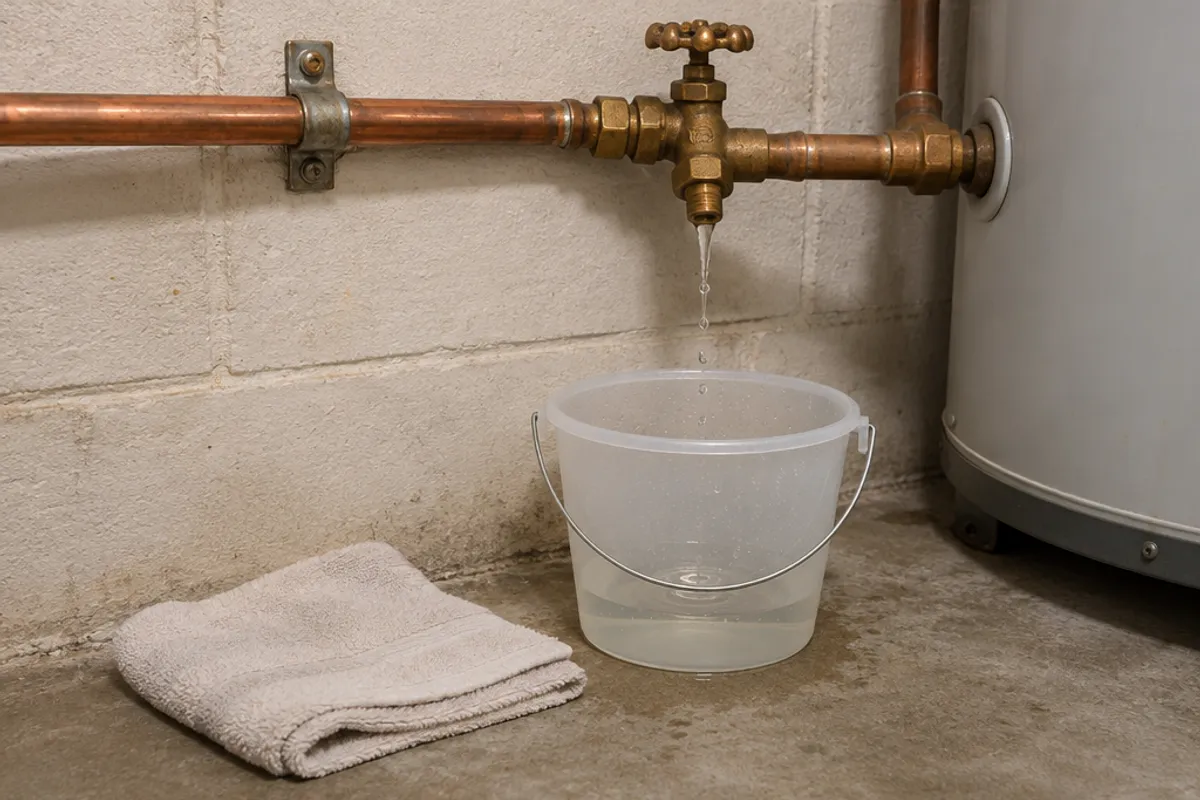
A slow drip is rarely an emergency, but fix it soon: like most small plumbing problems, a leak gets worse. Moisture running down a pipe for weeks can rot a subfloor, stain the ceiling below, feed mold in a wall and add rust and corrosion to the pipe.
Until then, put a bucket under the leak and a towel around the pipe to catch the drips. If the leak stops with the valve fully open, leave it open. If it gets worse, close the next valve upstream or the main, and call a plumber.
How do you fix a leaky shut-off valve at the packing nut?
The solution to most stem leaks is a small turn of the packing nut, done with the water on and the pipe under pressure. Try it before you spend money on a new valve. This method needs only basic hand tools, and the techniques work on most multi-turn valves; if you follow a video, check that its valve looks like yours.
Tools and materials:
- two wrenches: an adjustable wrench for the packing nut, and a second wrench or pliers to hold the valve body
- a screwdriver, a towel and a bucket
- packing material, in case tightening doesn't work: graphite packing string or a packing washer that fits your valve, from a plumbing supply store
Gently tighten the packing nut
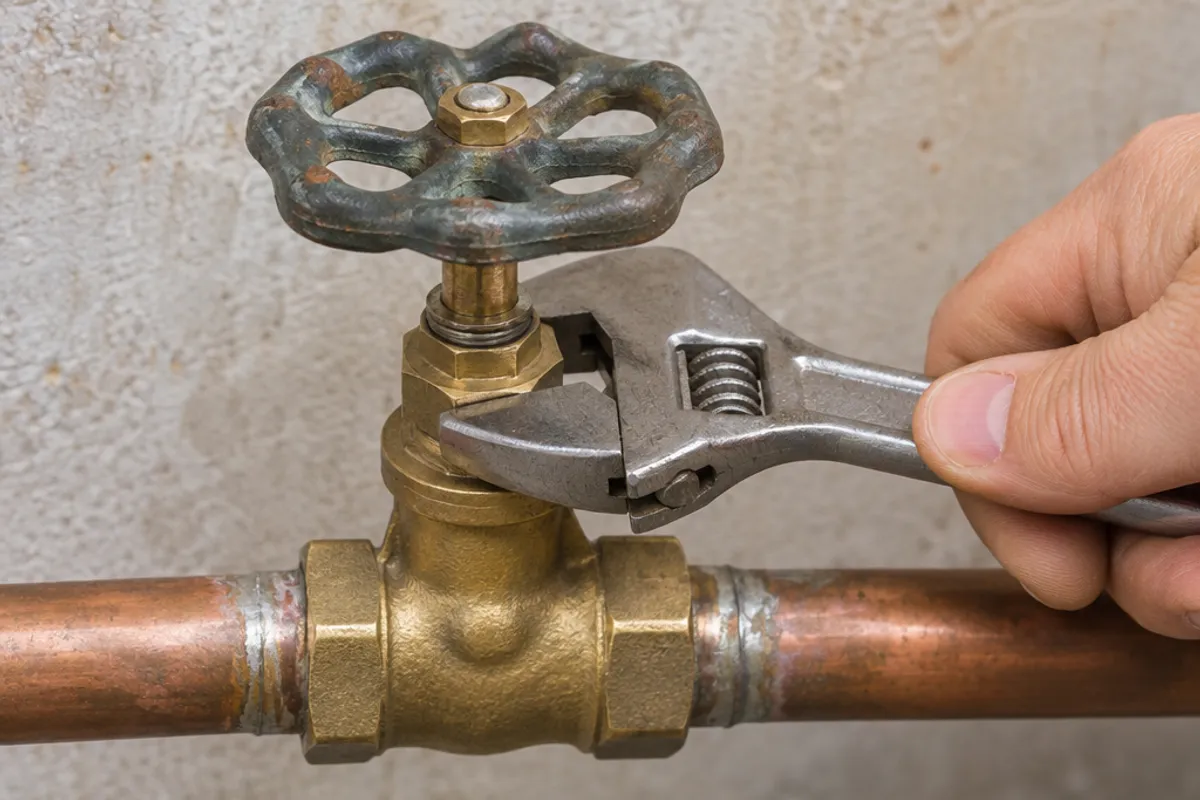
- Find the packing nut, the small nut right under the valve handle (not the larger bonnet nut below it, which holds the valve together).
- Hold the valve body steady with one wrench, so you don't twist the pipe.
- With the adjustable wrench, turn the packing nut clockwise, seen from the handle, by a small fraction of a turn.
- Dry it, turn the valve handle open and closed once, and watch for water.
- If it still leaks, tighten a little more and repeat the process. Stop as soon as the leak stops; the handle should still turn by hand.
Don't over-tighten the packing nut. Over-tightening crushes the packing, stiffens the valve handle and can strip the nut or crack old brass. A good rule of thumb: if a few small turns don't stop it, the packing is finished, and more force only creates a new problem.
Replace the packing
If tightening doesn't work, the packing seal is spent: you need new packing material, and the water has to be off upstream. The process is the same on a sink stop and a main valve; only the shut-off upstream differs. Have your tools and packing ready first.
- Shut off the water supply upstream: at the main for a fixture stop, or at the curb stop for the main valve (see below).
- Open a faucet downstream to relieve the water pressure, and set a bucket under the valve.
- Remove the handle screw, save it, and pull the handle off.
- Loosen the packing nut and slide it off.
- Pick out the existing packing material and note its type: washer, string or O-ring.
- Fit the new packing material: wrap string around the stem in the direction the nut tightens, or slide on a matching packing washer, following the maker's instructions.
- Refit the packing nut, tighten it until snug, and refit the handle.
- Turn the supply back on slowly so the pressure returns gently, and check for leaks.
If the valve stem is pitted, bent or badly corroded, new packing material won't seal for long. At that point the lasting solution is a new valve.
What if water still passes through the closed valve?
Try the simple fix first: open the valve fully and close it again once or twice, by hand, to flush grit off the seat. If water still gets through:
- Multi-turn stops and globe valves (round handle). With the water off upstream, loosen the bonnet nut, unscrew the top assembly and swap the rubber washer inside for a matching one. If the valve seat is rough or pitted, a new washer won't seal. Some aren't made to be taken apart, so follow the maker's instructions.
- Gate valves (round handle, many turns, common on older main lines). A damaged gate can't easily be repaired at home, so it is replaced.
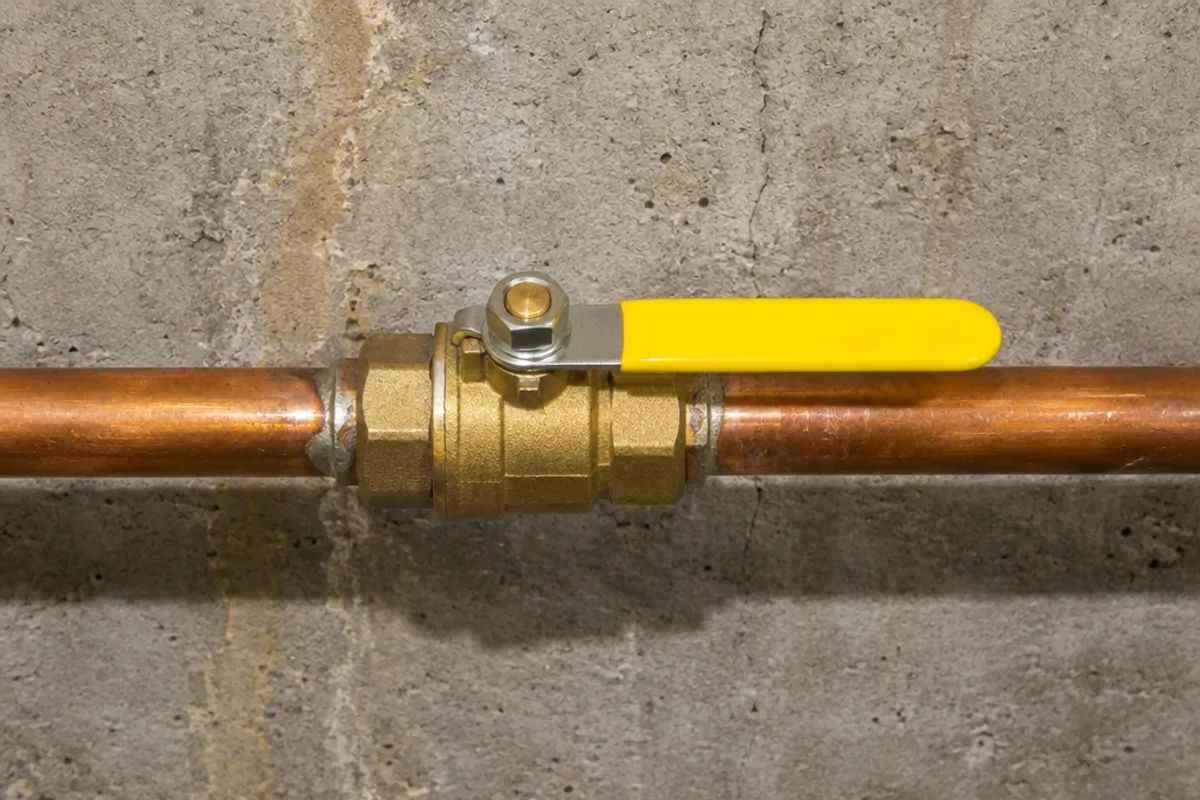
- Ball valves (lever handle). A quarter turn puts the lever across the pipe, in the closed position. If one still passes water there, its seals are damaged and it is replaced.
A quarter-turn ball valve is the usual choice for the new one: the lever shows at a glance whether it is open or closed, and it usually seals more reliably after years without use.
Should you repair or replace the shut-off valve?
Repair it when the valve is in good condition and the leak is at the stem. Replace it when the body or handle is cracked or badly corroded, when the handle won't turn, or when new packing or a new washer didn't stop the leak. Be aware that a valve that hasn't moved in years is the one most likely to stick when you need it, so turning your valves now and then can save you a bigger repair.
Fixture stops under a sink or behind a toilet are the easy case. Most attach to the supply line with a compression nut, a threaded fitting or a push-fit connection, and fitting a new one is among the simpler plumbing DIY projects: close the main water shutoff, take the old stop along to match its connections, and use the same tools.
Changing a main shut-off valve means cutting into the service line, and the utility usually has to shut it off first. Soldering copper means an open flame near framing and insulation. Use a licensed plumber where your area requires one, and ask for advice on whether a permit applies.
What if the main water shutoff valve is leaking?
Nothing in the house sits upstream of a leaking main water shutoff valve, which makes it harder. You can still tighten its packing nut with the water on, holding the valve with two wrenches; that fixes many main leaks at the stem.
For new packing, a washer or a new valve, the water has to be off at the curb stop or the utility's valve near the meter, and in many places only the utility may operate it, so call them first. Finding the water shut-off valve covers the main, the curb stop and each fixture's shut-off.
Don't force a stuck valve: a long wrench or a hammer can crack the body, and then you have a leak you cannot stop. Call the utility if you need the water off now, and have a professional plumber put in a new valve.
When should you call a professional plumber?
Call a professional plumber when the main valve needs repair, when the valve is soldered in or the plumbing next to it shows heavy corrosion, when the leak stops and comes back, or when water has reached wiring or the ceiling below. Fixing most leaky shut-off valves under a sink or behind a toilet is within reach of a homeowner with basic tools; for anything bigger, get advice from a local plumber, who can tell on site whether the valve can be repaired.
How do you keep the valve reachable after the repair?
If you had to open a wall or ceiling to reach the plumbing, don't patch it shut. Fit an access door, so the next repair starts with a latch, not a saw. Your local building department can tell you what access it expects for a valve inside a wall or ceiling.
Size the opening so a wrench reaches the packing nut and both pipe connections, and the handle turns all the way. Then compare:
- A single fixture stop or a small valve. The PAD0808 hinged door is 8 × 8 in overall, with a service opening of 6.35 × 6.35 in.
- A main valve, or two valves side by side. The PAD1212 hinged door is 12 × 12 in overall, with a service opening of 10.35 × 10.35 in (estimated).
On both, the service opening is also the cut-out, with rounded corners, and the product page has a 1:1 cut-out template. The frame sits on the wall or ceiling and is screwed on; the screws come with the door. Our doors are not water-resistance rated, so let the area dry before you close it in (water leak behind a wall covers drying it out). See every size on the access doors page, or compare options on the plumbing access panels page.
Measure before you order: our guide on how to measure for an access panel shows how, and the access panel size chart compares every opening and cover.