
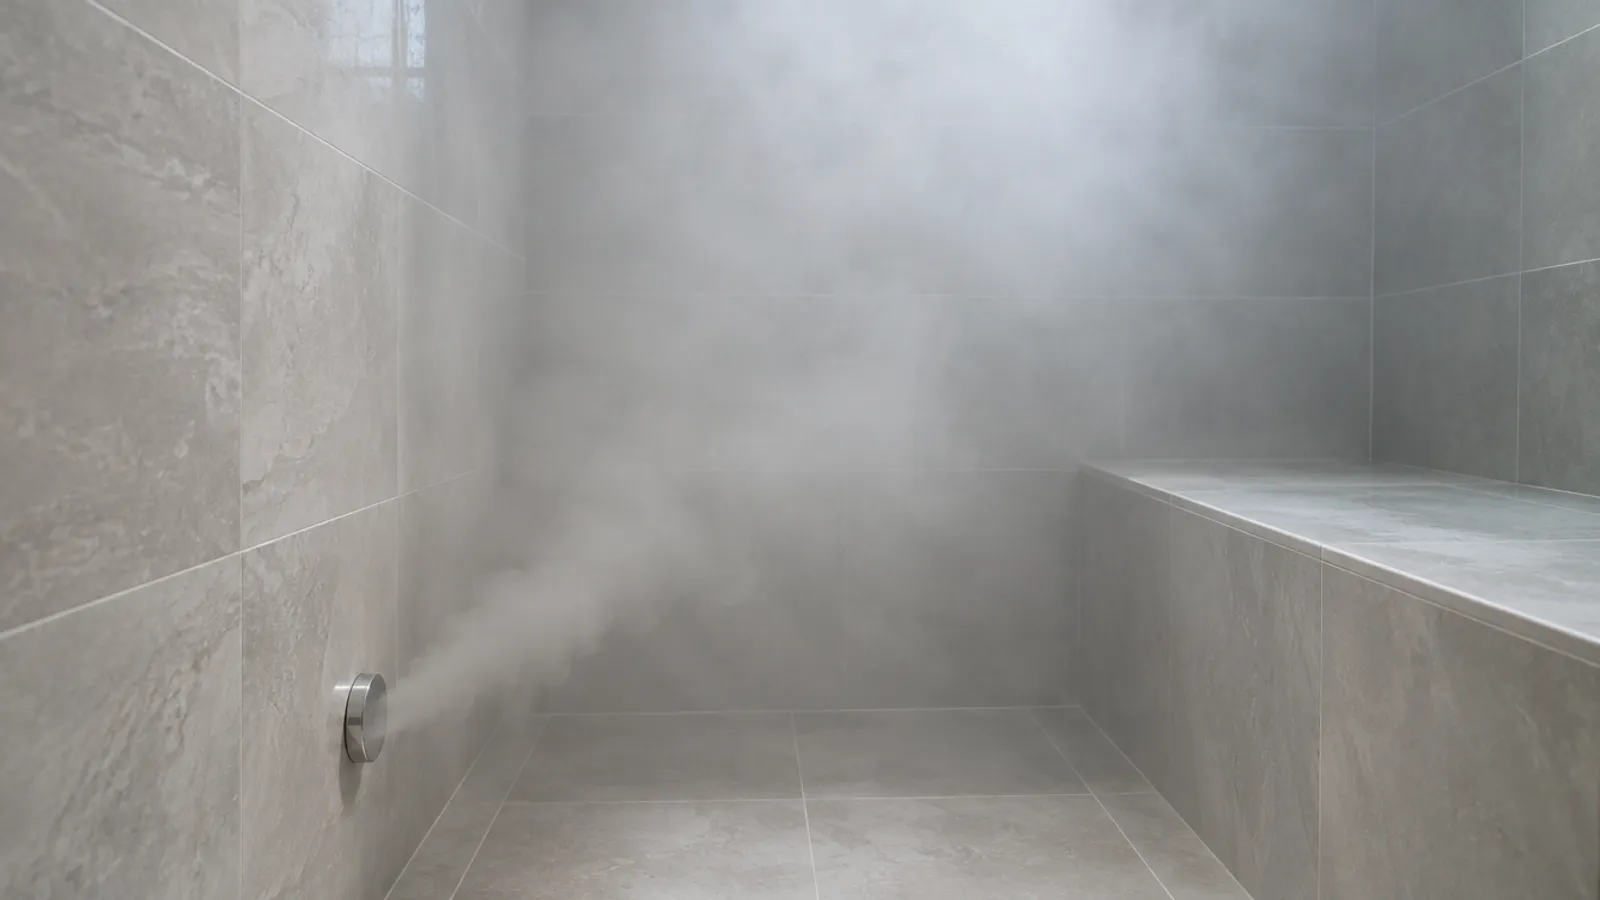
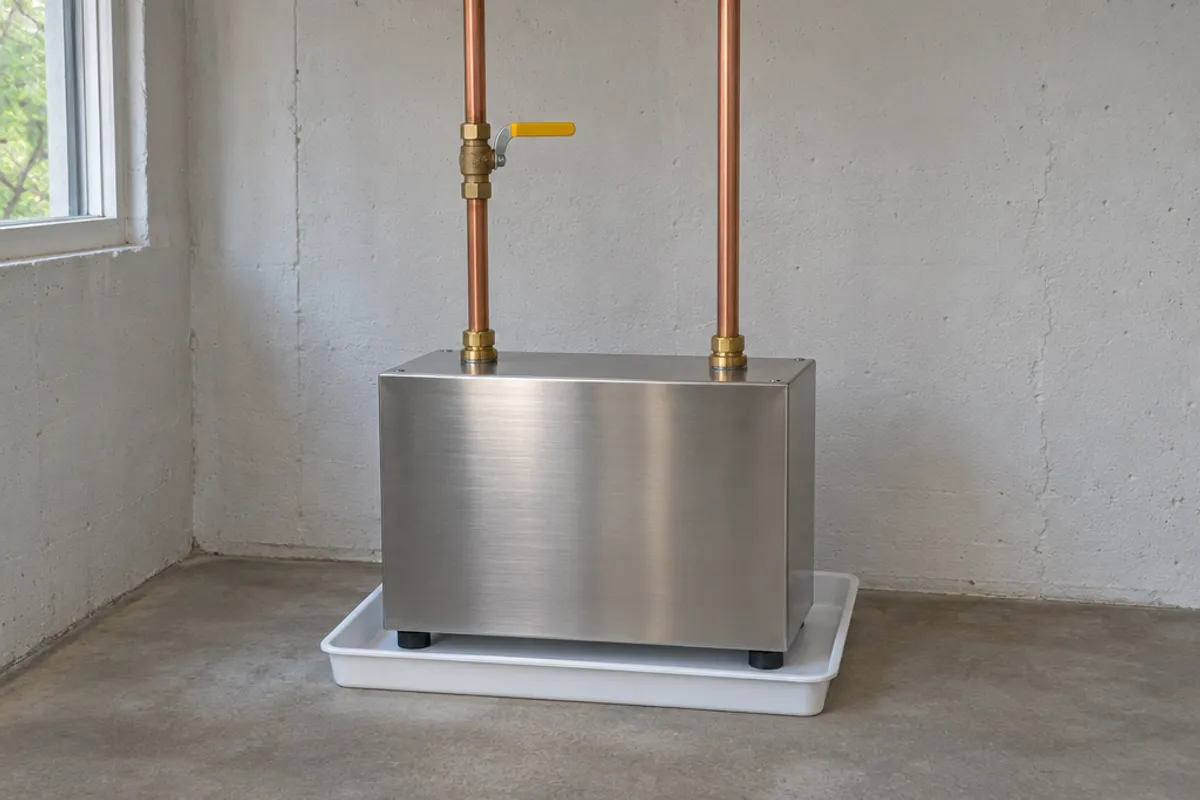
Install a steam shower generator in a dry, heated, ventilated space near the steam shower: a closet, a vanity cabinet, or a climate-controlled attic or basement. Keep it within the steam line limit in its manual (25 ft in one maker's, 50 ft in another's), level on a drain pan, outside the steam room, with room to service it.
Every limit below comes from makers' own manuals and planning guides, linked where they first appear.
They differ on several points, so before installing, follow the manual for your own generator.
Where should you put a steam generator?
Both manuals put the steam generator outside the steam room, as close to the steam shower as practical.
One maker's installation instructions for its 240 V steam shower generators names typical spots: a closet, a vanity cabinet, or a climate-controlled attic or basement. It asks for a dry, non-combustible space with good ventilation and 6 in of clearance around the generator, which must sit upright and level with all connections on top.
The other maker's installation instructions for its 5 to 11 kW steam shower generators asks for a well-ventilated, temperature-controlled room, at least 6 in of air space on at least three sides so the heat can escape, and a heated space so the water never freezes. Neither allows installing the unit outdoors.
A third maker's steam shower planning guide adds one more option: under a built-in shower bench, as long as the generator is not exposed to the inside of the steam shower.
| Spot | Allowed? | What to check |
|---|---|---|
| Closet beside the bathroom | Yes, a typical spot | Ventilation, clearance around the unit, and a door wide enough to service it |
| Vanity cabinet | Yes, a typical spot | Room inside for the drain pan and the clearance |
| Climate-controlled basement | Yes | The steam line length and its rise back up to the bathroom |
| Heated attic space | Yes, in two makers' guides | The 5 to 11 kW manual advises against a generator above the level of the steam head |
| Under a built-in bench | Yes, in one guide | Closed off from the steam, with a way in for service |
| Unheated attic | No | Water in the unit and its lines can freeze |
| Inside the steam room | No | All three makers rule it out |
| Near stored flammable materials | No | One manual rules it out |
How far can a steam shower generator be from the steam head?
Steam cools as it travels, so both manuals want a short run. Their limits are not the same:
| Limit | One maker (5 to 11 kW manual) | Another maker (240 V manual) |
|---|---|---|
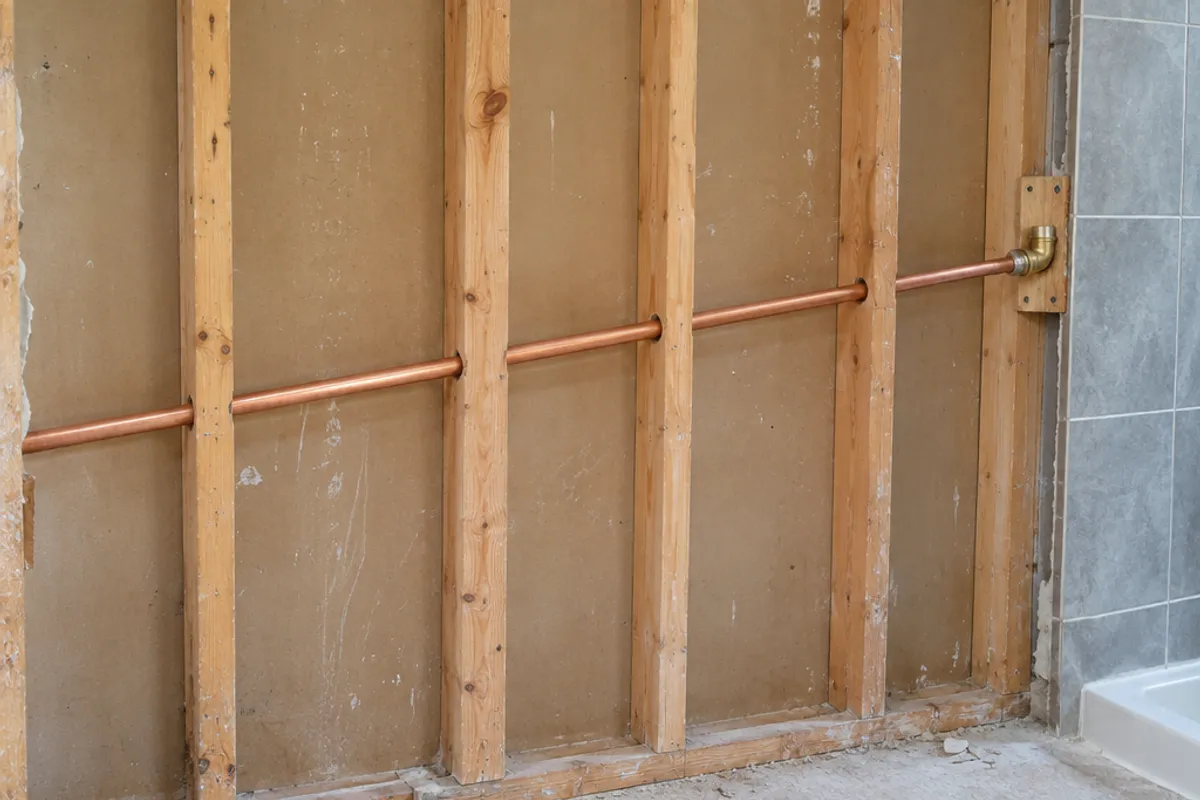
| Steam line length | Within 25 ft of the steam head | Up to 50 ft from the steam shower |
| Steam line pipe | 1/2 in copper pipe only | 1/2 in brass pipe or copper tubing |
| Slope | Rise toward the steam shower at 3/8 to 1/2 in per 12 in of pipe | Up then down once, or horizontal but never dead level; never down then up |
| Insulation | Insulate the water line where it runs through cold areas | Steam-rated insulation on a run over 10 ft or through cold areas |
| Steam head height | 6 in above the shower floor | 24 in above the floor or tub rim, 6 in from any corner |
A dip in the line traps condensate and blocks the steam, which is why neither manual allows a run that goes down and then up, or a valve or trap anywhere in the steam line.
One maker prefers 45° elbows to 90° ones, because sharp turns add condensation, and wants clearance between the hot steam line and the surfaces around it.
What plumbing connections does a steam shower generator need?
Plan these plumbing connections before installing the unit:
- Water supply. Tee off the cold water line, then install a shut-off valve and an in-line filter before the generator. One maker wants copper or brass fittings only on this line, with no PEX or PVC.
- Unions. Install threaded unions close to the generator on the water inlet and steam outlet, for easier repairs. The planning guide calls them highly recommended because a steam generator is an electromechanical device you may need to reach, and one manual recommends unions on every rigid line so the unit comes out without cutting pipe.
- Incoming water pressure. One maker caps it at 70 psi (483 kPa) and says its generator works with a water hammer arrestor or a pressure-reducing valve where a house needs one; our water hammer guide covers both.
- Drain pan. One maker requires a pan under every generator, with its 3/4 in drain piped to an approved drain.
- Pressure relief valve. Pipe it to a spot where hot water can do no harm, never into the steam line or the steam shower.
- Soldering. When installing the plumbing, one maker warns against excessive heat on the generator's connections and against putting flux on the generator, which can damage its seals and plastic components.
Where does flush water go: the floor drain or a drain line?
Flush the new supply line into a bucket before the final connection, as both manuals say, so silt doesn't reach the tank.
One maker's generator flushes itself out through the steam head into the steam shower, so that water leaves by the shower's floor drain without an extra drain line. A drain valve on the same unit helps empty it before service, and plumbing that valve to a drain is optional.
What electrical work does a steam shower generator need?
A steam shower generator runs on 240 V and is plumbed to the water supply. One maker says all electrical work should be done by a qualified electrician; another requires a licensed electrician and a licensed plumber.
Use licensed trades where your area requires them, and ask your local building inspector (in Canada, your provincial electrical inspector) about permits.
Each steam shower generator goes on its own dedicated circuit breaker.
The planning guide expects 240 V (or 208 V) household power, most likely single phase, and one maker's chart calls for 40 to 60 A across its 5 to 11 kW range, so take the figure for your model from its manual.
Where does the steam shower control go?
In one maker's layout, the steam shower control sits inside the enclosure on the wall opposite the steam head, 60 in above the floor.
The planning guide puts it 4 to 5 ft above the finished floor, near the bench for convenient access, and also on the opposite wall, because the thermostat built into the control would not read properly directly above the head.
Another maker wants it as far from the head as possible and close to where the bather sits.
Leave a drip loop in the control cable so moisture doesn't follow it to the generator, and never wrap the cable around the hot steam line.
Where should the steam head go for safety and maximum comfort?
Low down and away from where people sit. Both manuals warn against a steam head near a seat or a built-in shower bench, because it gets hot enough to scald, so plan the bench on the opposite wall, as far from the head as the room allows.
The 240 V manual adds two burn warnings: stay away from the steam head from the moment the unit is on until up to one hour after it shuts off, and never fill the aroma reservoir on it while the unit is on. If you plan to use aromatherapy oils, the 5 to 11 kW manual asks you to check first that they won't cause an allergic reaction.
Placement heights differ by maker: the planning guide says 6 to 12 in up from the floor of the steam shower, away from the bather's head, body and feet, and the table above shows the other two. Follow the instructions that come with yours.
The same guide puts comfort first: you sit for the whole session, so plan the seat and keep the controls where you can reach them without getting up.
What materials, ventilation and lighting does the steam room need?
Pick surfaces that steam can't soak into: choose non-porous materials. The planning guide points to tile and stone that don't absorb moisture, and the 240 V manual asks for wall, ceiling and floor materials that suit steam. If the walls are acrylic, that manual says their maker must rate them for steam.
To prevent mold and mildew, the guide lists hot mopping, a vapor barrier or a closed cell membrane as good options.
In the 240 V manual's retrofit steps for an existing shower, the rough-in fitting goes through a hole drilled in the finished wall, plumbed from behind, and sealed so steam room moisture can't get behind the tile.
Outside the steam shower, the guide recommends a standard bathroom exhaust fan and louvers to help prevent mildew.
It also says lighting can make a big difference, and suggests recessed task lighting made for steam room moisture and temperature.
What size steam shower generator do you need, and does ceiling height matter?
Size it from the room's volume: length × width × height of the overall space, in cubic feet.
One maker's chart rates its 5 kW unit for a room of up to 84 cubic feet and its 11 kW unit for up to 317 cubic feet.
Ceiling height matters too. Both manuals base their charts on an 8 ft ceiling and say to choose the next larger steam generator for every extra foot, up to a 10 ft maximum.
What if one steam generator isn't enough?
Large rooms take two. The 5 to 11 kW manual's chart pairs two 9 kW generators for a room of up to 550 cubic feet, and two 15 kW units for up to 1,000 cubic feet.
A dual installation doubles some of the work:
- each generator needs its own dedicated circuit;
- each steam outlet needs its own steam line, because the manual warns that interconnecting the outlets is a risk of explosion.
The planning guide calls an 8 ft ceiling optimal. Steam rises and gathers near the ceiling, so in a much taller room it sits above the bather instead of around them.
Makers differ on a sloped ceiling. The 240 V manual asks for a slope of 1 in per foot, while the planning guide doesn't think one is necessary unless you use the steam shower for more than 45 minutes at a time.
What service access does a steam shower generator need?
More than any access panel can give. One maker sets a minimum service access opening of 24 × 15 in (610 × 381 mm).
Another asks for a spot with convenient access for servicing and an unobstructed access panel, and recommends flush maintenance every 1,000 minutes of use.
Plan the steam shower generator behind a closet door, a vanity cabinet door or a framed service opening at least as big as its manual asks.
Where does an access panel help?
That opening is bigger than any panel or door we sell, so none of ours is the steam generator's service access.
Where ours help is on the water supply. The shut-off valve and filter must stay reachable, and if they end up behind a finished surface away from the generator, a panel there keeps them in reach:
- A shut-off you may need in a hurry: PAD1212 hinged door: maximum service opening 10.35 × 10.35 in (estimated), overall 12 × 12 in
- A filter or valve you rarely touch: SAP1414 spring-loaded panel: fits 10 × 10 to 14 × 14 in openings, overall 16 × 16 in
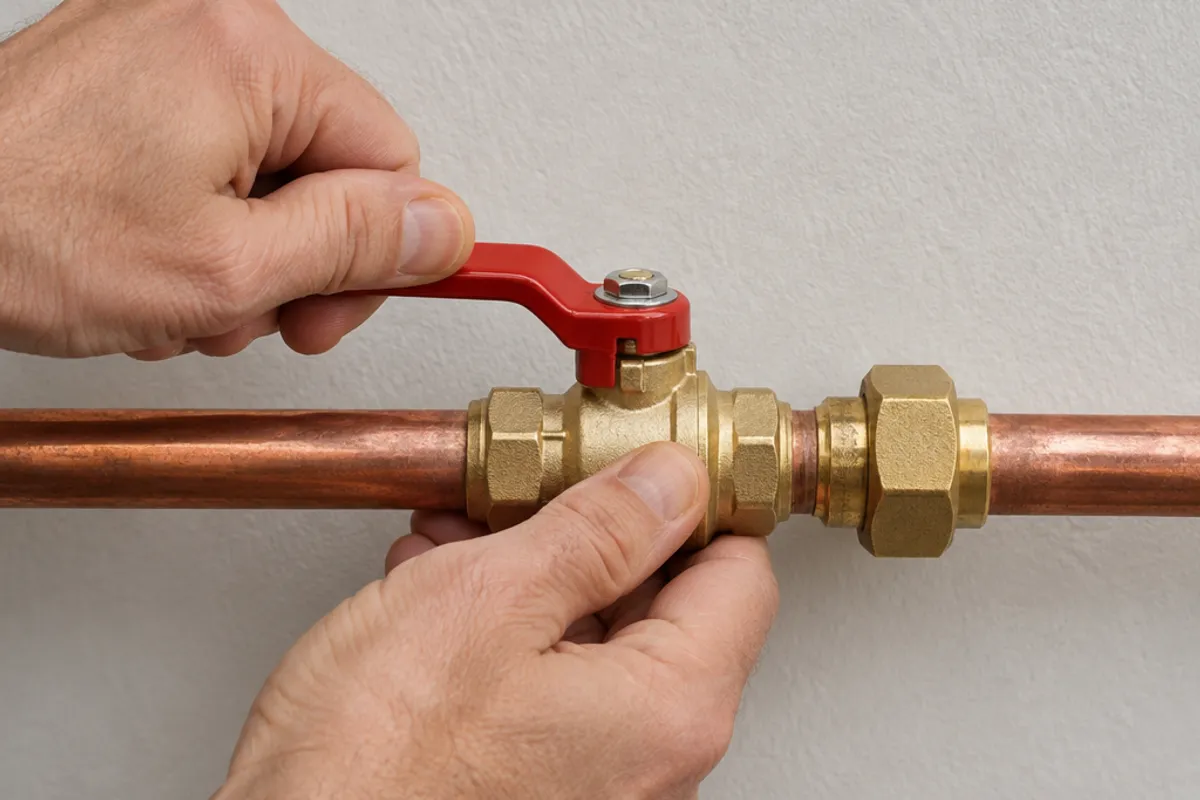
Keep the panel out of the steam shower walls, off the steam line and outside the air space around the generator.
More options are on the shower access panels page.
Our plastic access panels and doors are not fire-rated, and we publish no water-resistance rating for them, so don't fit one in a fire separation, such as the wall between a house and an attached garage.
What are the installation basics, step by step?
- Size the steam shower generator from the room volume and ceiling height in its manual.
- Plan a heated, ventilated spot within the steam line limit, with the service access the manual asks for.
- Install the drain pan, then set the steam generator on it, upright and level.
- Install the cold water line through the shut-off valve, filter and union, and flush it before connecting.
- Install the copper steam line to its fitting in the steam shower with the slope the manual gives, with no valves and no dips.
- Finish the drain plumbing: pipe the relief valve and the pan drain to a safe drain.
- Have an electrician install the dedicated circuit and connect the control cable.
- Fill the generator, check every joint for leaks, then close up the steam shower and finish the tile.
For the valve that runs the shower itself, see what size access panel a shower valve needs, and if the bathroom already shows damp, start with a leak behind a shower wall.
Before you cut, check the access panel size chart.