
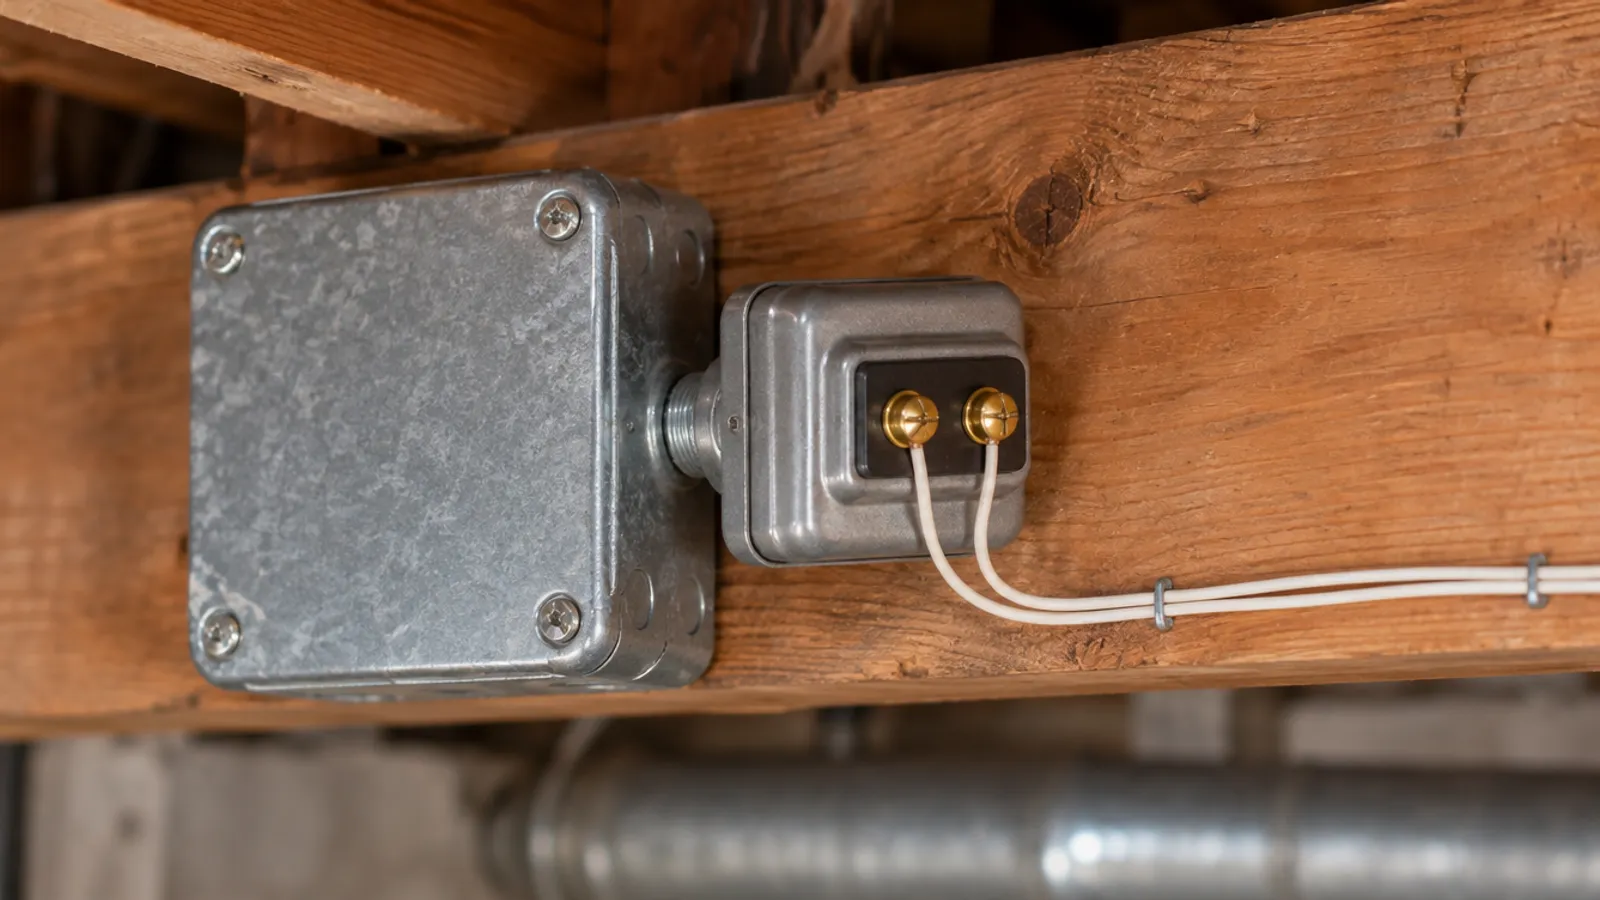
To wire a doorbell transformer, switch off the circuit breaker and confirm the power is off, attach the transformer to a junction box, and connect its leads to the circuit inside: black to hot, white to neutral, ground to ground. Then connect the two thin doorbell wires to its low-voltage terminals and check that the chime rings.
This guide covers doorbell transformer wiring on both sides, how to replace a doorbell transformer, what a video doorbell needs, and where to mount it so you can still reach it. If you haven't found the existing one yet, start with where is my doorbell transformer.
How does doorbell wiring work?
A wired doorbell system has three components: the doorbell transformer, the doorbell button and the doorbell chime. The transformer takes house electricity at line voltage and steps it down to a much lower voltage. (A battery operated wireless doorbell skips the transformer; see below.) The low-voltage side of the doorbell wiring is a simple loop made of three wires:
- one runs from the transformer to the chime;
- a second runs from the transformer to the doorbell button;
- a third runs from the button back to the chime.
Pressing the button closes the loop, and the chime rings. With a front and a rear button, each wire connects like this:
| Wire | From | Connects to |
|---|---|---|
| Line leads | The transformer, through a knockout | The circuit's hot, neutral and ground wires in the junction box, joined with wire nuts |
| Chime wire | One low-voltage terminal | The chime terminal marked Trans |
| Button feed | The other low-voltage terminal | One terminal on each doorbell button |
| Front return | The front button's second terminal | The chime terminal marked Front |
| Rear return | The rear button's second terminal | The chime terminal marked Rear |
Only the line-voltage connections go inside the junction box, under its cover. Keep the low voltage wires outside it and apart from the other wiring. Some newer models put the transformer inside an enclosure of its own; for those, follow the manufacturer's instructions.
What do you need before you install a new transformer?
Check three things before the installation:
- A compatible transformer. The label on a doorbell transformer gives its output voltage and its VA, which is the power it can supply. The doorbell's installation instructions list what each device needs. Match the voltage, and pick a VA at least as high as they ask for.
- Continuous power. The junction box should be on a circuit that is always on. A box fed through a light switch cuts the doorbell off whenever someone turns the light off.
- Room inside. The transformer adds its leads to the wires already there. If the electrical box is crowded, it may need a larger one.
Then gather the tools:
- a non-contact voltage tester and a multimeter set to AC volts;
- a flathead screwdriver and a Phillips screwdriver;
- wire strippers and a utility knife;
- wire nuts sized for the wires (the package lists the range) and electrical tape;
- a power drill, if you are mounting a new electrical box or running new doorbell wiring;
- a flashlight and a stepladder.
Turn off the circuit breaker and check the wires before you touch anything in the junction box. The line side is electrical work: use a licensed electrician where your area requires one, and ask your building department whether it needs a permit.
How do you wire a doorbell transformer step by step?
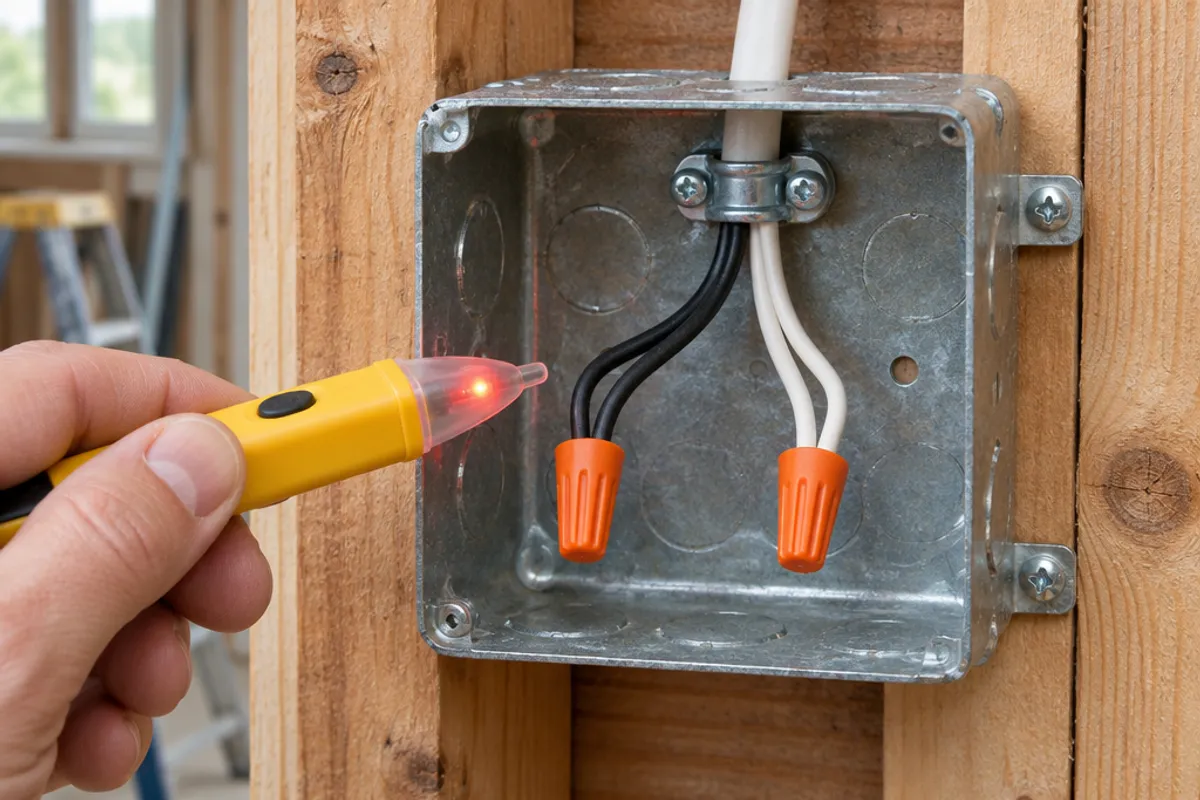
Here is how to wire a doorbell transformer on a new or existing junction box:
- Shut off the power. Switch off the circuit breaker that feeds the junction box. If you can't tell which one it is, shut off the main power at the main breaker.
- Check for voltage. Take off the cover and hold the voltage tester near each wire. Try the tester on a live outlet first, so you know it works.
- Mount the transformer. Remove a knockout from the electrical box to open a hole, and feed the transformer's leads through it. Secure it with the locknut on its threaded neck, or screw its mounting bracket in place, as its installation instructions show.
- Connect the line side. Connect the black lead to the black (hot) wire, the white lead to the white (neutral) wire, and a green or bare lead to the circuit's ground. Twist a wire nut onto each splice, then gently pull each wire to make sure the connections hold.
- Close the cover. Fold the wires in and screw the cover back on. No line-voltage connection should be left outside it.
- Connect the low voltage wires. Strip a short length of each doorbell wire, wrap it clockwise under a terminal screw, and tighten. One wire connects to the chime, the other to the doorbell button.
- Restore power. Turn the breaker back on and press the doorbell button. The chime should ring.
What if the doorbell doesn't ring after you restore power?
Set a multimeter to AC volts and touch its probes to the two screw terminals. A reading near the label's voltage means the transformer works and the fault is in the button, the chime or the doorbell wiring between them. Zero means no power is reaching it, so look at the breaker and the line connections first.
Does it matter which low voltage wire goes on which screw terminal?
Not on a standard doorbell transformer with two screw terminals. Its low-voltage output is AC, so there is no positive or negative: either of the two wires can connect to either terminal. What matters is where the far ends land. One must reach the chime's Trans terminal, and the other must reach the button.
Some transformers have three terminals and give a different voltage depending on which pair you use. The label shows which pair gives which voltage. Use the pair that matches your chime or video doorbell, and leave the third terminal empty.
On the line side, the colors do matter. Connect each lead to the house wire that the wiring diagram shows.
Where do the chime wires go?
At the doorbell chime, the wire from the transformer connects to Trans, the front door button's wire to Front, and a rear button's wire to Rear. A chime with only one button uses Trans and Front. Mark each wire with electrical tape before you disconnect anything, so the new setup matches the old one.
How do you replace an existing transformer?
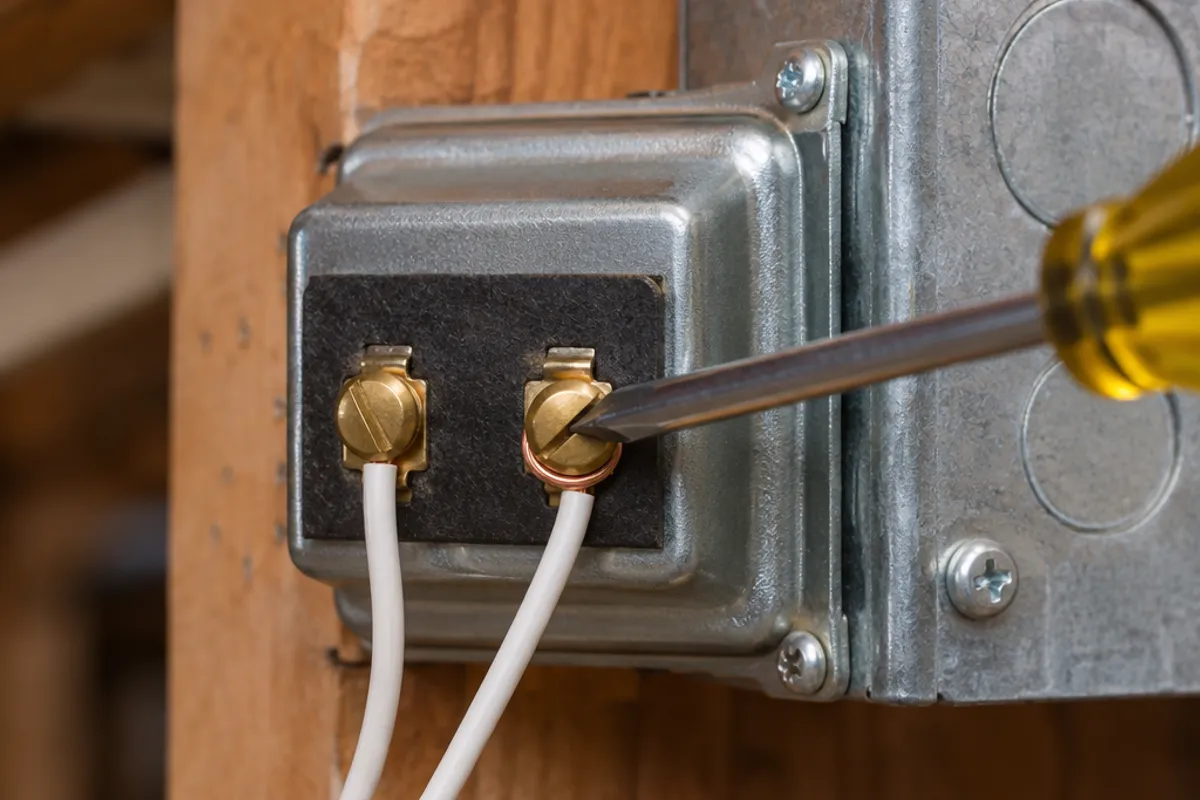
Replacing a doorbell transformer follows the same steps, with the old one removed first:
- Turn off the breaker and check the wires with the tester.
- Photograph the low-voltage terminals, mark the two doorbell wires with tape, and disconnect them.
- Take off the cover, unscrew the wire nuts and disconnect the transformer's leads from the existing wiring.
- Unscrew the locknut or mounting bracket and pull the existing transformer out of its hole.
- Attach the new transformer in the same hole and wire it as in the steps above.
Choose the new transformer from what the chime or doorbell needs, not only from the old label. If the old one was very warm to the touch, hummed loudly or shows scorch marks, have an electrician check the electrical box and the circuit before you fit a new one. To check the old one before you buy, see the multimeter test in where is my doorbell transformer.
What transformer does a video doorbell need?
A wired video doorbell runs its camera, Wi-Fi and lights from the doorbell wiring, so it usually needs more power than a plain button. Smart doorbells list the voltage and VA they need in their installation instructions, and many makers publish a list of compatible chimes too. Check both against your transformer's label before you buy the video doorbell.
If the existing transformer falls short, replace it with a new transformer that meets the video doorbell's rating, following the steps above. Some video doorbell makers also supply a small power device that fits inside the chime and connects to its terminals; attach it as their instructions show. Others sell a plug-in adapter for homes with no doorbell wiring at all.
Do wireless doorbells need a transformer?
A battery operated wireless doorbell doesn't. Its button talks to the chime by radio, so there is no doorbell transformer to wire. That makes a wireless doorbell the simpler setup where running new doorbell wiring through a finished wall would mean cutting the drywall.
Where should the junction box for a doorbell transformer be mounted?
Choose a location you can reach later: a junction box in a utility room, an unfinished basement, an accessible attic, a garage wall or near the main breaker. A transformer wears out, and a doorbell upgrade often means swapping it, so the cover will come off again. A remote LED driver has to stay reachable too.
The transformer's box can't simply vanish behind drywall, either. In the US, the National Electrical Code's Section 314.29 (NFPA 70, 2023, with TIA 23-10) says boxes go in so their wiring stays accessible. In Canada, your provincial electrical inspector can say what's accepted above a finished ceiling.
What if the transformer ends up above a finished ceiling?
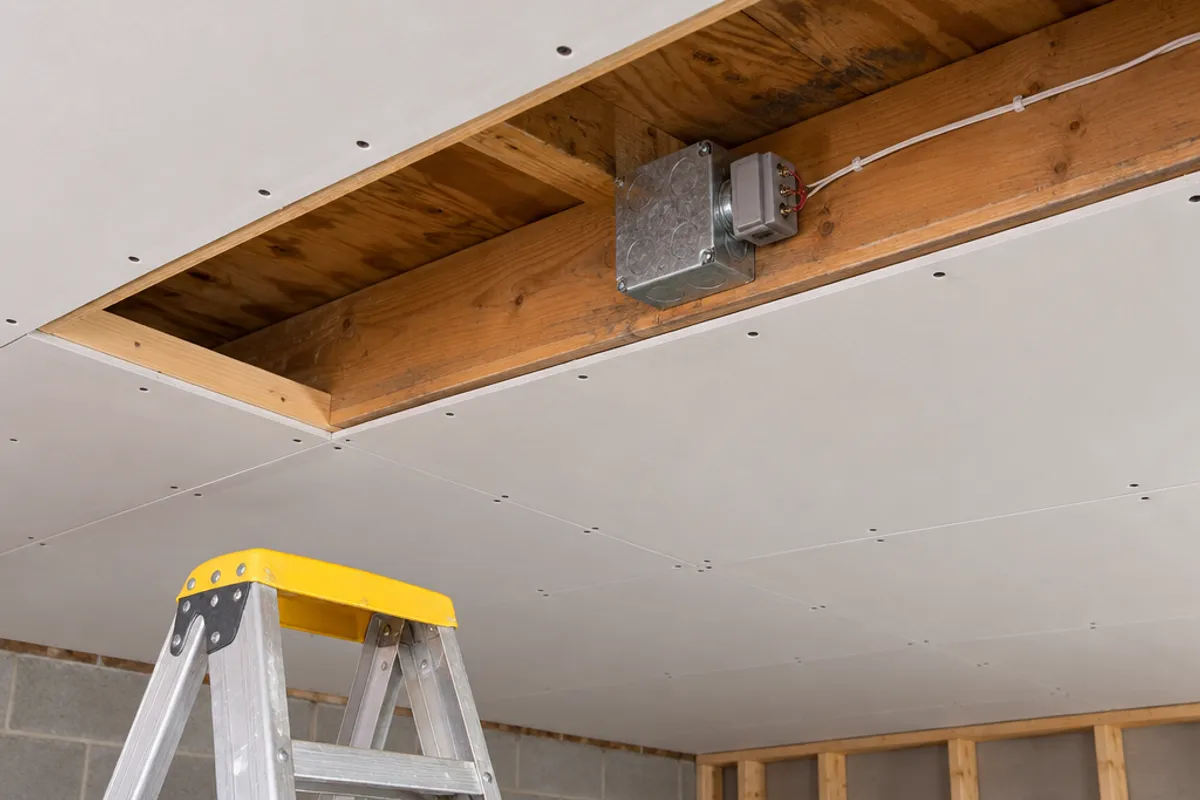
This happens when a basement or attic gets finished and the doorbell transformer on a joist ends up above new drywall. Sealing the transformer inside the ceiling with no way in would leave its junction box out of reach, which is what the rules above are there to prevent. There are two fixes: have it moved to a box you can reach, or fit an access door in the drywall right below it. These two sizes suit a doorbell transformer:
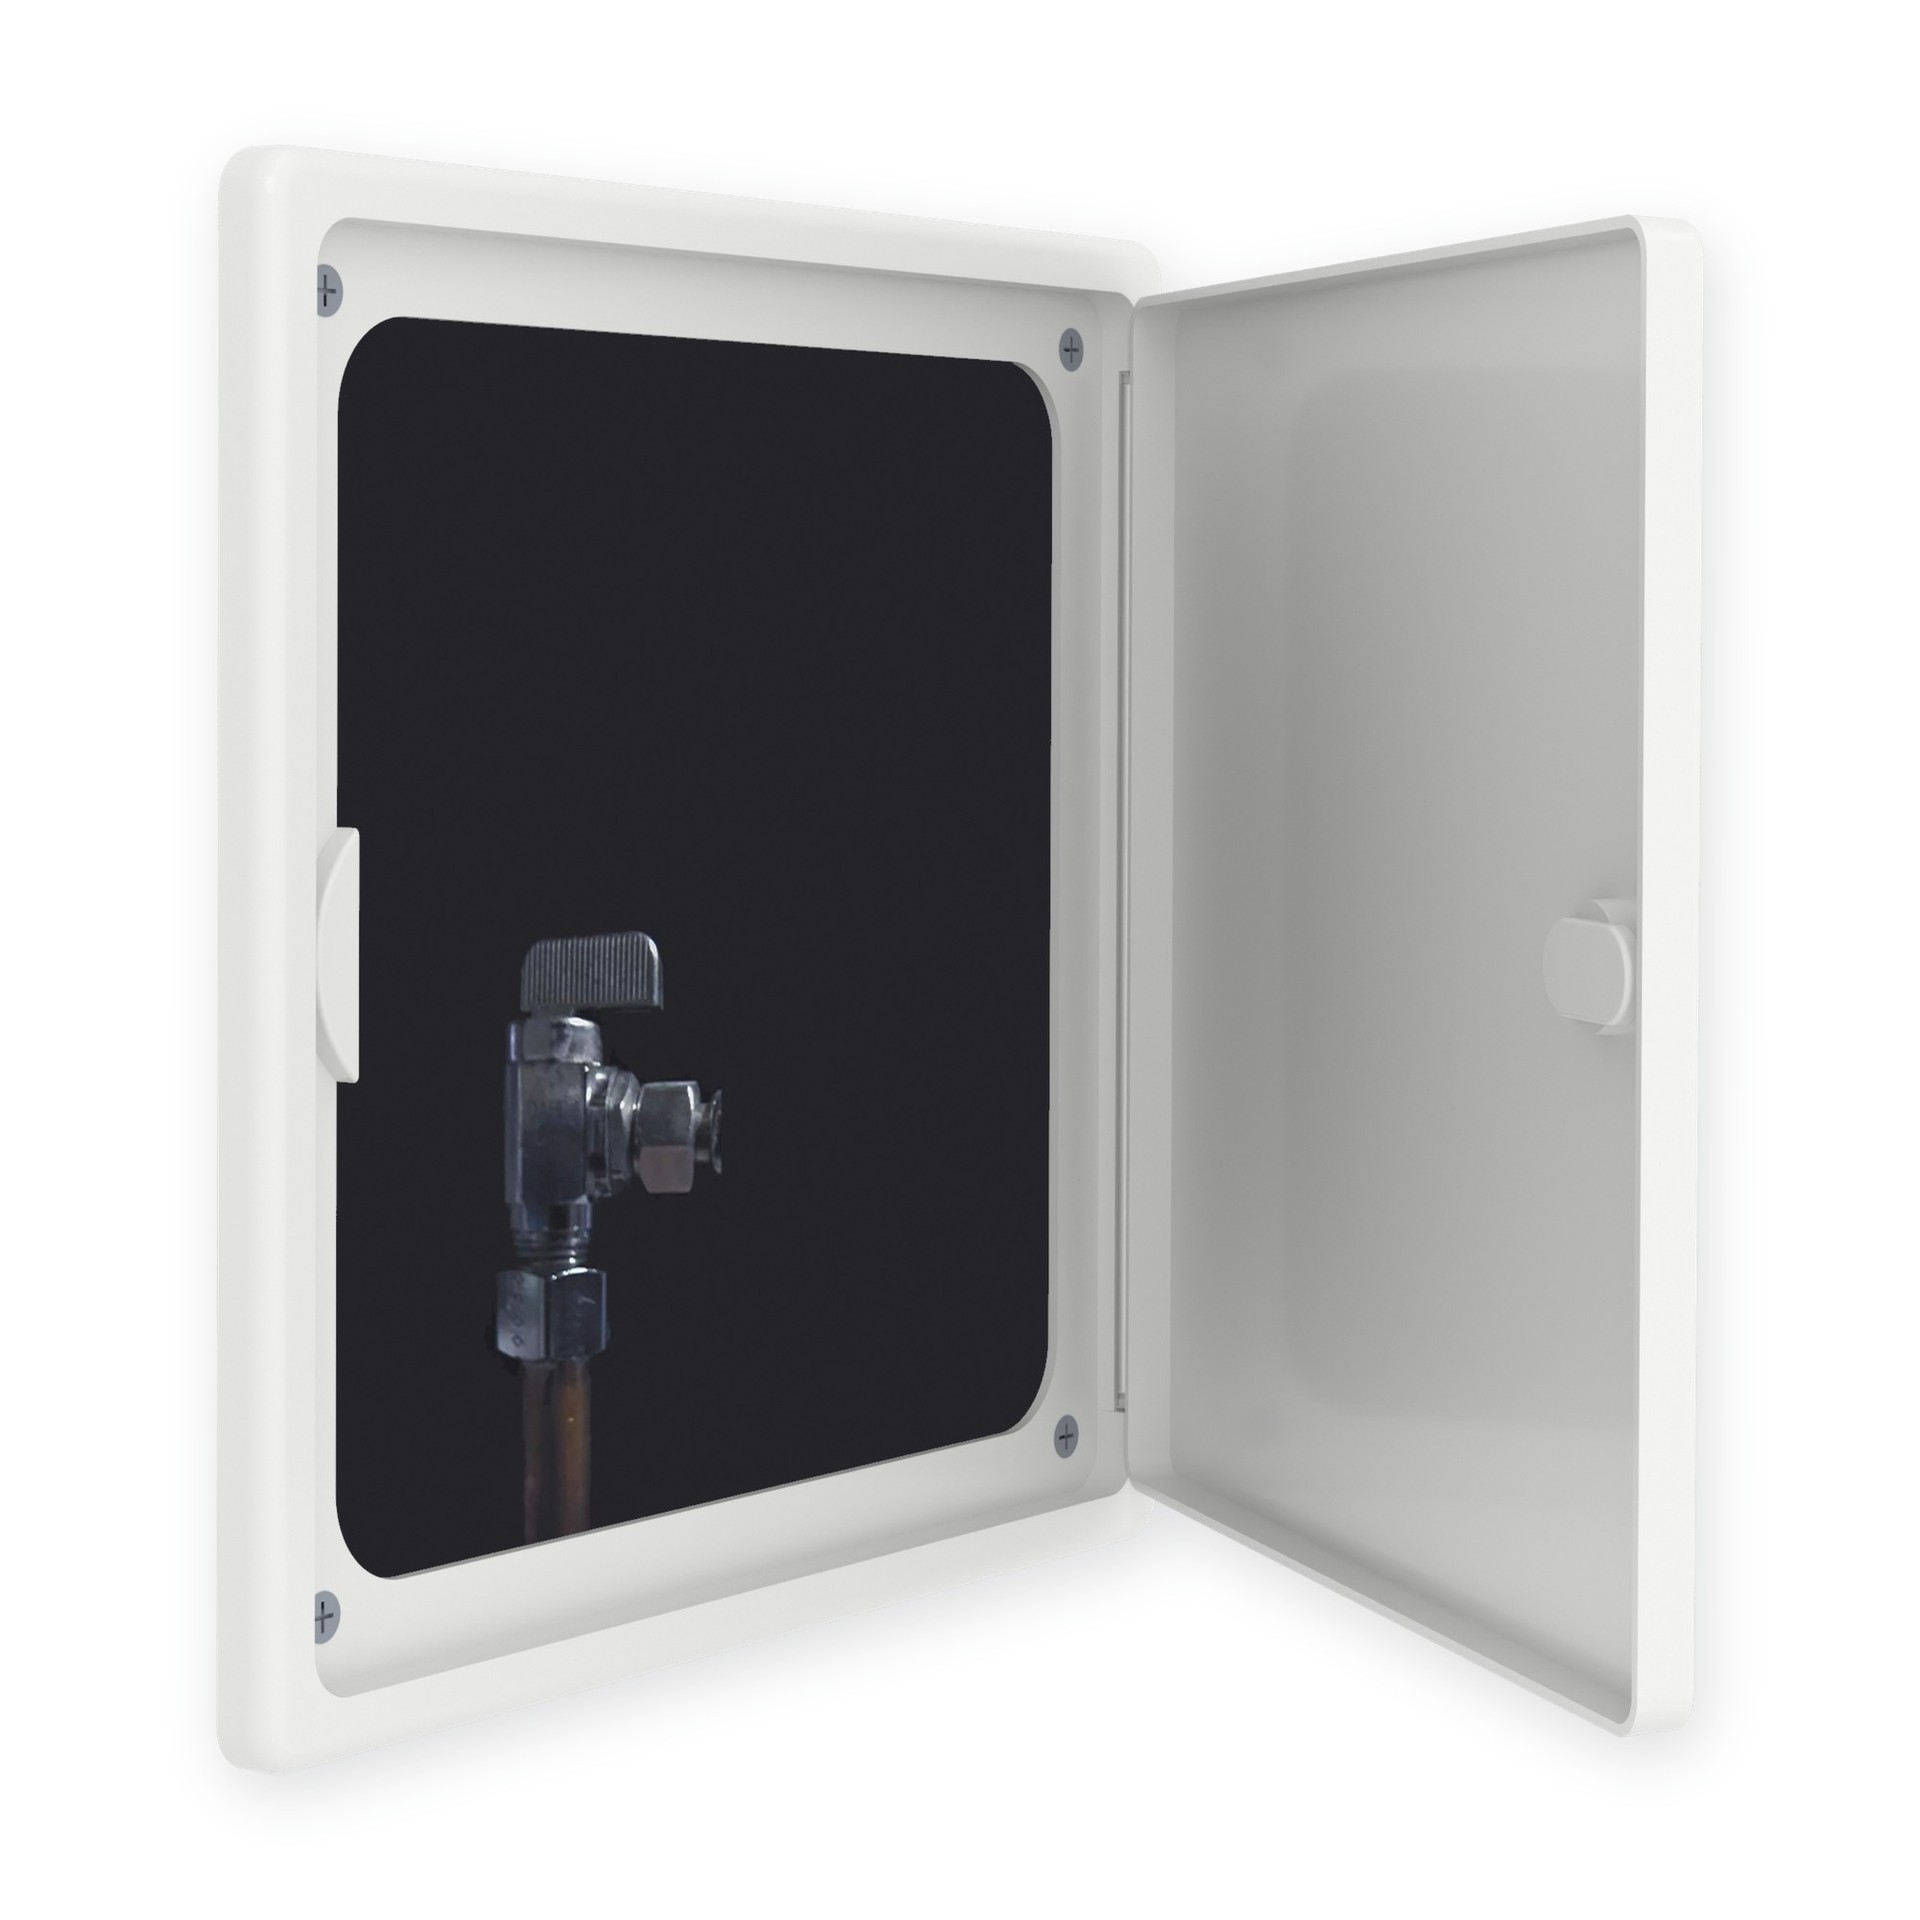
Easy-Exs · PAD0808
8x8 in Plastic Drywall Access Panel with Hinged Door
Rated 4.4 out of 5, 2,789 ratings online
Maximum service opening 6.35 × 6.35 in · Overall 8 × 8 in
USD $9.49 each
- 10+ panels: $8.49 each
- 80+ panels: $7.49 each
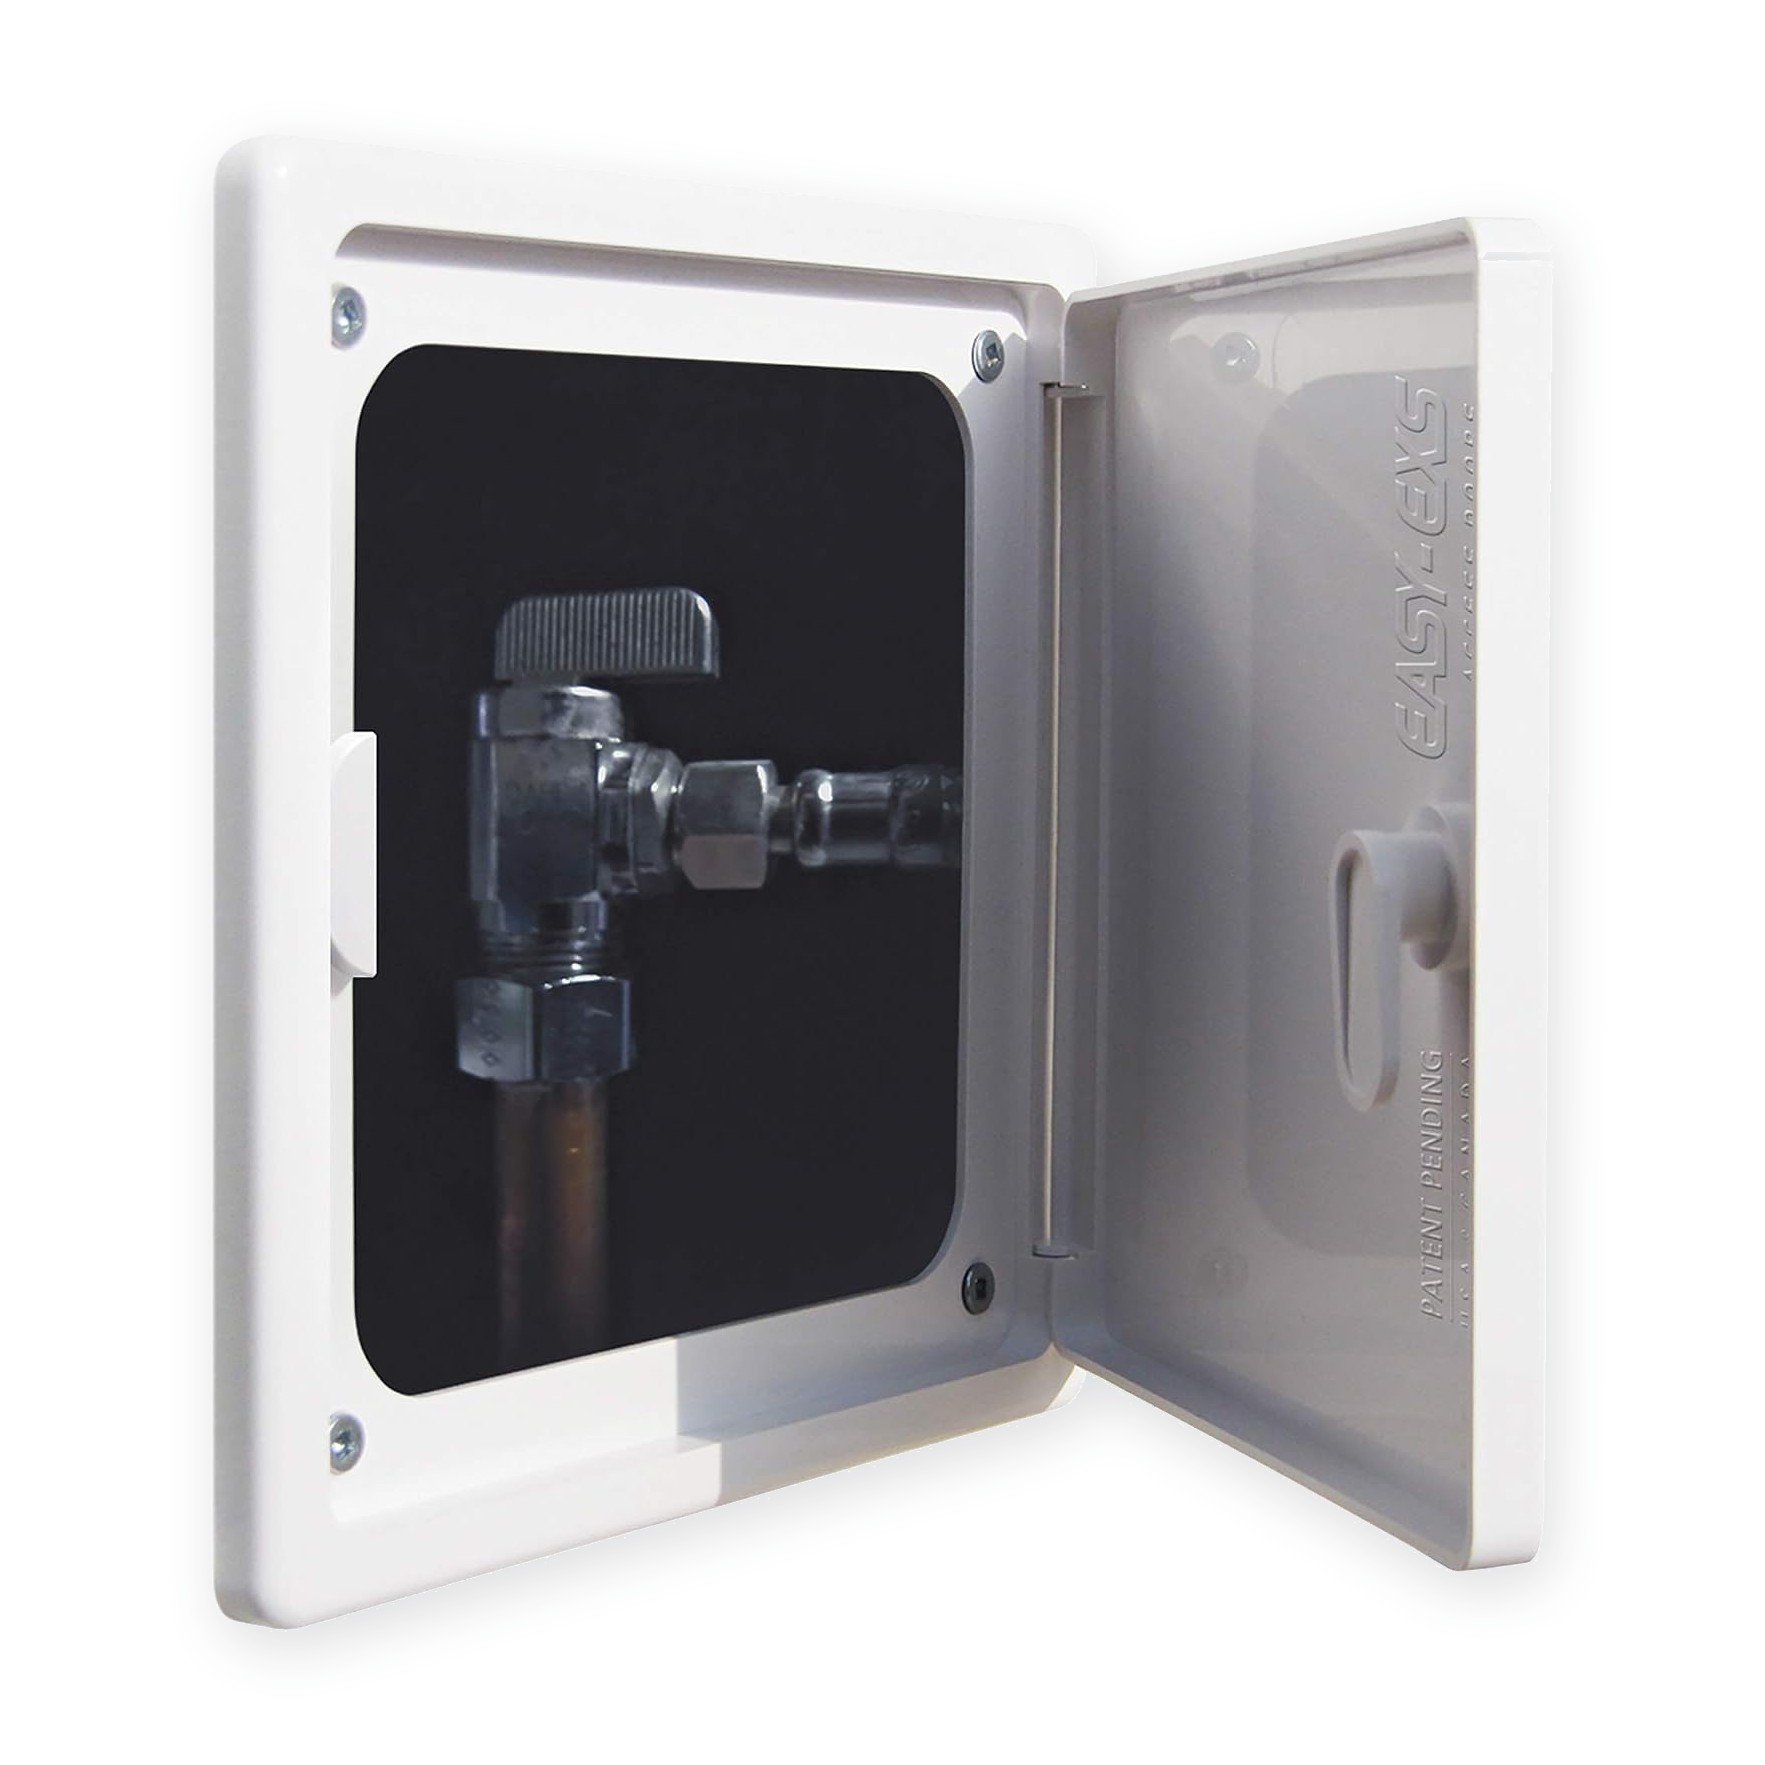
Easy-Exs · PAD0606
6x6 in Plastic Drywall Access Panel with Hinged Door
Rated 4.4 out of 5, 2,789 ratings online
Maximum service opening 4.35 × 4.35 in · Overall 6 × 6 in
USD $8.49 each
- 10+ panels: $7.49 each
- 80+ panels: $6.49 each
The PAD0808 has a 6.35 × 6.35 in service opening, which is also its cut-out, with rounded corners. The PAD0606 has a 4.35 × 4.35 in opening, so check that the cover and the transformer pass through it. Overhead, a hinged door swings down and stays on its frame; see spring-loaded panels vs hinged access doors. Keep the junction box's own cover on behind the door: our doors are not electrical enclosures and are not fire-rated. The electrical access panels page lists every model with its opening.
If you are planning the ceiling now, read can you drywall over a junction box? and the guide to permits for finishing a basement first.
Measure before you order: our guide on how to measure for an access panel shows how, and the access panel size chart compares every opening and cover. How to install an access panel in a ceiling covers fitting it.