
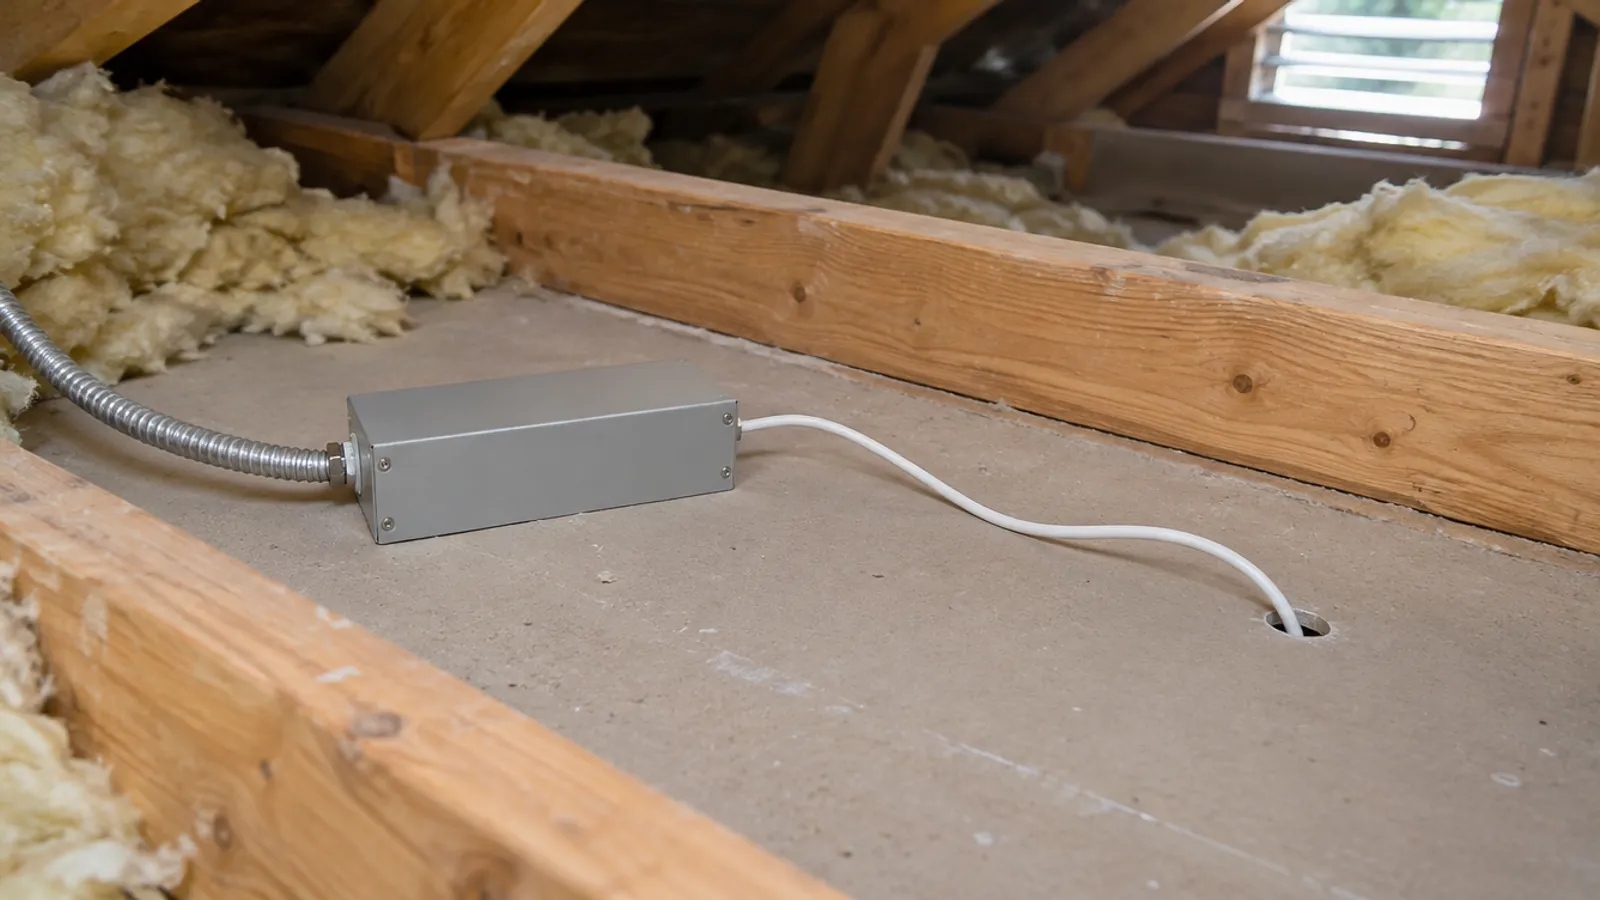
An LED driver is the power supply that converts your home's AC line voltage into the low-voltage DC an LED runs on, and holds that output steady: either a fixed current or a fixed voltage. Many fixtures have one built in. Tape lights and many slim recessed lights use a separate, remote driver.
A remote LED driver can fail or need a check, so it has to stay within reach. This post covers the two driver types used in home LED lighting, dimming, where a remote LED driver goes and how to hide one without burying it.
What is an LED driver, and what does it do?
LEDs operate on low-voltage direct current (DC). House wiring carries alternating current (AC) at a higher voltage, and the LED driver sits between the two, turning AC electricity into the DC power the fixture needs. One recessed light maker's installation guide has you bring 120-volt power to the driver, check that its input matches the source voltage, and check that its output voltage and current match the fixture.
Regulating that output is the driver's main function. One driver maker's FAQ explains that a constant current driver regulates the current directly, while a constant voltage driver holds a fixed voltage and leaves current control to circuits on the LED module. One LED supplier's guide explains why a high-power LED needs that control: as it heats up, it draws more current and gets hotter still, until it burns itself out. That is called thermal runaway.
Are LED drivers and power supplies the same thing?
In LED lighting, yes: makers use both names for the unit that powers the LEDs. One tape maker's guide calls for a "Class 2 DC Constant Voltage LED driver (power supply)". A transformer only steps AC voltage up or down; an LED driver also converts it to DC and keeps the output steady.
Can LED lighting run without a driver?
Low-voltage LEDs can't operate on house power directly. LED bulbs and many line-voltage fixtures carry their driver inside, so you never see it. Tape needs a separate one: that maker's installation guide for another tape says to install its 24 V DC tape only with a listed Class 2 DC LED driver.
Constant current drivers vs constant voltage: which LED drivers do you need?
The two main types are constant current and constant voltage, and the one you need is determined by the light. Its label or spec sheet asks for either a current or a voltage.
| Question | Constant current driver | Constant voltage driver |
|---|---|---|
| What it holds steady | The current, across a range of LED voltage | A fixed output voltage |
| What controls the LED current | The driver | Circuits on the LED module or tape |
| Typical uses | Fixtures and LED modules built for one current | LED strips and tape, such as 24 V tape |
If you're wondering which one you have, the driver maker's FAQ gives a simple test. Most labels or datasheets say CC or CV. A driver that lists a single output voltage, typically 24 V or 12 V, with a range of output current, is constant voltage, and the LED module it feeds calls out that same voltage as its input. A driver that lists a range of output voltage is a constant current LED driver.
Constant current drivers have to match one fixture's current requirements, labeled in amps (A) or milliamps (mA). Matching matters in any LED system: the recessed light guide says each size light requires its own specific driver. Constant voltage drivers suit LED strips, because you can cut tape to length and add runs as long as the voltage matches and the power supply has the wattage.
Does any LED driver work with any LED lights?
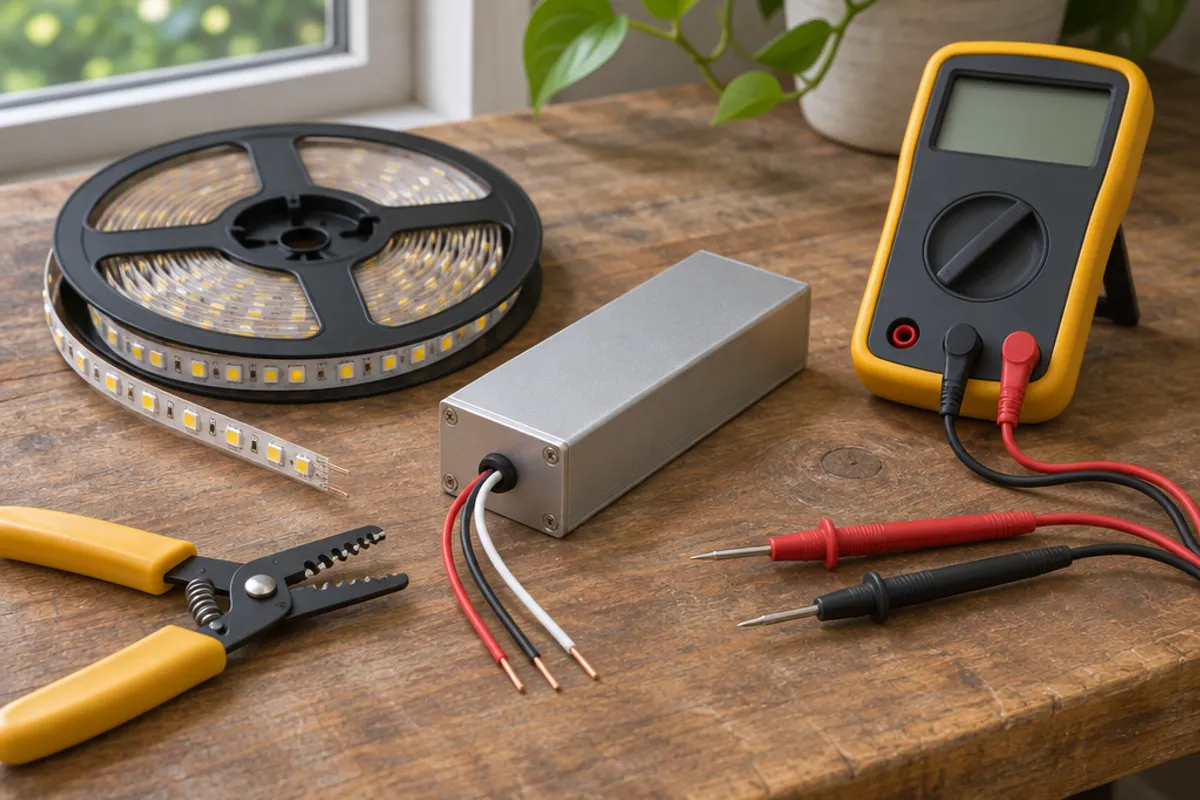
No. Match the type, the output (the light's current, or the tape's voltage) and sufficient wattage. For tape, figure out the power the run needs. For example, the tape maker's 24 V tape draws 2.2 W per foot, so a 10 ft run needs 22 watts, and its guide sets the maximum run at 33 ft. The light bar maker's guide adds headroom: multiply the total watts by 1.25 for the minimum power supply size, so 22 × 1.25 = 27.5 watts for that run. Check the power supply's spec sheet for deratings too. The tape guide warns that an overloaded or overheated driver trips its internal auto-reset protection, switching the strip on and off repeatedly.
How does dimming work with an LED driver?
In dimmable LED lighting, the dimmer talks to the driver, not to the LEDs, so the whole system must use one dimming method. The driver maker's FAQ lists the three most commonly used types of dimming as 0-10V, phase-cut (leading edge or trailing edge) and DALI. To find out which one a fixture uses, it says to look at the installed dimmer and check that dimmer's maker for the type it supports.
Then check the pair against a compatibility list: the tape maker has one, and the recessed light maker's under-cabinet installation guide points to its compatibility chart. How much of the driver's rating you use matters too:
- The tape maker: run a dimmable LED driver at no less than 60% of its labeled load for proper dimming performance, and connect no more than one dimmer switch to each driver output.
- The light bar guide: load a dimmable power supply to 60-80% of its total wattage, for good dimming performance.
Where does a remote LED driver go for a light strip or recessed lights?
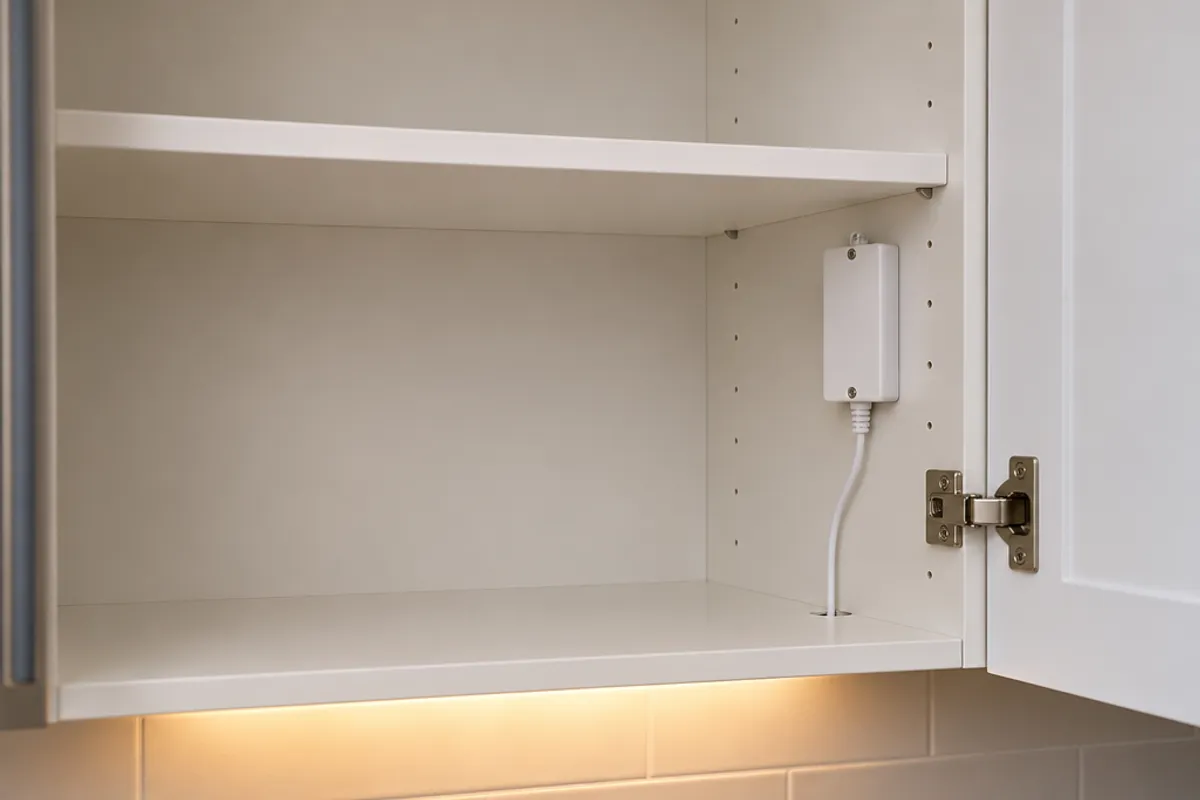
A remote LED driver is mounted away from the light and connected to it by low-voltage wire, so keep the distance short to limit voltage drop. Where you install it depends on the light, but the installation guides from the two makers that address it agree: keep it within reach for maintenance. Plan the spot early in an LED lighting project.
| Light | Where the LED driver usually goes | What the maker says |
|---|---|---|
| LED strips in a cove, shelf or toe space | A nearby cabinet, a closet, a utility space, the attic or the basement | Power supplies may require servicing, so install them in accessible locations |
| Under-cabinet LED bars | Inside a cabinet, between the controls and the bars | Dimmable power supplies usually go between the controls and the bars |
| Slim recessed light | In the ceiling space, pushed up through the cut-out | The driver must remain accessible by removing the light |
| Several recessed lights on a single driver | Centered between them, within the harness length | The driver should be accessible; the ideal location is the center of the fixtures |
The last row comes from one recessed kit maker's instructions, where the harness runs 8 ft from the driver to the first light. Under drop ceilings, reaching a driver is easy: lift a tile. Drywall is where it gets harder (see drop ceiling vs drywall).
How do distance and wire gauge cause voltage drop on LED strips?
Long low-voltage runs create voltage drop, and the far end of an LED strip then looks dimmer or shifts in color. Voltage drop is determined by three factors, load, distance and wire size, and the tape maker's chart takes all three into account: its example, a 55 W load 20 ft from the power supply, calls for 12 AWG wire. The same guide says the proper wire gauge protects performance and light output. Plan the driver's position with your tape maker's chart or voltage drop calculator. Where a long run can't be avoided, the recessed light maker's guide to hiding power supplies notes that 120 V AC is more efficient over a long distance than low-voltage DC, and suggests running AC to a driver placed close to the lights.
How do you hide an LED driver or power supply without burying it?
Hide it from view, not from reach. The light bar guide notes that most LED power supplies, controllers and accessories are not in-wall rated and may require servicing in their lifetimes, and says to always install your system accessories in accessible locations. Its common spots are closets, utility storage areas, cabinets, attics and basements.
- In a cabinet. Install the LED power supply inside a cabinet near the strip, where a door hides it and the space around it stays open.
- In a utility room on the other side of the lit wall, with low-voltage wire rated for in-wall use fished through to the lights, or run in conduit where your electrician calls for it. The hiding guide says this keeps the run short and the installation clean and efficient. The tape maker warns that its own leads and extension cables are not rated for in-wall installation unless otherwise noted.
- Above a ceiling, only a driver made to sit there, such as a recessed light's remote driver, or one in the junction box its specs call for. The tape maker's wiring diagrams show the driver in a junction box and say to check the driver's specifications for a compatible one. The hiding guide also suggests housing a power supply in a UL listed enclosure of the proper size.
- With room around it. The hiding guide says keeping power supplies cool helps them perform, and that poor ventilation can lead to overheating that reduces reliability. It suggests at least 3 in of clearance on every side except the one it is mounted on.
- Dry, and away from heat. The recessed light guide says to mount the driver in a dry location unless it is marked otherwise. Heat is one of the two causes of auto-reset trips the tape guide names, so for steady performance and reliability, keep the driver away from heat sources, for example a furnace.
Wherever it goes, keep it reachable for maintenance, so you can test it or replace it later. Never create a hidden driver, closed into a wall or ceiling with no way in: its line-voltage splices sit in a box, and our post on whether you can drywall over one explains why it must stay reachable. For the types, see what a junction box is.
The input side of a hardwired LED driver carries house electricity, at a higher voltage than the output. Turn off the power at the breaker and test with the right tools before you touch it. Hardwiring a driver, adding a box or extending a circuit is electrical installation work: use a licensed electrician where your area requires one, and ask your local electrical inspector whether the project needs a permit.
How do you know if an LED driver is bad?
Rule out the rest of the LED system first. These are the symptoms the two makers' guides list:
| What you see | Cause the maker names |
|---|---|
| The strip turns on and off repeatedly | Driver overloaded or overheated, tripping its auto-reset protection (tape guide) |
| The far end is dimmer or a different color | Run too long, or wire too thin for the run: voltage drop (tape guide) |
| Nothing lights up | No power at the driver, or a loose connection (light bar guide) |
| Poor dimming performance | Driver and dimmer not compatible, or the driver running under 60% of its rating (both) |
The light bar installation guide's troubleshooting starts with a multimeter: confirm the power supply has live power, and that the lights and the power supply use the same voltage type. If the driver has power in and no output, it no longer functions and needs replacement: use an LED driver that matches the old one's type, output, wattage and dimming method. For a constant current driver, the driver maker's FAQ says to replace a failed one with a driver of equal or lesser output current.
How do you keep a remote LED driver reachable above a drywall ceiling?
Whether you need an opening at all is determined by the driver's size. Where the driver fits through the light's cut-out, you reach it by pulling the light down, which saves damaging the ceiling. When it doesn't, the recessed light guide says you will need access from above the ceiling or behind the wall, or you may remotely locate the driver. A single driver serving several lights sits between them, and in the kit above that can mean up to 8 ft of harness from the first light, out of reach through its hole.
In a top-floor ceiling, the attic may give that access. Under a floor or in a finished basement ceiling, there is no attic: an access opening in the ceiling below the driver is the way in for maintenance. On a lighting project, plan it during new construction or the renovation, before the drywall goes up (see the pre-drywall inspection), and record where each LED driver in the system sits.
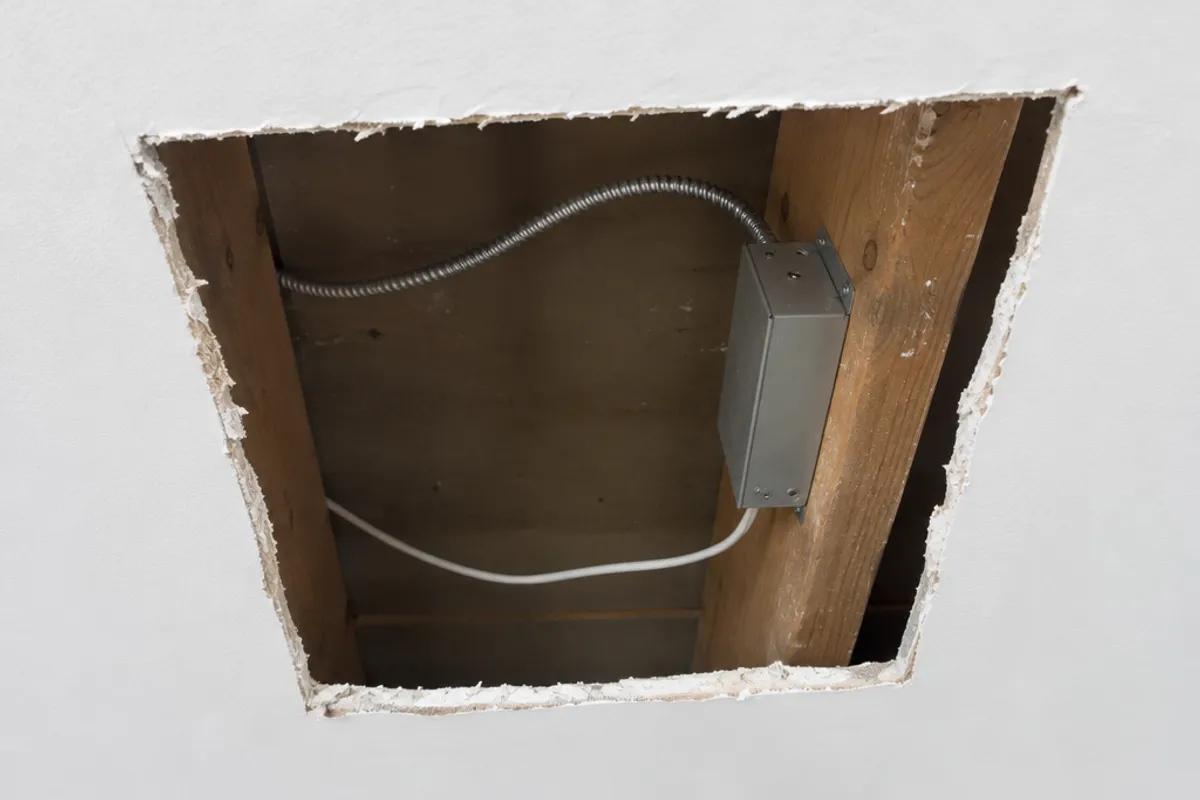
Plan the opening around the driver: it must pass the driver housing and its cables, plus your hand. Measure the housing, or read its size from the spec sheet, before you cut. For a square opening between joists:
- SAP0808 spring-loaded panel: fits 6 × 6 to 8 × 8 in openings, overall 10 × 10 in
If a hole saw suits the job better, create a round opening instead:
- SAP10R round cover: fits 6–9 in round openings, overall 10 in diameter
Both are spring-loaded covers, held by a wire-loop spring on the back, so no screws stand between you and the driver when you test or replace it. Keep the opening out of shower ceilings and other wet areas:
Our plastic access panels and doors are not fire-rated, and we publish no water-resistance rating for them, so don't fit one in a fire separation, such as the wall between a house and an attached garage.
More sizes for wiring are on the electrical access page, and for round holes on the round cover page.
Measure before you order: our guide on how to measure for an access panel shows how, and the access panel size chart compares every opening and cover. How to install an access panel in a ceiling covers fitting it.