
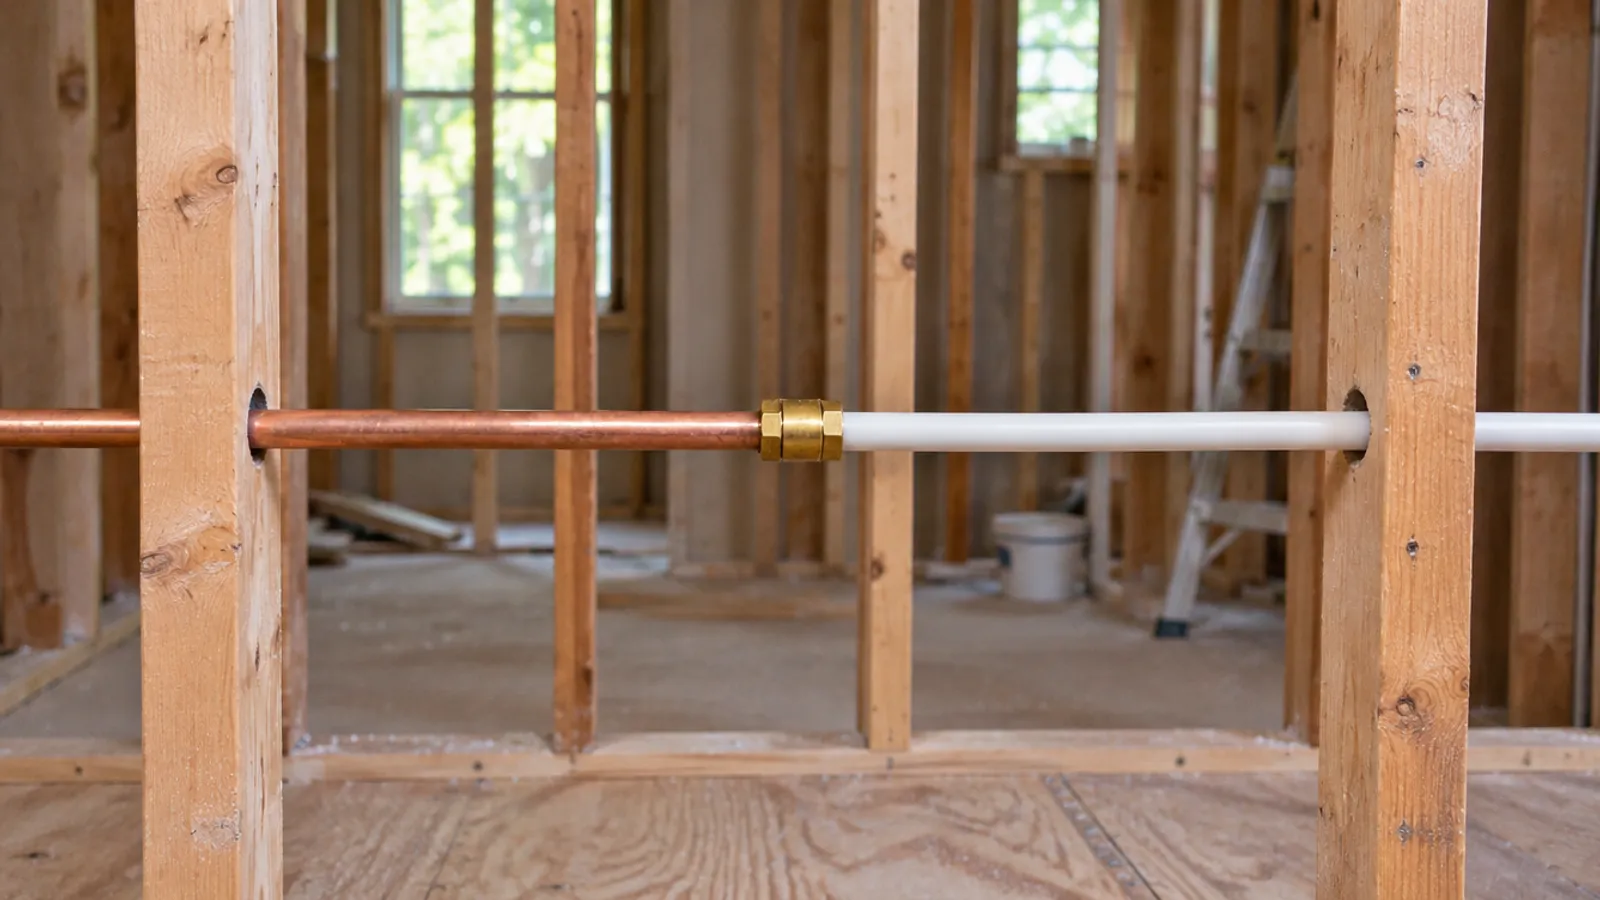
Yes, if the fitting is made for it. One maker's instruction sheet says its push-to-connect fittings are approved by the Uniform Plumbing Code and the International Plumbing Code for installation behind walls without access panels. It also says to check with your local water authority for compliance. So a panel is a choice, not a rule, for that maker's fittings.
That sheet covers its own product line only. For any other make, follow that maker's installation instructions.
What does the maker say about push fit fittings behind drywall?
The instruction sheet puts the answer under "In Slab, Direct Burial, or Behind Walls", with the listings at the end.
| Topic | What the maker's sheet says |
|---|---|
| Concealed use | Approved by the UPC and IPC for installation behind walls without access panels |
| Underground | Approved in a concrete slab and for direct burial in soil, covered with 4 to 6 mil poly wrap |
| Listing | IAPMO |
| Standard | ASSE 1061, the standard specification for push-to-connect fittings |
| Codes it names | International Plumbing Code, Uniform Plumbing Code and National Plumbing Code of Canada |
| Local rules | Check with your local water authority for compliance |
| Spray foam | Avoid any contact; cover the fittings with 4 to 6 mil poly or other waterproof protection |
Does a push-fit joint behind the wall need an access panel?
Not by that maker's guidance, as long as the fitting is one it approves for behind the wall and it is installed to the manufacturer's instructions. Local plumbing codes and inspectors can still differ, so if you aren't sure what your area accepts behind the wall, ask your local building or plumbing inspector.
A panel can still earn its place, for service rather than for a rule:
- The test is your last easy look. Once the cavity is closed with gypsum board or tile, the only way to see that connection again is to cut it open.
- Taking it apart needs room. The sheet's removal steps use a removal tool pressed against the fitting's release collar. To redo the connection, you need space for your hands and the tool around it.
A small door at a joint you may redo means you don't have to worry about cutting and patching later.
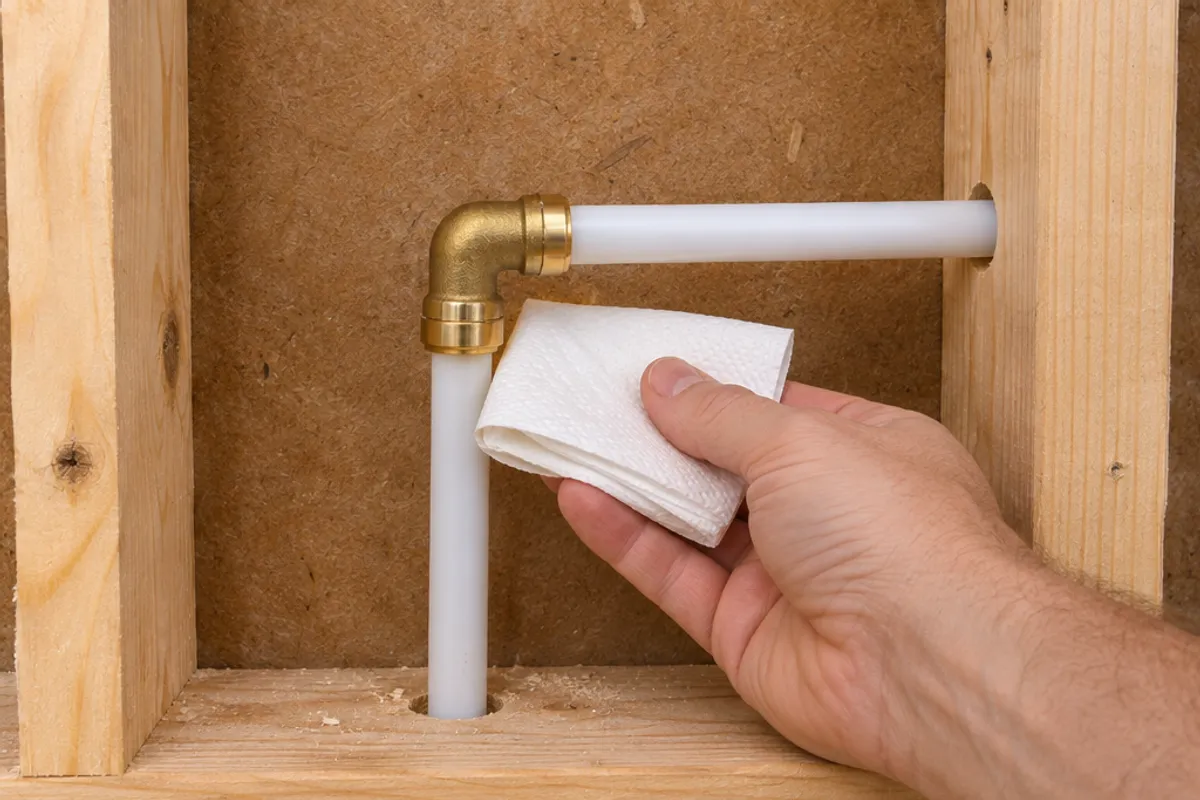
Which fittings are approved for behind the wall applications?
The approval belongs to a product line, not to every connector that looks alike. The sheet lists the listing and standards for its own fittings. Before a connector goes behind a wall, check that its packaging or instructions say it is approved for that use.
Connectors in the plumbing aisle of a local hardware store can come from more than one maker, and each publishes its own listing and installation instructions. Read the packaging for the standard it meets and whether it is approved for behind the wall applications. One brand's approval says nothing about another's.
Does it matter if the line is copper pipe, PEX or CPVC?
Match the connection to the pipe, too. The maker's sheet covers PEX, PE-RT, CPVC and copper pipe. With flexible PEX or PE-RT, it has you put an insert inside the pipe before you make the connection, for added strength. The sheet also covers one specific application behind many access panels: it approves its fittings for repairing tub and shower downspouts, but says not to use PEX or PE-RT there, because that may create excessive back pressure, leaving the valve slightly open and the shower head dripping while the tub spout runs. Older gray pipe is a separate case (see our guide on what Poly-B looks like). This guide covers push-to-connect fittings only. Press and compression fittings, and PEX joints made with a crimp tool and crimp rings, follow the rules of their own makers.
How do you make permanent connections in concealed spaces?
Follow the instructions that come with your fitting; they come first where they differ from the steps below, which follow that maker's sheet.
- Shut off the water and drain the line.
- Square cut the pipe, perpendicular to its length, and replace any length that is cracked or damaged.
- Remove excess material and burrs from the cut end.
- Protect the pipe from nicks, scratches and gouges, which the maker says can affect the integrity of the connection.
- Mark the insertion depth on the pipe. The depth changes with the size, and each maker lists its own.
- On PEX or PE-RT, fit the insert first, then mark the depth: the maker says the insert adds about 1/16 in to the pipe length.
- Push the pipe into the fitting until the edge of the fitting lines up with your depth mark, then turn the water back on and look for drips.
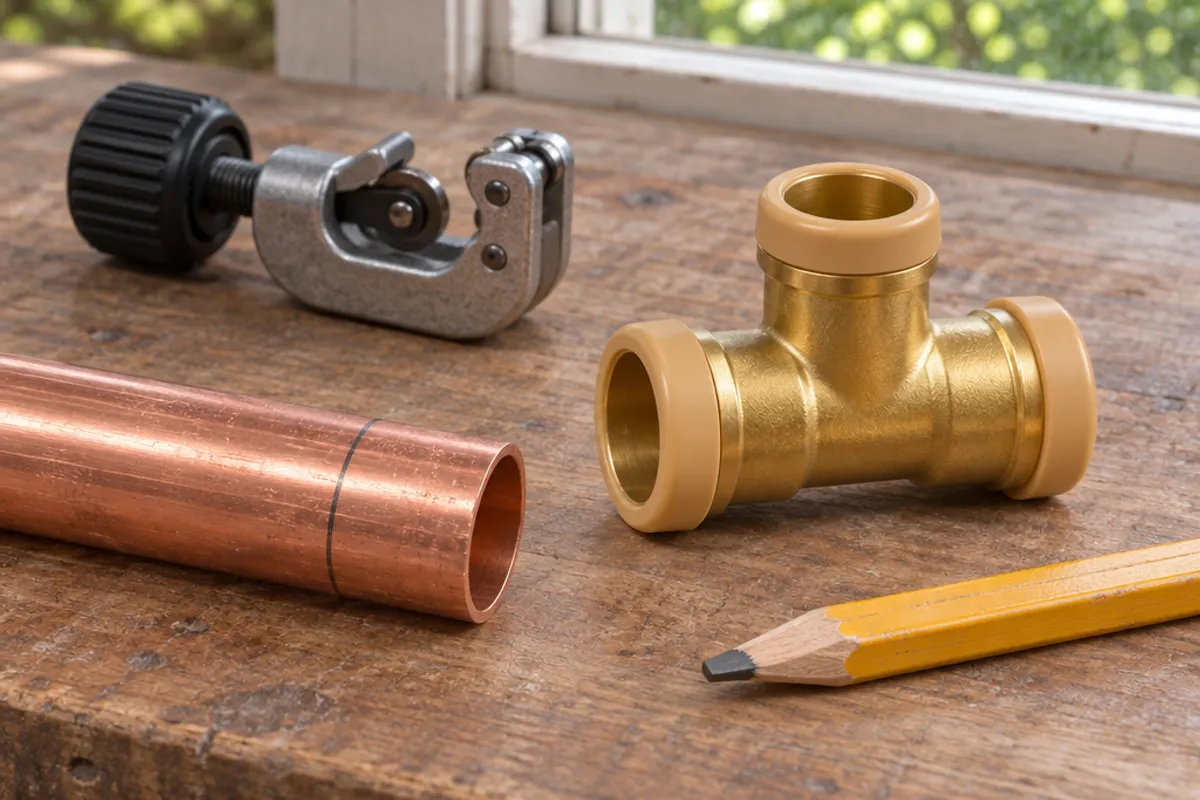
There's no glue or solder to cure or cool, so you can test as soon as the last joint is made; run that test while the cavity is still open.
For a permanent installation, use a fitting that hasn't been disconnected and reconnected repeatedly. The maker says it is acceptable to disconnect and reuse its fittings after inspecting them for damage, but it does not recommend installing fittings with repeated reuse in permanent applications.
The maker's sheet says not to solder, braze or weld within 18 in of its fittings, and not to apply heat with a heat gun or open flame. Plumbing jobs on your home's water supply may need a licensed plumber in your area. Use one where required.
What insertion depth does each size need?
Each maker lists its own depths, and they differ between makes, so use the chart for the fitting you bought. This one is from that maker's sheet:
| Size | Insertion depth |
|---|---|
| 1/2 in | 7/8 in (0.875 in) |
| 3/4 in | 1 in |
| 1 in | 1-1/8 in (1.125 in) |
What should you check before you close up a permanent installation?
The approval assumes the fittings are installed properly, and the open cavity is where you check it:
- Every fitting's edge lines up with the depth mark you drew, which the maker uses to confirm full insertion.
- Every PEX or PE-RT joint has its insert.
- The line has been under water pressure with every joint dry.
- No fitting in the run has been reused again and again.
- No spray-foam insulation touches a fitting, unless it is covered as the maker describes.
What makes a push-fit joint leak behind a wall?
A push-fit joint relies on the pipe being sound, clean and fully inserted. These are the points the maker's sheet stresses:
| Cause | What the maker says |
|---|---|
| Uneven pipe cut | Square cut the pipe, perpendicular to its length |
| Burrs left on the cut | Remove excess material or burrs before you mark the depth |
| Nicks, scratches or gouges | They can affect the integrity of the fitting connection |
| Fitting not pushed on fully | Confirm full insertion by lining up the fitting's edge with the depth mark |
| No insert in PEX or PE-RT | The insert adds strength to the connection for flexible pipe |
The sheet doesn't say how often joints fail, and neither do we. If plumbing runs through an unheated spot, read whether PEX pipe can freeze before you close it in.
If you worry about a joint a previous owner or contractor left behind the wall, ask which product was used and check it against that maker's installation instructions. Our guides to a water leak behind a wall and a leak behind a shower wall cover the signs to watch for, since a drip in concealed spaces can go unseen for a while.
Where is a panel worth adding at a concealed connection?
Put one where you would want to see or reach a joint behind the wall again: next to a shut-off valve, at a change from copper to PEX, or at a repair in an older plumbing line. If a joint does fail later, that is where you will want in. Size the opening for the job: your hands and the removal tool, not just the fitting. Through it you can check the joint and the plumbing on each side of it for drips without taking it apart.
- A joint you may check or redo: PAD0808 hinged door: maximum service opening 6.35 × 6.35 in, overall 8 × 8 in. It opens on a hinge and latches shut.
- A joint you rarely touch: SAP0808 spring-loaded panel: fits 6 × 6 to 8 × 8 in openings, overall 10 × 10 in.
Put the opening on the dry side, such as a closet, never inside a shower.
Our plastic access panels and doors are not fire-rated, and we publish no water-resistance rating for them, so don't fit one in a fire separation, such as the wall between a house and an attached garage.
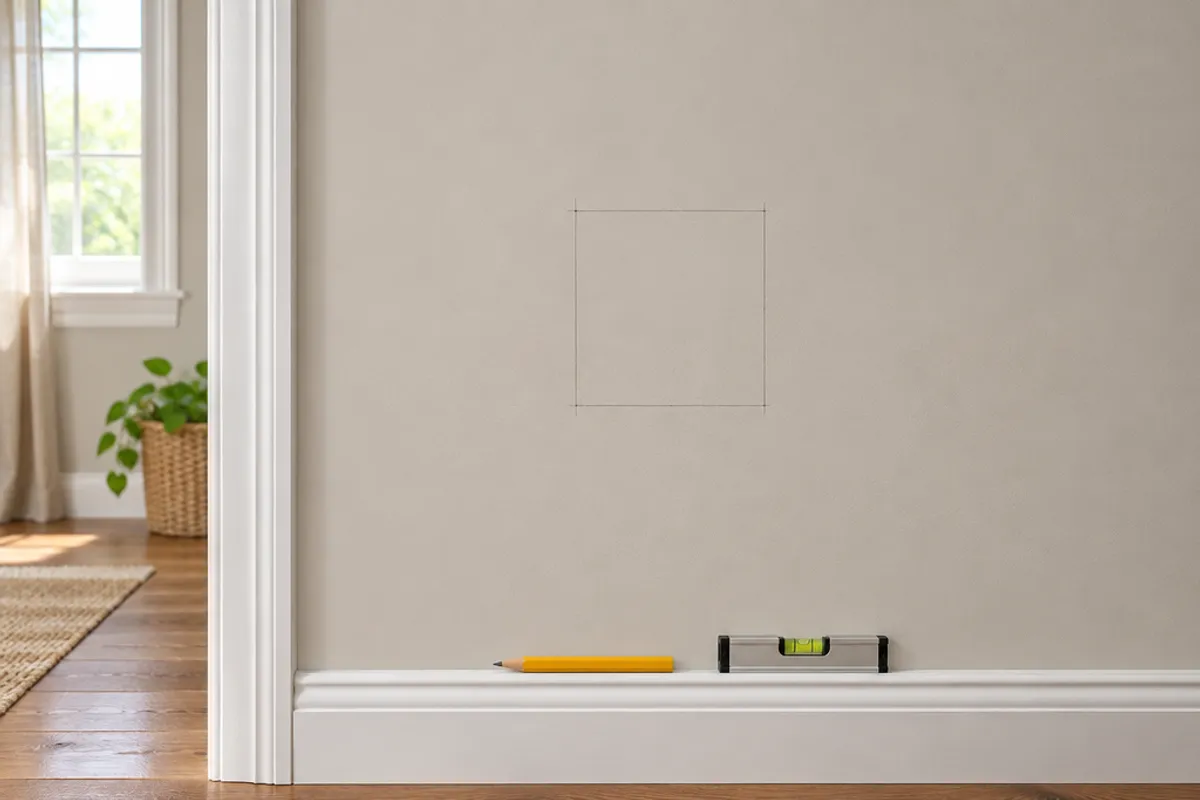
More door and panel options for pipes are on the plumbing page. If you have already opened it up, our guide on patching a hole covers closing up whatever the panel doesn't cover.
Measure before you order: our guide on how to measure for an access panel shows how, and the access panel size chart compares every opening and cover. How to install an access panel in drywall covers fitting it.