
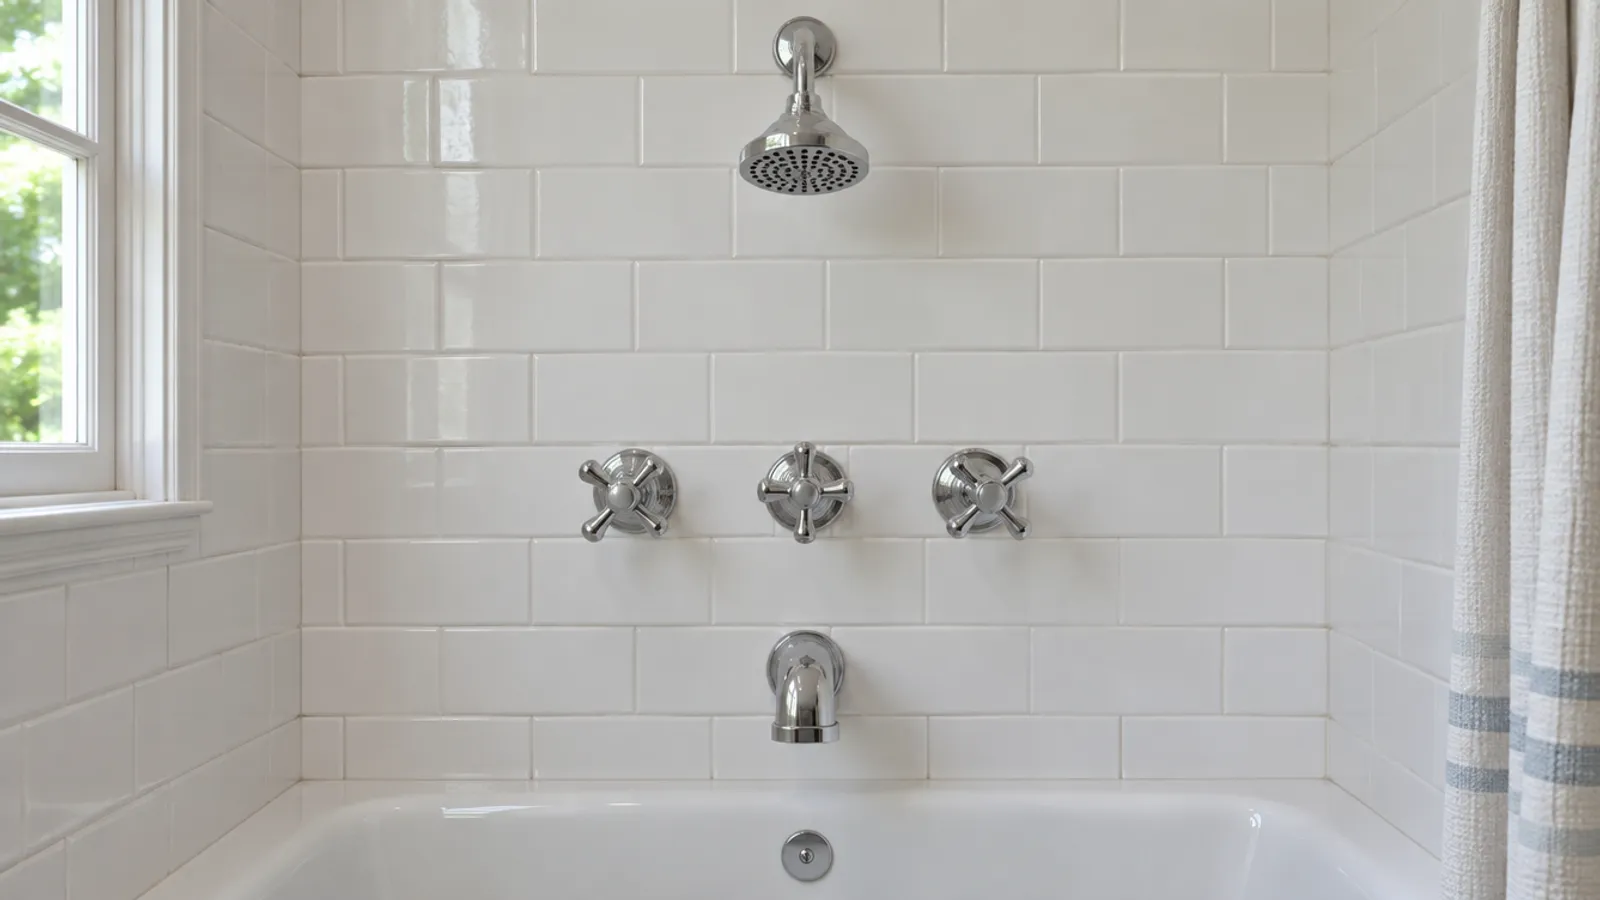
To fix a shower diverter in the wall, shut off the water, remove the diverter handle and trim, and unscrew the stem or cartridge. Replace the worn rubber washer, seals or whole stem, clean the seat and reinstall. A tub spout diverter is repaired with a new spout. Only a cracked body or leaking joint needs work from behind.
Below: each shower diverter type and its DIY repair from the front, and when a failed valve body needs work from the room behind the shower.
What does a shower diverter do, and which type do you have?
A shower diverter valve sends the water flow down to the tub spout or up to the shower head. It sits after the hot and cold valves in your plumbing, so it only holds water while the faucet is on.
Tub spout diverter
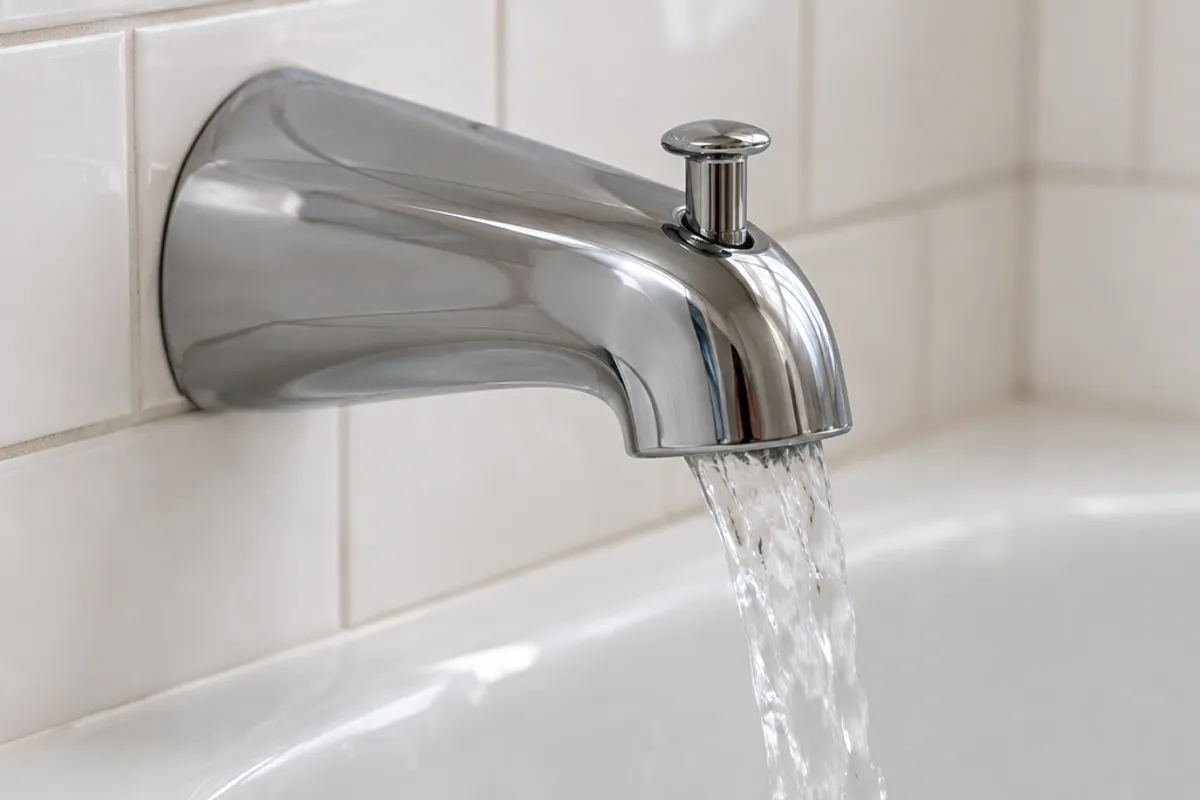
The most common type of shower diverter. Pull up the diverter knob on the bathtub spout and a gate inside closes, so the water backs up to the shower head. Turn the faucet off, the water pressure drops and the knob falls back down. A few spouts use a push button instead.
Three-handle valve diverter
Hot on the left, cold on the right and the shower diverter handle in the middle, sometimes called a three valve diverter. Turning the middle handle in presses a washer against a seat inside the valve body. That closes the path to the tub spout and sends the water up to the showerhead.
Separate diverter or transfer valve
Showers with a handheld sprayer, body sprays or two shower heads often have a diverter with its own handle, trim plate and cartridge; a transfer valve can also run outlets together. Some single-handle valves have a diverter built in, worked by a second knob on the faceplate. Those internal components belong to one maker's valve, so match any replacement to the model.
| Diverter type | Where it is | What usually wears | Fixed from |
|---|---|---|---|
| Tub spout diverter | Inside the spout | The gate and its seal | The bathtub side: a new spout |
| Three-handle valve | Middle of the valve body | Washer, packing or seat | The front, once the handle and sleeve are off |
| Stand-alone diverter or transfer valve | Its own valve body and trim | Cartridge and O-rings | The front, once the trim is off |
| Any type: body or joint failure | The valve body and its plumbing | Cracks, corrosion, leaks at joints | Behind the tile |
How do you tell if a shower diverter is bad?
Watch the tub spout while the shower runs; a bad shower diverter shows itself there first. The usual signs:
- Water keeps coming from the spout with the knob up or the diverter handle turned.
- Weak water flow at the shower head while the spout still runs: the water is splitting.
- The knob won't stay up, or the diverter handle is stiff, spins freely or drips while the water runs.
- A squeal or knock when you switch outlets.
Water from the shower head while the tub fills?
That's the reverse problem, and the diverter isn't always the cause. One maker's guide for a single-handle tub and shower valve calls it stacking. Its troubleshooting table lists these causes:
- a flow restriction between the valve and the tub spout, such as debris
- multiple elbows, or the choice of pipe, on the run out of the valve
- a shower head less than 46 in above the valve
- a valve installed upside down
For a restriction, its remedy is to remove the tub spout, flush out the debris, and replace any undersized line or fittings. Flushing is a job from the bathtub side; replacing an undersized line is plumbing work behind the tile.
Is low flow at the shower head a shower diverter problem?
With the shower pressure low and water still coming from the spout, yes. If the spout is fully off and the shower is still weak, check the shower head for mineral buildup. Weak flow at every faucet, in the bathroom and beyond, points to the water pressure or the water supply.
Is it the diverter valve or the hot and cold valves?
Check when it drips. With everything off, the diverter has no water in it, so a drip from the spout or shower head then comes from the hot or cold side: usually worn washers or a worn cartridge. Leaks behind the tile only while the shower runs can be the diverter, the riser to the shower arm or the spout connection; our guide to finding a leak behind a shower walks through the tests.
How do you repair a shower diverter valve from the front?
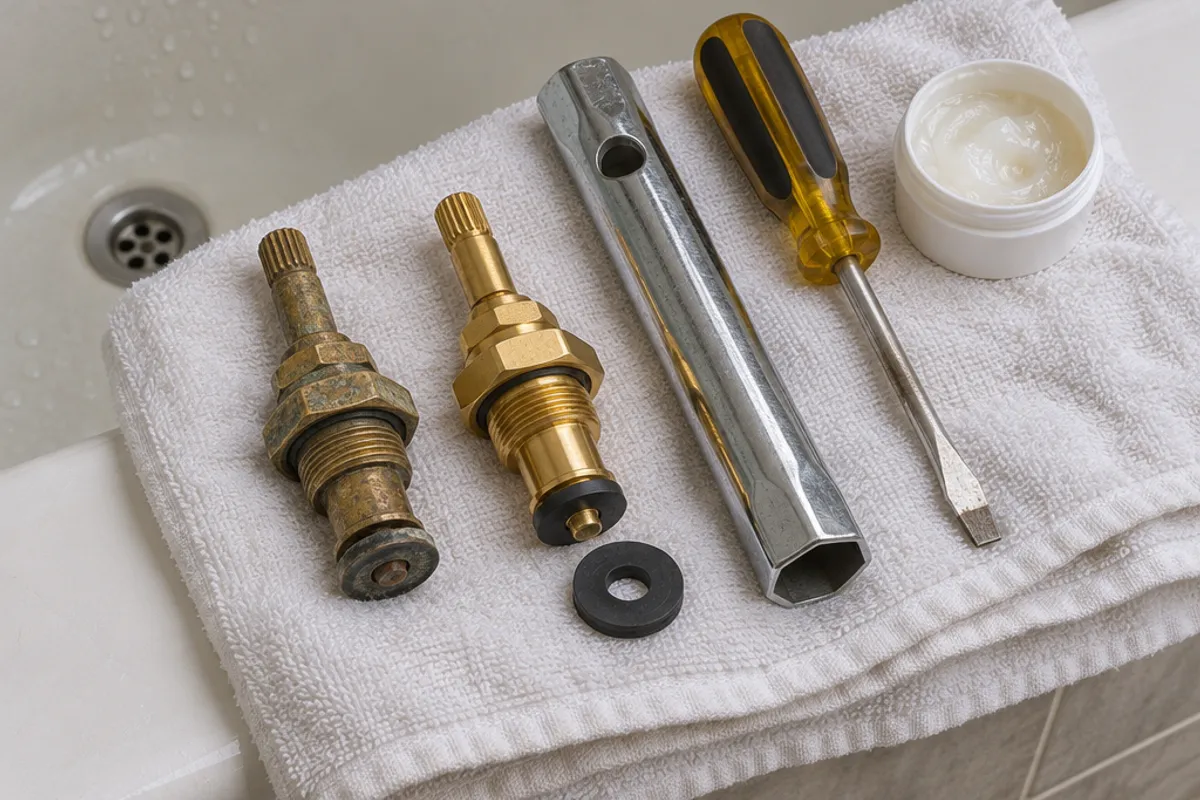
On a three-handle valve, the diverter comes out from the bathtub side. You need a flathead screwdriver, a tub valve socket (a long, hollow socket) and a bar or wrench to turn it, repair washers or a replacement stem, and silicone faucet grease.
- Shut off the water supply. Many three-handle valves have no built-in stops, so close the main shut-off valve or the bathroom's branch valve, then open the hot and cold handles to release the pressure. Cover the drain.
- Pry the cap off the diverter handle with a flathead screwdriver, remove the screw and pull the handle off. Tip: a handle puller releases a stuck handle without cracking the tile. Unscrew the sleeve or decorative cover behind it.
- Insert the socket over the stem onto its nut and twist it counterclockwise. If grout blocks the socket, chip it back carefully.
- Inspect the rubber washer on the tip, the brass screw that holds it, and the O-rings or packing.
- Replace the worn parts, grease the threads and O-rings, then reinstall and tighten it snugly, not hard.
- Turn the water on and test: run the tub, switch to the shower head and watch the spout for a few seconds.
Rubber washer, seals or the whole stem?
Worn washers look flattened, cracked or grooved, and water around the handle points to the packing or O-rings. Damaged threads or splines mean a replacement shower diverter stem: take the old part to a plumbing supply store to match its length and splines.
Clear mineral buildup to restore proper water flow
Mineral buildup makes the part stick and stops the washer sealing: soak it in distilled white vinegar, then rinse and brush it. Inspect the seat with a light. A removable seat unscrews with a seat wrench and is replaced; a lightly pitted fixed seat can be smoothed with a seat dressing tool. A cracked seat means a new valve body.
Diverter and transfer valve cartridges
On a stand-alone diverter valve or transfer valve, remove the handle and trim plate, then the clip or nut, and pull out the cartridge. Install a replacement diverter valve cartridge that matches the maker and model: grease its O-rings and reinstall it the same way round, following the manufacturer's installation instructions.
How do you fix or replace a tub spout diverter?
The gate inside a spout is rarely sold as a replacement part, so the usual shower diverter repair here is a new tub spout.
- Close the drain stopper and look under the spout. A set screw means a slip-on spout: loosen it with a hex key and pull the spout off. No set screw means a threaded spout: unscrew it counterclockwise, with a screwdriver handle in the opening if it's tight.
- Check what comes out of the tile, a threaded nipple or plain copper, and buy a replacement spout made for that connection and length.
- Clean it. On threads, wrap plumber's tape in the direction they tighten.
- Install the new spout and tighten it, or its set screw, following the manufacturer's installation instructions.
- Test it: with the water running, pull up the knob. The water flow should switch to the shower head.
How do you match a new tub spout to the stub-out?
Measure what sticks out past the finished surface before you buy, then check the new part's guide. Makers ask for different lengths:
| Connection | What to measure | What two makers' guides ask for |
|---|---|---|
| Slip-on | How far the copper tube projects | 1-1/2 to 2-7/8 in in one bath spout guide; 1-1/2 to 3 in in another maker's valve guide, on copper tube only |
| Threaded | How far the threaded nipple projects | A 1/2 in NPT nipple 4 in past the finished surface for one maker's standard model, and 7-1/8 in for its 8 in model |
Sources: one maker's bath spout installation guide and the single-handle valve guide linked above. The second sizes a threaded nipple from both ends: measure from the elbow's inside shoulder to the finished surface, add the depth from the spout's base to the threaded adapter inside it, then add 1/4 in. Both guides also want the tube end free of burrs.
When does a shower diverter valve need work from behind?
Go in from behind when the diverter is seized, broken or stripped in the body, or the seat is cracked. The same goes for a cracked or corroded body (a valve that froze in an Alberta or Maritime cold snap, for example; see thawing frozen pipes), leaks at a joint on the valve, the shower riser or the spout drop, and replacing an old three-handle faucet.
How do you replace a shower diverter valve?
Replacing the body means cutting the old plumbing out, setting the new diverter valve at the depth its maker shows and joining it to the supply and outlet lines. Ask a plumber or your local building department what type of new shower valve is required. If the plumbing down to the spout is redone during that work, the single-handle valve guide above sets its tub spout 6 to 11 in below the valve, on 1/2 in copper or IPS pipe only. Open the drywall from the room behind the shower, between the studs, and the tile stays intact. Our guide to what a shower valve is explains the parts.
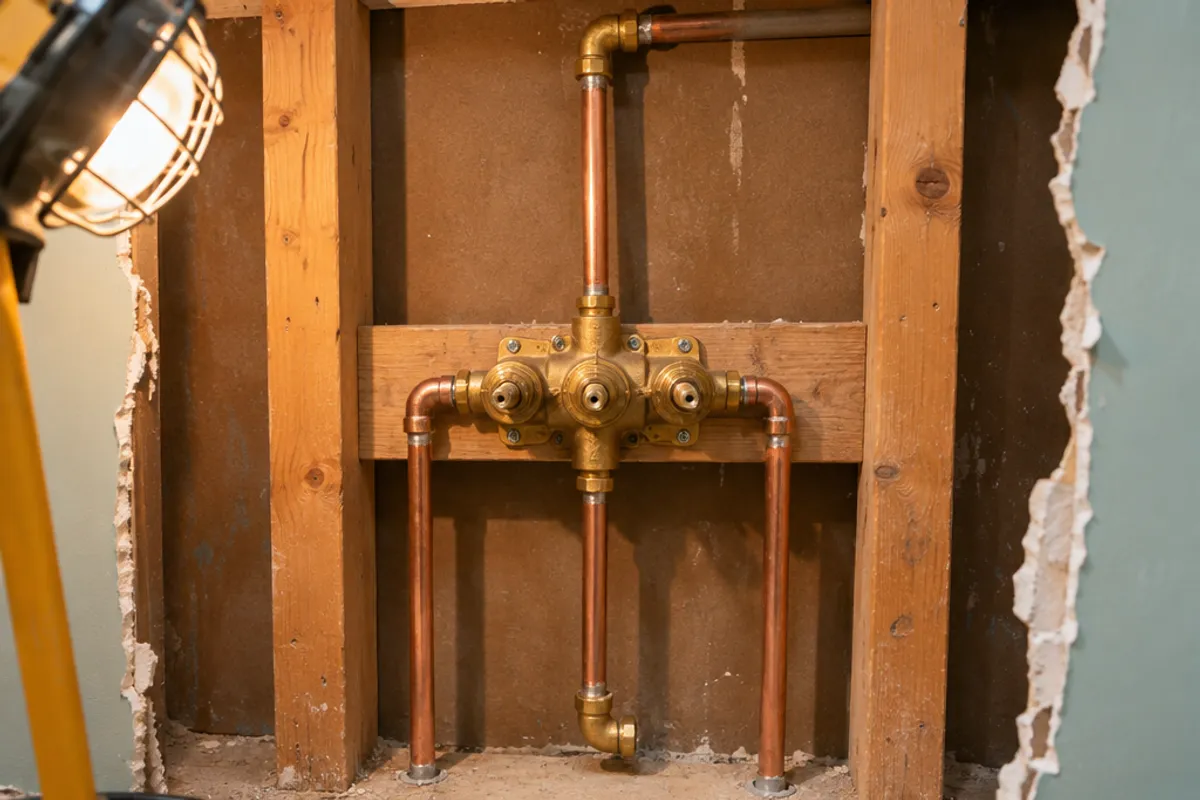
Replacing a valve body means cutting and joining pipe, and soldering where the lines are copper. Use a licensed plumber where your area requires one, and ask whether the work needs a permit. Shut off the water, and check for wiring before you cut drywall.
Close the opening with a hinged door
Don't patch it shut: with a hinged door, the next repair starts with a latch, not a saw. Two doors from our catalog suit many diverter valve openings:
- PAD1212: 12 × 12 in overall, with a service opening of 10.35 × 10.35 in (estimated).
- PAD1216: 12 × 16 in overall, with a service opening of 10.35 × 14.35 in (estimated), taller to take in more of the riser above the valve.
The service opening is also the cut-out, with rounded corners; each product page has a 1:1 cut-out template, and the screws come with the door. Compare both on the access doors page, or see shower access panels.
Can you repair a shower diverter yourself, or do you need a plumber?
A tub spout swap is a common DIY repair, and plenty of repair videos show it. Rebuilding a three-handle shower diverter is a fair DIY job too, if the water shuts off and the part comes out cleanly. Call a plumber when it won't budge, the seat is cracked, parts can't be matched, or the repair means cutting into the plumbing. One tip: photograph each part as it comes off, so it goes back the same way.
Do the codes say how a shower valve must be reached?
Rules differ by state and province, so ask your local building department what it expects at a shower valve, and follow the valve maker's instructions. The practical answer is the same everywhere: if the diverter body can only be reached from behind, plan a door on the back of the wall before that side is finished, so the next repair doesn't mean cutting drywall or breaking tile.
Once the shower diverter works, plan the next repair: size a door for the valve with our shower valve sizing guide, then follow how to install an access panel in drywall. Compare every opening and cover on the size chart.